For the best part of the last two years, whenever I’ve shot colour negative film, I’ve sent it off to be developed and scanned. While I have the means to scan it at home, I was never satisfied with the colours I achieved using Epson Scan. I tried a number of other tools to see if I could improve my results and managed to do better with Silverfast for 35mm when I bought my Plustek scanner, but the images still didn’t look quite right. So I resigned myself to getting lab scans of all my colour negative stuff.
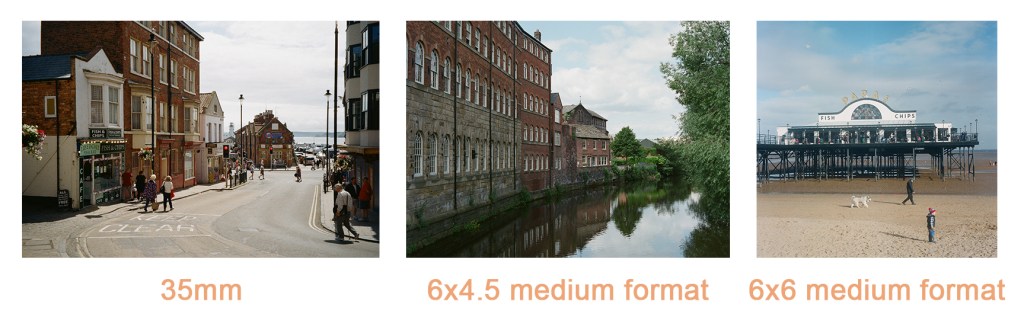
While I’ve been mostly happy with my lab scans, one point of frustration is the way they size the images. The labs I’ve looked at tend to offer scans in small / medium / large options which, on the face of it seems fine. However, what I came to realise was that a scan was based on a particular number of pixels on the short side of the image. This results in a bewildering situation where, for any given scan “size”, it seems medium format scans will be smaller than 35mm scans (or the same size, if shooting 6×9). This is clearly disappointing if you want to benefit from the added detail that medium format allows. The image below shows comparisons of three different image ratios and how the larger medium format images lose out when scan size is determined by the number of pixels on the short edge.
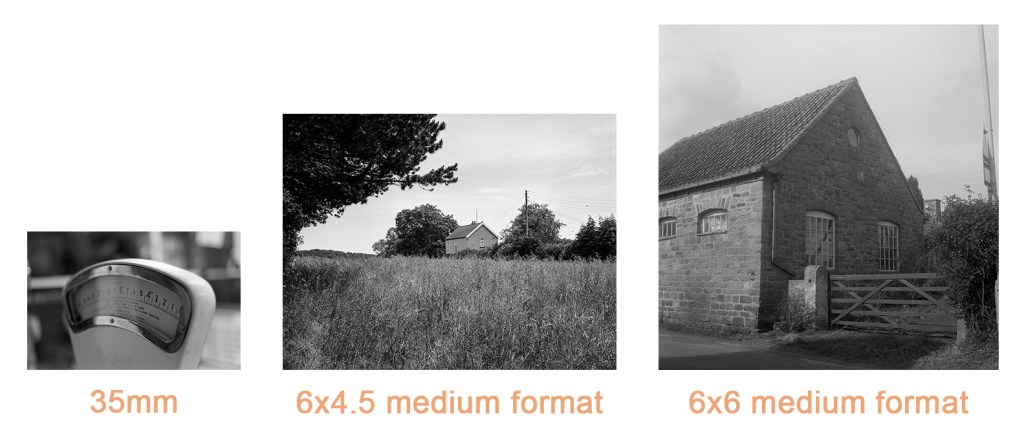
By comparison, when I scan at home I get larger scans for the larger formats, as can be seen in the example below with each image being scanned at a uniform DPI setting and not limited to a specific number of pixels per side:
This discrepancy in image sizes made me want to home scan my negatives. While I don’t think my Epson V550 or Plustec 8100 really compare with the abilities of something like a Noritsu of Fuji Frontier, the ability to control the settings means I can get much more detailed results than what the labs I’ve tried will supply. While I’m sure that there are labs out there who will provide higher resolution scans, many of them also charge a considerable amount for the service, putting them out of my price range unfortunately.
I’d seen very good word of mouth over the past year about Negative Lab Pro, but that costs in the region of £60, which isn’t something I want to pay right now (although I’ve been tempted), so it was with interest when someone alerted me to a new Photoshop plugin called Grain2Pixel recently. Grain2Pixel is used to convert negative scans to positives and is currently free of charge (although I believe a more feature packed version is in the works which will require payment).
In order to use the plugin, you have to make linear scans of your negative, e.g. it still looks like a negative after scanning. The plugin accepts TIFF and DNG files, so you can scan with a digital camera if you like. Once launched in Photoshop, you select your scans via the plugin’s interface, choose any settings you want to apply such as automatic colour correction, and then run the process. The process is straightforward and you can convert individual images or a batch.
I’ve tried a number of different film stocks with it and have been getting good results on the whole. Some that I’ve tried, such as Kodak Ektar and Kodak Portra 160 have looked great directly out of the plugin. Some others have been a little more tricky – Kodak Gold 200 and Kodak Portra 400 seem to have a blue / cyan cast no matter what settings I use. Despite this though, the results are still good and I am able to tweak the results further in Photoshop or Lightroom to get results I’m usually very happy with, with the extra benefit of having much higher resolution images.
The plugin can be found, along with instructional videos, here: https://grain2pixel.com/ There is also a Facebook group for the plugin which gets regular traffic and is useful if you need help.
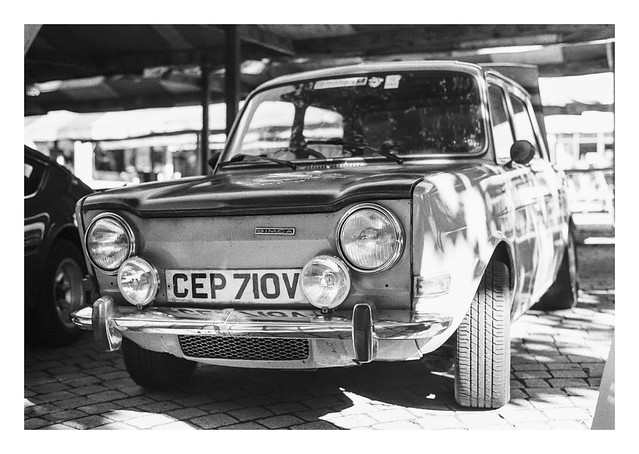
All three of todays photos have used Grain2Pixel for initial conversion. I’ve then tweaked the results in Lightroom to add additional contrast etc. They were scanned on my Plustek Opticfilm 8100 using Vuescan to create the linear TIFF files.


Canon Sure Shot Z135, Kodak Gold 200. Grain2Pixel conversion.
Taken on 31 August 2020