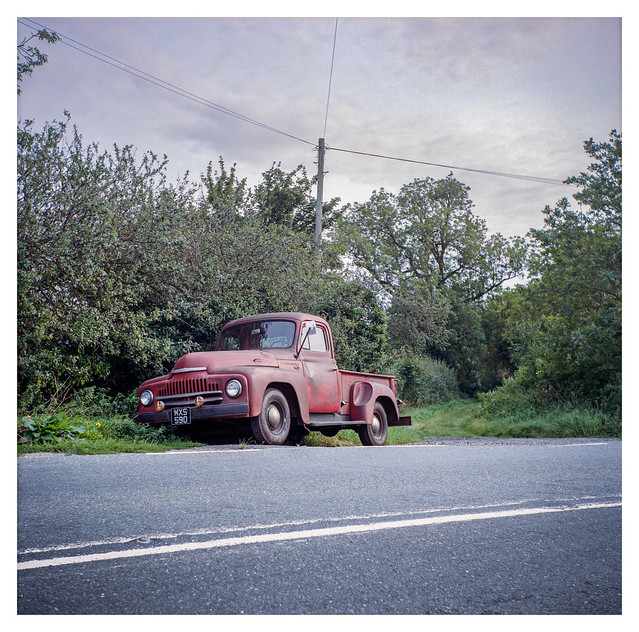
After yesterday’s Chevy photos, I’ll continue a mini-theme of classic American vehicles, this time an International Harvester pick-up truck. Which I think is an L-Series, but which I am again willing to be corrected on. I believe the tow-truck, Mater, in the Cars movies was based in part on an International Harvester.
Like yesterday’s Chevy, this was photographed on my trip to Mablethorpe. While the Chevy is a permanent feature at the garage where I made the photo, this truck was just parked on the verge on a bend in the road not too far from my destination, so I pulled over and took a few quick shots.
I made a few pictures of this vintage Chevy on the way to Mablethorpe the other week, some with my Canon Sure Shot Z135, and some with my Zeiss-Mess-Ikonta 524/16. I photographed the same car before when I passed by last year, using the Zeiss on that occasion too, but with some Ektar (and in bright sunshine). The conditions this year were more subdued, the same layer of thin, high cloud that would be present most of the day, obscuring the sun so that much of of the light was diffused, removing much of the contrast. Despite this, I still like how both these images turned out.
I think the car is a Chevy Townsman from the early 50s, but I’m happy to be corrected by someone more knowlegeable about such things.
EDIT: I’ve been informed my fellow blogger, Jim Grey, that it’s actually a Chevrolet Sedan Delivery. Thank you Jim.
This is the Z135 shot, taken on Kodak Gold 200, scanned on my Plustek 8100 as a linear tiff and then converted with Photoshop and Grain2Pixel.
And this is the Zeiss shot, this time taken on Kodak Portra 400, scanned on my Epson V550 as a linear tiff and converted with Photoshop and Grain2Pixel.
The Lipca Rollop II. Portrait by Nikon F80, Sigma 105mm f/2.8 OS HSM, and Ilford HP5+ (@1600asa).
A year or two back I was given a box of old cameras, four in total. These included a Voigtlander Vito B. a couple of Soviet-era rangefinders, and a Lipca Rollop TLR.
I tested the Vito B with a roll of film not long after receiving it, but not a single shot was even close to being in focus, and I suspect someone had attempted to repair it at some point but then not correctly aligned the zone-focus lens when putting it back together. Both the rangefinders had aperture rings that were locked solid, so I passed those on to people who might hopefully be able to repair them and make use of the cameras.
The Lipca though, while a little dirty, looked ok – the only issue that stood out being some rotted light-seals in the film chamber – so I decided to hold onto it and give it a test. In the end it remained in a drawer for the best part of two years until, a couple of weeks ago, when I finally decided to try it out. But before I go into detail on that, here’s a little pen protrait of the camera…
According to Camera-Wiki.org, the Lipca company (short for Lippische Camerafabrik Richter & Fischer) was formed in Bartrup, West Germany, in 1947. The owners, Fritz and Charlotte Richter, and Karl Fischer had moved some of their equipment and employees from Tharandt, near Dresden, which was in the Soviet zone as they feared the factory would be expropriated. The new company was fully founded the following year.
The company was a small organisation with around 50 employees working in a close-knit family atmosphere. Their peak output was around 1000 cameras per month.
They produced a number of TLR models, starting with the Flexo in 1948. This was to be re-named the Flexora following a trademark dispute with Franke & Heidecke. There were three variants of the Flexora before a new camera, the Rollop, was introduced – this model using an injection molded aluminium body rather than the sheet metal of the earlier cameras. Three versions were produced between 1954 and 1962. The main difference between models was probably the film transport which started as a knob winder on the Rollop I. A crank winder was introduced on the Rollop II, and this crank was upgraded to also cock the shutter on the Rollop Automatic, the final variant. The Rollop Automatic also featured an Enna Lithagon taking lens, replacing the Enna Ennagon on the previous versions.
When the demand for TLR cameras fell into decline in the early 60s, Lipca tried to gain a foothold on the emerging 35mm market by selling re-branded cameras from King, and Franka. Lipca also manufactured other equipment such as binoculars,slide-viewers, and they carried out some production work in conjunction with Plaubel. After a move to a new site in Bad Nauheim in 1961, all camera production ceased in 1962, and the Lipca name was dissolved in 1972.
The model I have is the Rollop II, a twin lens reflex camera with a 75mm f/3.5 Enna Ennagon taking lens (replicated in the viewing lens). Both lenses have a filter thread. Shutter speeds range from 1sec to 1/300sec with a bulb setting for long exposures. Apertures cover f/3.5 through to f/22. Shutter speed is selected by rotating a toothed wheel mounted around the taking lens, aligning the required speed with a red arrow at the 12 o’clock position on the lens barrel. Aperture is chosen with a lever that rotates around the lower right section of the lens barrel, this needs to be pulled out slightly to change the setting as it latches into the teeth on the shutter speed dial. This latching mechanism means the camera has a simple but effective shutter-priority function. For instance, if the shutter speed is set to 1/125sec and the aperture to f/8, then rotating the shutter speed to 1/300sec will simultaneously change the aperture to f/5.6. Changing shutter speed to 1/60sec would change the aperture to f/11 and so on. The aperture can still be manually set if required.
The shutter cocking mechanism is a lever on the upper-right of the lens barrel, and the shutter lever resides on the lower-right. There is a threaded cable release point just above the shutter lever.
Also on the front of the camera is a sync socket. M and X synchronisation settings are available from a small switch on the upper left of the lens barrel.
The film is advanced by a crank mechanism on the right of the camera. This operates in a forward / return action, rather than full rotation. The handle of the crank is hinged and can be latched to prevent accidental advancement of the film.
The camera viewfinder is a standard ground-glass affair, but with a horizontal split-prism in the centre. A magnifying lens hinges out from the front of the viewfinder housing for fine focusing, and the housing also features a sports-finder.
The left side of the camera houses the focus knob with distance scale, the film reel release knobs, and a small screw that holds the film compartment closed. When partially unscrewed, this is pushed in to pop open the back of the camera. There is also a cold-shoe on this side of the camera.
There are a couple of latches for a camera strap on either side of the body, and the base of the camera has a tripod mounting socket and four small metal feet.
The first thing I did with my Rollop II was to give it a clean. The bodywork is in pretty nice condition, the leatherette is all intact and there are no significant marks anywhere, but it was a little scruffy. A soft cloth and some rubbing alcohol removed most of the surface dust and dirt without trouble. I removed the focus screen housing to give it a better clean and to allow the mirror and inside of the viewing lens to be cleaned with a dust blower and (for the lens) some lens cleaner. Both lenses were cleaned on the outside, and I then cleaned the inside of the taking lens while the camera was in bulb mode.
While the light seals looked in a bit of a state, I decided to leave them alone for the time being (they are partially covered by the film tension plate, and I could see no easy way to remove it to allow access) and just see how the camera would fare with a test roll of film – some Fomapan 100.
In operation, the camera was straightforward to use and gave no unexpected surprises. My only issue being that the focus screen didn’t have a lot of contrast and it was quite difficult to see depending on the light. Using the magnifyer helped though. I found the shutter release to be easy to use and think that this lever-type release is perhaps better for keeping the camera steady than the push-button release on something like a Yashica Mat 124.
I went for a walk around a local nature reserve and shot the full roll. I noticed with some surprise that the camera would still fire even after winding on from the twelth frame, so took another shot for good luck, not really expecting anything from it. I would be surprised…
I developed the roll of film in my usual Ilfotec DD-X and was pleased to see a negatives appear. One instant plus was that my extra shot had given me a thirteenth frame! It was right at the very end of the roll, and I ended up having to crop it afterwards because of marks caused when drying the film, but still – a bonus! This pleasant surprise was, sadly, marred a little by the unfortunate fact that around half the frames had very noticeable light leaks.
The lucky 13th shot. I had to crop it a little, and I’m not sure what has caused the circular mark at top-centre but, hey, beggars can’t be choosers!
While some of the light leaks looked normal given the state of the light seals, many of the affected frames had an odd arc of brightness across the centre of the frame, as can be seen in the three photos below.
Based on these findings I decided to do what I could to replace the seals. With some degree of fiddlyness, I was able to replace the ones the were partially obscured by the film plate, along with the rest of the more accessible foam.
A few days later I took the camera out again, hopeful that my replacement seals would resolve the problems.
This time, when loading the film, instead of winding the crank four times as stated in the manual, I just wound it on three times hoping I would again be able to squeeze an extra frame from the roll.
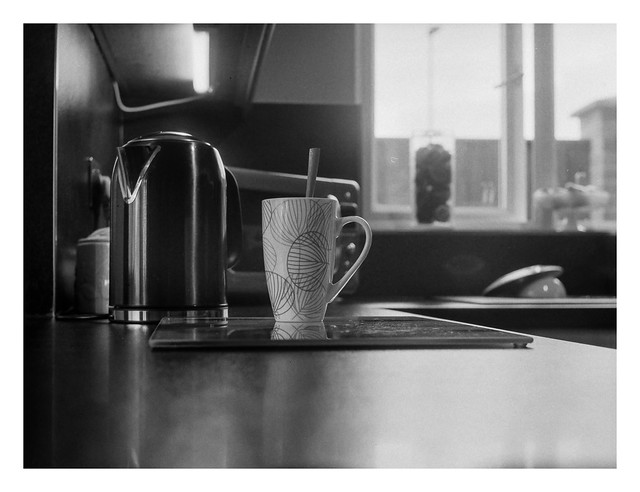
I again shot all (thirteen!) frames on a single outing, albeit the final bonus frame being a shot of a mug on the kitchen counter taken when I got home.
The second bonus 13th frame. Maybe not the best shot ever, but again – bonus!
This time, most of the frames were free from light leaks – all except one, again showing the odd arc-shaped mark.
There was also one completely blank frame where I think I accidentally wound the film on without firing the shutter!
I decided to look at the camera more closely, and wondered if the light might be coming from the lens, rather than the film compartment. I shone a bright light at the front of the camera and opened the film compartment. This revealed a feint glow coming from the edge of the taking lens. Further investigation also revealed that the front standard had a very small gap when focused closely (so that it was racked out as far as it would go). This explained why the leak only appeared on certain frames – those where the camera was focussed at or closer to infinity where unaffected as the lens standard was racked back to the body of the camera, closing the gap. Only the shots where I had focussed on closer subjects had the problem.
I don’t have the necessary technical ability to repair this properly, at least not without risking more significant problems or breaking it completely and, as the camera was a freebie (and I already have a working TLR in the form of my Yashica Mat 124G) I don’t really want to pay the price of a professional repair. I think I will give it another test though – I have an idea to attach a skirt of black felt around the racking mechanism using some tape which ought to block the light getting in where it’s not wanted. Maybe not elegant, but hopefully it will work. I guess I’ll find out before too long! 🙂
A photograph of a woodland road today, taken on one of the rolls of Fomapan 100 that I’ve been having problems with. As I’ve mentioned in previous posts (such as this one) I’ve been having issues with white speckles of debris when using this film. I ruled out my development process and chemicals – both worked fine when developing other film stocks. I also tried omitting a chemical stop-bath, replacing it with water, and also adding a pre-wash of the film before developing. Nothing seemed to work and the speckles still stubbornly appeared when I developed each roll of Fomapan 100.
Then, a month or so back, I came across a post on the Photrio forum which seemed to detail someone having the same problem. It turned out that other people suffering the same difficulties all had film form the same production batch. One person in a linked post had contacted Foma themselves and been advised that the cause was a harder than usual anti-halation layer on that run of film and that a specific development process might help. I tried the process myself, but still ended up with the smae spots on the negatives, albeit possibly slightly less pronounced than before.
I decided to contact Foma myself and they replied with some similar instructions, although this time I noticed an additional stage that involved a wash of the developed film in an ethanol / water mixture before the final wetting agent stage. I’ve not tried this process as yet and, I suspect, probably won’t – mostly because ethanol seems quite hard to come by, at least at a price that isn’t prohibitively high. It would likely be cheaper to buy some fresh, unproblematic film, than attempt the ethanol rinse process.
I’m grateful for Foma’s response though, plus they sent me a few rolls of film as a goodwill gesture – two rolls of Fomapan 400, plus a roll of Retropan 320. I’ve never shot Retropan 320 before, so I’m quite looking forward to giving that one a go.
Should anyone else be suffering a similar issue when developing Fomapan 100, the instructions provided to me by Foma are as follows:
In case of your already exposed & processed negatives we recommend to you the following procedure to remove the residues of remaining anti-halo layer:
1) Prepare working solution in minimum with 40% of ethanol (optimally 70%). 2) Put carefully the films into spiral´s developing tank or a spiral with the film into similar transparent container with enough ethanol solution, with emulsion layer inside of the cylinder tank/container. 3) Keep the negatives in this solution approximately 45 minutes and make moderate movement each 4-5 minutes. 4) Wash sheets of the negatives in running water from tap for 2-3 minutes. 5) Make standard drying including wetting agent (FOTONAL).
If you may decide to use also other films from the same emulsion number, we advise you to follow this procedure of processing:
1) Exposed films put inside of the spiral´s developing tank. 2) Pour distilled water or water without minerals into this developing tank and keep the films in this solution for 20-30 minutes. Occasional inversion is convenient. This solution, ca. 600 ml, is possible to use in maximum for 2 rolls. 3) Immediately after pouring the water out you can fill the tank by developing working solution keeping standard conditions of developing, best using more alkaline developer, e.g. FOMADON R09. 4) After developing we recommend to stop process just by water bath, best running filtered water, in minimum for the time of 30 seconds in water´s temperature 12-18° C. Using acidic stop bath like FOMACITRO and others is not convenient in this case, because there are needed alkaline baths to help with dissolving the hardened anti-halo layer. 5) Standard fixing. 6) Wash the strips of the negatives in running water for 20-30 minutes (according to higher or lower temperature). 7) Use ethanol solution and other steps (1-5) as described in previous paragraph.
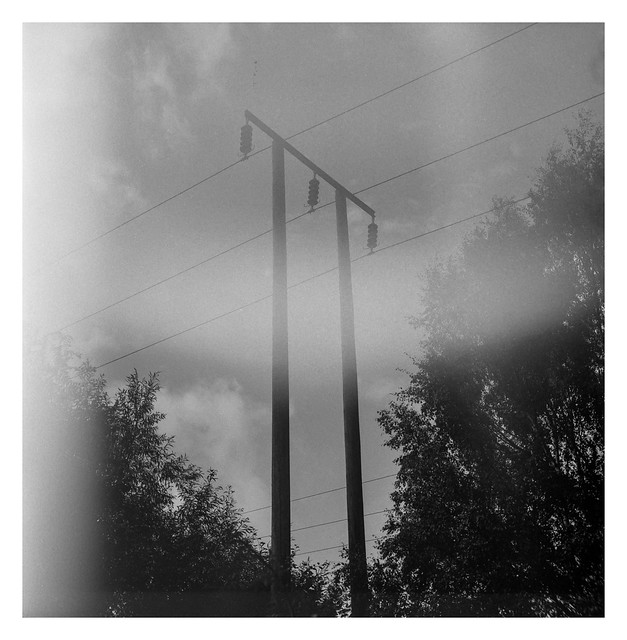
There’s a set of power-lines tucked away in here if you look for them…
Back when I was a boy, horse chestnut trees such as the one pictured here, would have been bracing themselves for the soon-to-arrive annual attack of schoolboys desperate to harvest their fruit of conkers. Here in the UK (and maybe elsewhere, I don’t know), conkers was THE sport of the school playground come autumn-time.
For those unfamiliar with the activity, a conker is a hard, nut-like seed produced by the horse chestnut tree. They fall from the branches around October time. Or, as used to be the case, they would be knocked violently from the branches by thrown sticks and stones or pulled from branches climbed by brave individuals. Each conker would be safely cocooned in a heavy, spiky outer shell that, when ripe, would split to reveal the brown, polished, wood-like ovoid within. If you were lucky you would find a previously undiscovered tree that had dropped it’s fruit on the floor. Such rarity! Such treasures!
The game is played by making a hole through the centre of the conker and threading it with a length of thread – often a shoelace – and securing it at the bottom with a knot. Two opponents would then face off and take in turns to swing their conker with force, bracing the thread tautly across the top of the back of their hand, with the intent of shattering their opponents conker.
Dedicated proponents of the sport would engage a variety of techniques to harden their “team” of conkers to maximum hardness. Baking them in an oven, or pickling them in vinegar were both methods reputed to give a conker a shell that would challenge a diamond on the moh scale. Champion conkers would be given names and attain legendary status in the schoolyard.
These days the horse chestnut is in reprieve, the sport of conkers largely consigned to history by the youngsters of today. Part of this was down to a series of bans issued by schools fearful of children with conker fractured knuckles or missing front teeth, although nowadays it’s probably mostly because of videogames and the internet. Isn’t everything?
Eight birds sat on some power lines. When I first arrived at this location there were a lot more of them, and they reminded me of musical notation. Sadly, they flew away before I could get a picture – I think I spooked them setting the camera up – so I moved on to make photos of other things. When I got back some of them had returned, so I got this shot.
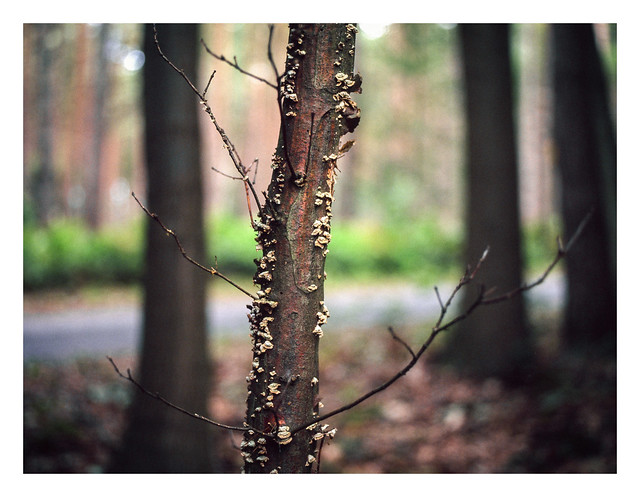
A quick post today with another shot from the Bronica on the roll of expired Provia 400. Maybe not the healthiest tree, but the one that attracted my attention.
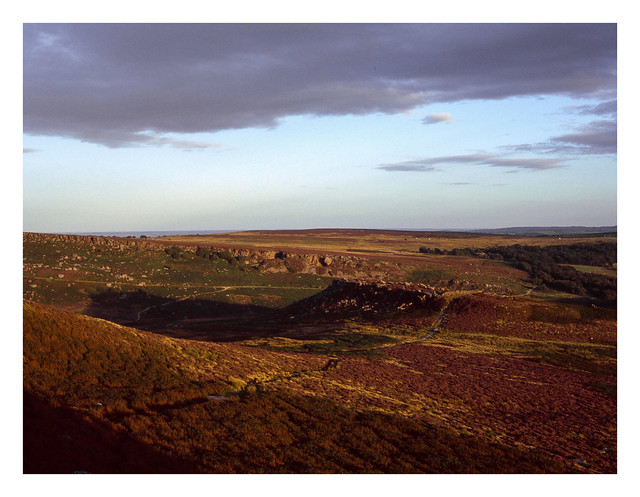
A couple of weeks ago I took an impromtu trip out to the Peak District National Park one evening after work. August is the month when the heather flowers, blanketing the landscape in a cover of purple. For the last couple of years I’ve managed to miss it altogether for one reason or another, or have only caught the end of the season when it’s past its best. So, given the weather looked nice, I decided to take to opportunity. There might even be a sunset!
I took my Bronica ETRSi loaded with a roll of slightly expired Provia 400. I’ve not shot the 400 variant before, but was quite hopeful given the decent results I’d had a few weeks earlier with some 2003 vintage Ektachrome. As I got closer to my destination it became apparent that I wasn’t the only person taking advantage of the pleasant eventing and there were a considerable number of other people and cars about. I managed to find a place to park without too much trouble though and climbed atop Higger Tor to make some photos.
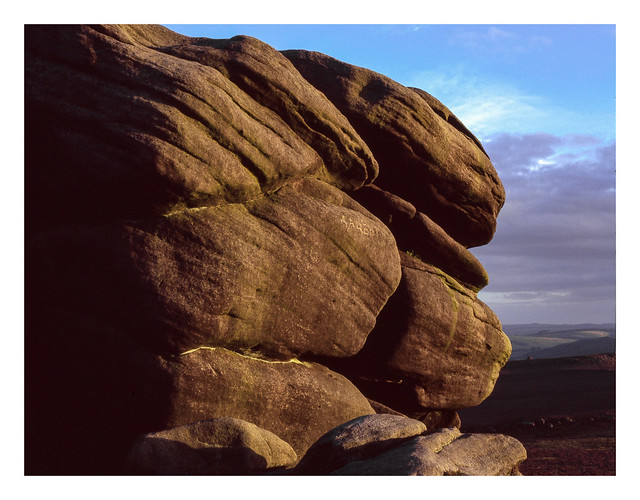
Heather amongst the gritstone
I soon noticed a curious issue with my light meter, which was giving slightly odd-looking shutter speeds like 1/128. I wasn’t sure what the problem might be, but the speeds were all close enough to regular shutter settings to not give me undue concern. After a few shots it became moot anyway when the meter’s battery died – even though it had been on two bars the last time I checked – and I had to resort to my light-meter app on my phone. It was only when I got home and fitted a new battery to the light meter and looked at the manual that I realised I’d managed to set it into cine mode! Given reversal film’s intolerance of poor exposure, I resigned myself to a roll of mostly ruined shots. One receipt on my transparencies a few days later however, it seemed that most of them were not too bad at all – somewhat ironically the worst shots were the ones where I’d used the light meter app!
Anyway, I roamed around atop the plateau making a number of photos although, if I’m honest, my enthusiasm wasn’t high – I felt somewhat rushed due to the last-minute nature of the trip, plus people kept wandering into my compositions. There was no sunset either…
Looking down from Higger Tor towards the ancient hillfort of Carl Wark
After a pretty successful session scanning my roll of 135 Velvia 100 previously, I jumped headlong into scanning the Provia 400 when I received the transparencies from the lab. And promptly had the confidence knocked out of me. The settings that had worked so well for me in Vuescan for that earlier roll now served to deliver only disappointment. I know that it’s a different film, and I was also scanning it on my Epson V550 – not the Plustek – as that will scan medium format negatives, but I had hoped that my previous settings would at least serve as a good starting point.
The results were awful. Using the Adobe RGB output setting, that works so well on other scans in Vuescan, here served to produce ugly and blocky purple highligts on some parts of the image. Switching to a different output setting resoleved this, but now the images lost some colour and also seemed to vary in quality by a large degree from frame to frame.
In the end, I resorted to using Epsonscan – an application that has given me less than pleasing results when scanning slides in the past. This time though, it beat the Vuescan files – although it took some considerable faffing in Lightroom & Photoshop before I got something I was mostly happy with and which seemed to reflect what I could actually see on the transparencies.
I took this shot while using up the final frames on this roll of Shanghai GP3. The walk along the towpath beside the Chesterfield Canal is known as The Cuckoo Way and can be followed from Chesterfield all the way to the point where the canal enters the River Trent, approx 50 miles away.
Although it was a very hot and bright day, the place where this canal-boat was moored was in shadow from the trees beside the canal towpath and I had to open the Zeiss to it’s widest aperture to get a decent shutter speed on the 100asa film.
I don’t normally shoot the camera wide open as it performs better when stopped down, plus the uncoupled rangefinder design can make it a bit of a best guess for fine focusing.
In this case though, the boat was far enough away for the focusing to not be too much of a concern and I quite like the way the lens has rendered the scene. It’s hardly some kind of “bokeh monster”, but has given a nice hint of seperation in the focus.
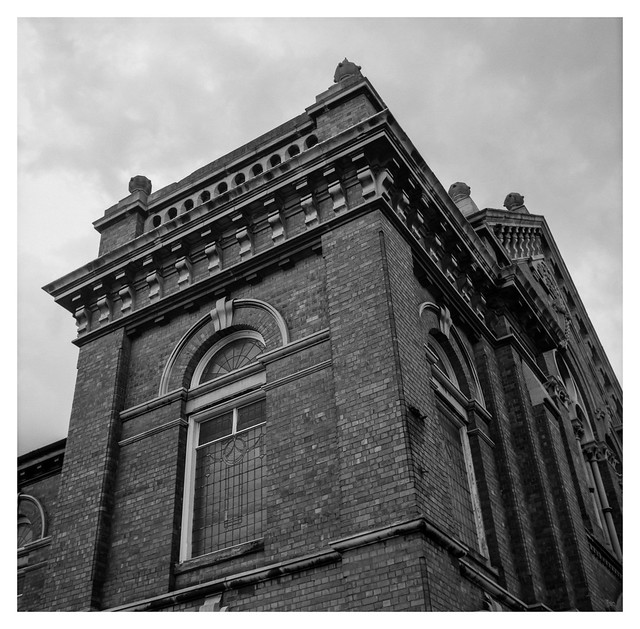
After mentioning yesterday that I seem to photograph a lot of churches, here’s another one. I didn’t realise that this was a church until just now, when I looked up the location on Google maps. On the day the photo was made, I just noticed an impressive looking building. I didn’t actually go around the front of the structure, where the purpose of the building would have been revealed, instead turning right and heading towards the town centre after taking the shot.