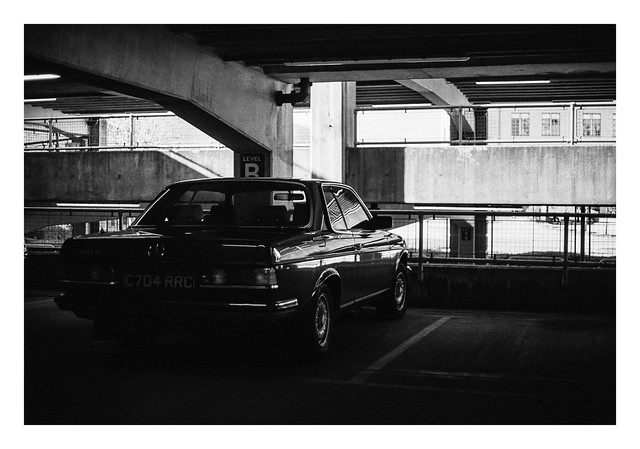
After arriving back at the carpark following a walk the other week, I saw this old Mercedes in one of the other bays. I liked the low key look it had, with subtle reflections from the bright shafts of light coming from the centre of the building, but wasn’t convinced that the picture would turn out ok. I was wrong I think, and it turned out better than I might have hoped given the conditions and slow shutter speed used.
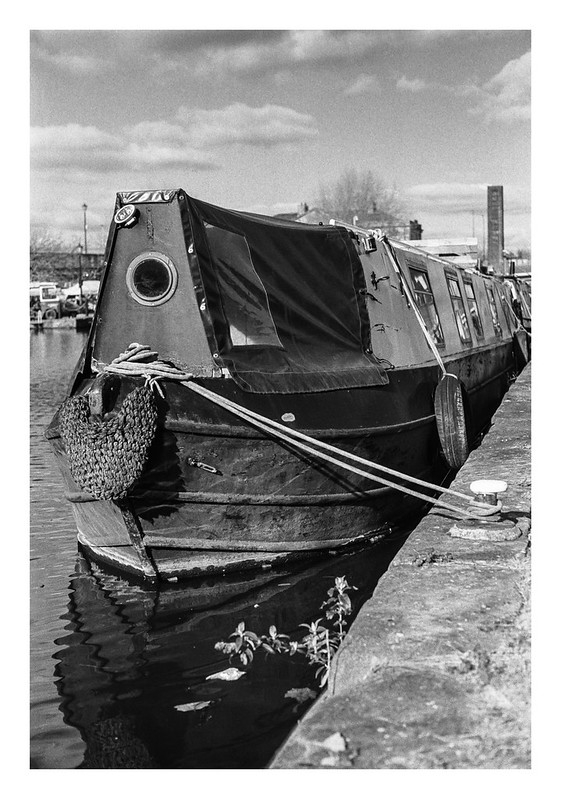
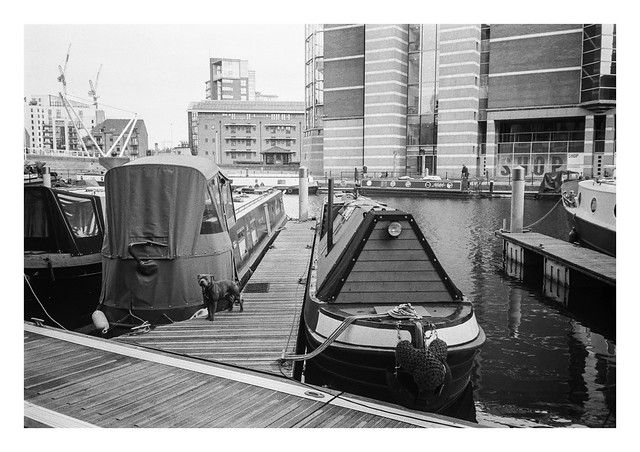
Time seems to have gotten away from me today and I don’t have time to write much. Still, the fires of the blog need to be fed and the fuel today will be these two photographs of canal narrowboats. A lot of the narrowboats at Victoria Quays seem to be permananent fixtures that I’ve never seen move – basically floating homes – and I’m sure that I’ve photographed many of them on more than one occasion.
These two shots came out quite nicely though, I think.
One of my biggest issues with colour film is, well… the colour. Getting the darned stuff to look “right” is a test for my patience and also my sanity it can seem. Even when I get it looking right, a later glance reveals that I was completely incorrect and it looks terrible. How much of this is down to the actual results of my efforts (or the lab’s) and how much is down to the obsessive perfectionism that my brain likes to lay on me from time to time is up for debate.
I’ve gone through a number of iterations when it comes to scanning colour film negatives over the past five or six years. When I first began scanning my own film, my only option was my Epson V550 and the Espsonscan software that came with it. This gave passable results but not ones I was ever truly happy with. Colours would look “off” sometimes, with odd colour casts which would differ from film to film. I tried using ColorPerfect as a Photoshop plugin, which addmitedly helped (a bit) but also seemed to render shadow areas full of horrible looking noise.
Later, when I got my Plustek 35mm scanner, it came with a copy of Silverfast, so I tried that with it’s built-in film profiles. While I was able to get better results – and in some cases ones I was quite happy with – they still didn’t look right, no matter how I played with the settings.
So then I tried Vuescan. Again, never quite right (although it does a great job on 35mm slides).
I then decided to start getting my colour film developed by a lab that provided scans at a reasonable price. There was an additional cost for posting my film off, and a delay while I waited for the results, but on the whole the scans were nice, if perhaps a little warm looking (the lab would have changed that had I asked though). For a while I was happy, but the thing that put me off in the end was the resolution of the scans. While 35mm was acceptable, they used the same “x pixels on the short side” ratio whether it was a 35mm or medium format negative, leading to the frustrating situation where a 6×6 120 film negative would come back with a smaller scan than a 35mm image. So I went back to using my local lab and scanning them myself again. This decision was made mostly when I discovered Grain2Pixel.
Grain2Pixel – a free Photoshop Plugin – converts linear scans to positives. Here, at last, I thought I had found THE solution. It gave me the best results I’d seen so far… most of the time anyway. Some films, unfortunately, it struggled with (for me at least), particularly Kodak Portra, always giving the images a blue cast that was difficult for me to remove satisfactorily. With a lot of faffing about in Lightroom I could get them close to where I wanted, but I was still unsatisfied, and there would always be a few problem negatives that seemed to actively reject giving anything close to accurate colours.
Negative Lab Pro (NLP) has probably been the go-to solution for scanning colour film negatives for a few years now. I’d played with the trial vesion before but not been any more satisfied with the results than from Grain2Pixel, so never paid for the license. Last week though, I decided to have another go. This time I spent much more time understanding how it worked and, lo-and-behold, after RTFM’ing I got much better results. After playing with the 12 free conversions that you get with the trial version, I decided to bite the bullet and put my hand in my pocket for the full version.
This week I’ve been scanning a variety of negatives, using Vuescan to create a RAW DNG file of the images, and then converting them in Negative Lab Pro. I’ve mostly been happy with the results – particularly some Portra 400 negatives that I’m very pleased with (see examples below).
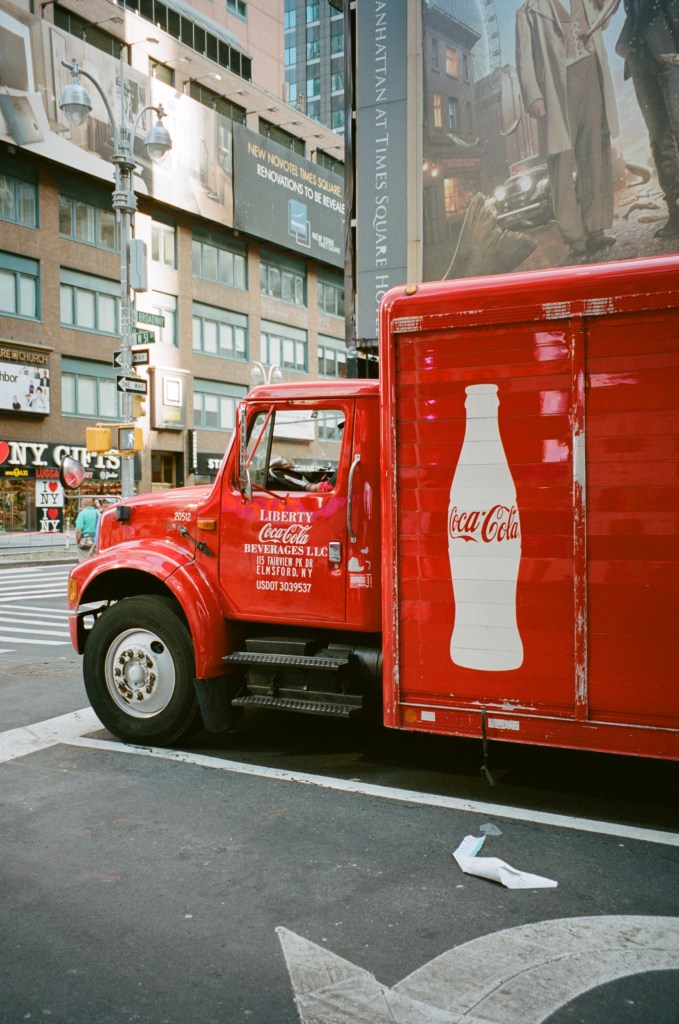
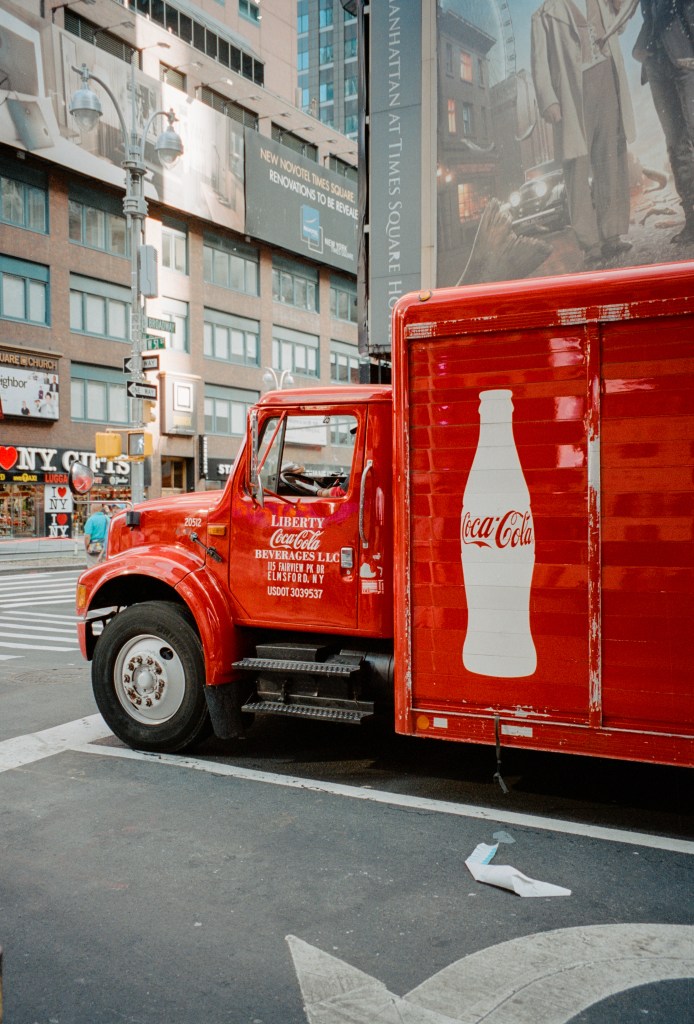
This is a Noritsu lab scan of a 35mm Portra 400 negative.And this is my Plustek 8100 scan, converted in Negative Lab Pro (with a few minor lightroom tweaks to add a touch more contrast). It has considerably higher resolution than the lab scan.And, for the sake of completeness, this is the unedited scan straight from Negative Lab Pro (althougth I obviously made tweaks during the actual conversion process).
However, I’ve spent most of my time playing with a set of Portra 160 negatives that were exposed about a year ago and which I had been unable to get results that I was truly convinced by. Grain2Pixel didn’t give me the results I wanted, nor did Vuescan, and it was my old friend EpsonScan that had given me the best result (although still not good results). So. I’ve re-scanned the negs, got the RAW DNGs, and been messing with them in NLP. The good thing about NLP is that it’s non-destructive. I can un-convert the original file back to a negative and re-convert it using different settings. This gives a lot of scope for experimentation to get a look I’m happy with. I’m still not sure I’m there with this roll of film yet, but I’m happier than I was before.
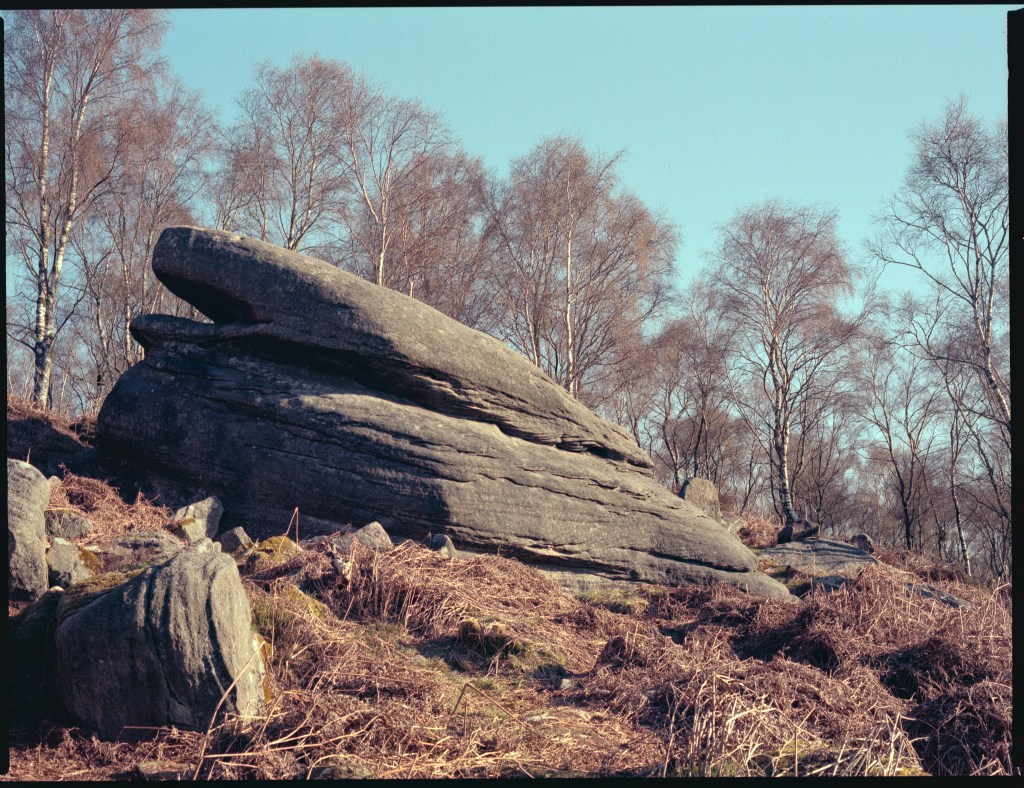
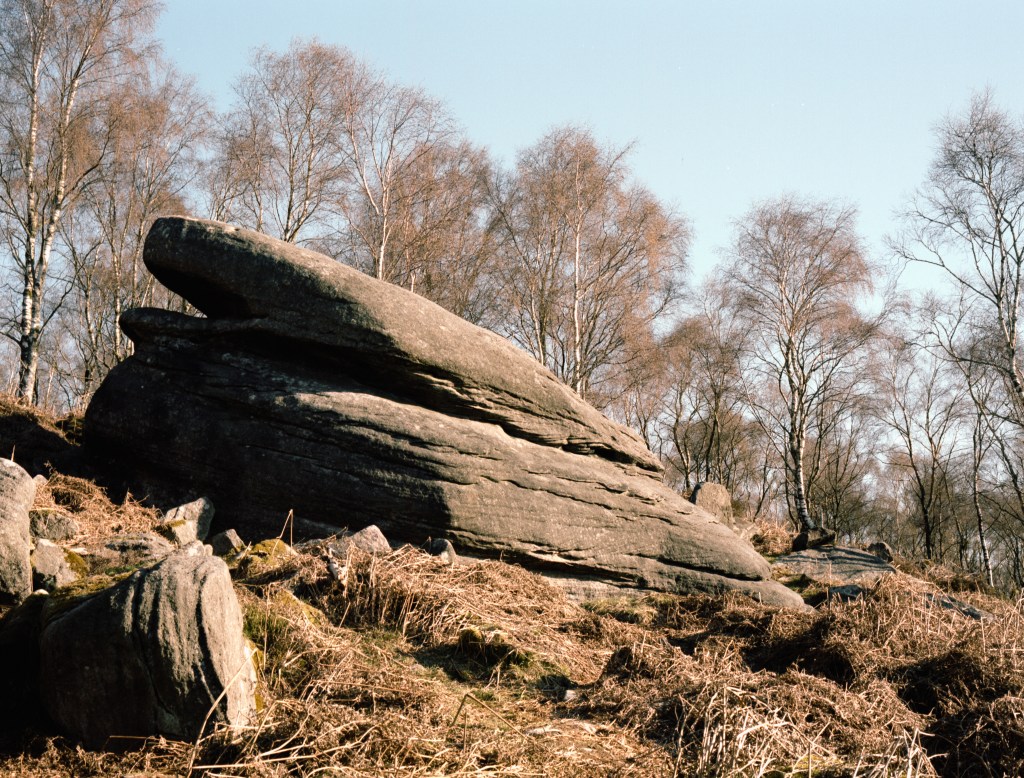
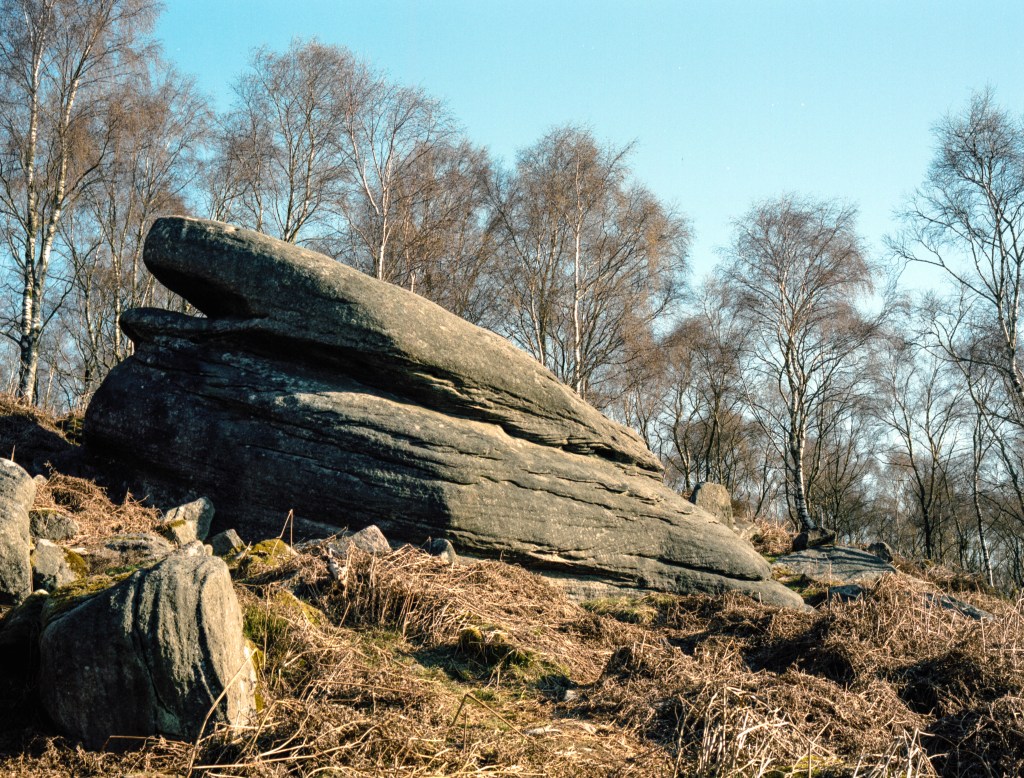
The first shot on the roll was the one that gave me the most headaches – a photograph of a large gritstone boulder in front of some silver birch trees, lit my bright early morning light. The Epsonscan result looked wrong – all cyan and brown, but not in a subtle way. The first NLP version looked better intitially, although maybe still not right. My second attempt with NLP using a different scanner profile and different tweaks was much better though. Here are the three versions (so far!):
My initial Epsonscan attempt. It looks off. Admitedly, more tweaking in Epsonscan might fix this, but it was beyond my talents and patience.The first Negative Lab Pro attempt. Better, but still not right.My latest Negative Lab Pro attempt. I’m not saying it’s perfect, but this one feels much more natural to me.
I think, at the end of the day, I’m never going to get a “perfect” set of colours. There are too many variables at stake. What I need to do is nail a workflow that allows me to get colours that I like on a consistent basis. I think that this is the most difficult part of all, but the journey continues. Now I plan on re-scanning a bunch of different film stocks to see how NLP compares with my earlier scans. Maybe another post at some point…
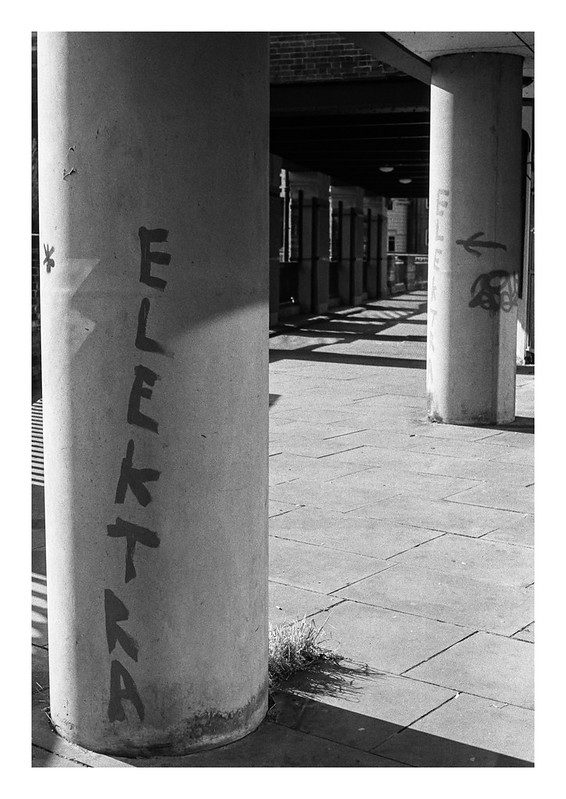
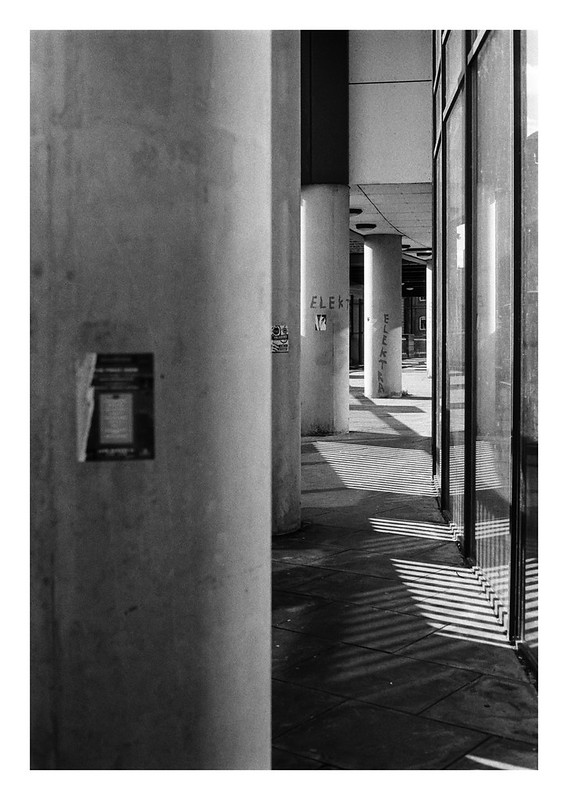
Sandwiched between the River Don and Blonk Street is the I Quarter (formerly Hancock & Lant) Tower. I’m not sure where the I Quarter name comes from – maybe the developers? – but Hancock and Lant was a furniture store established in the 1930s that used to have its showroom in the same location. They moved address at some point to, I believe, Queen’s Road, but I’m not sure if they are still trading.
The access to the store was via a very narrow road that ran between the building and the river, with a small area where, if you were lucky, you could find a parking space. I say road, but that doesn’t really illustrate just how narrow it was for vehicles, and there was always the fear of getting trapped down there as there was no way that anything other than a bicycle would have been able to squeeze past any othe vehicle. Today’s photographs show this location, although it is no longer accessible from this end by motor vehicles due to the concrete support columns of the I Quarter building.
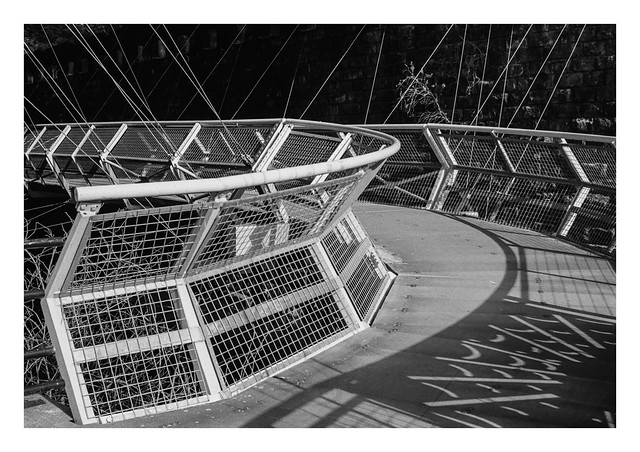
I guess that, if you’re afraid of arachnids, the Spider Bridge might not sound all that appealing. There are a couple of huge spiders there too, lurking in the shadows above the walkway (out of shot), but they’re made of metal and don’t actually move about all that much (unless they sense fear!!!). There are probably hundreds of other, normal spiders on the structure too, as there are on pretty much any structure, but they won’t harm anyone and will probably remain completely unnoticed unless you go loooking for them.
The Spider Bridge forms a part of the Five Weirs Walk in Sheffield, carrying the footpath along a suspended section – which looks like it’s hung by thick strands of web – under the arches of a disused railway viaduct with the dark waters of the River Don flowing beneath. When there has been heavy rainfall, and the river is in spate, I expect that walking this bridge might be quite an exciting experience!
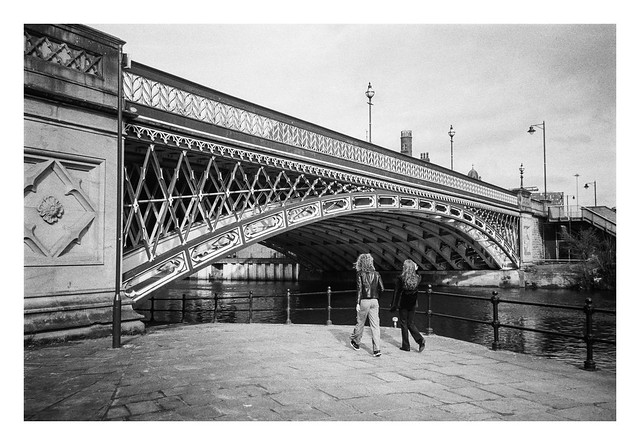
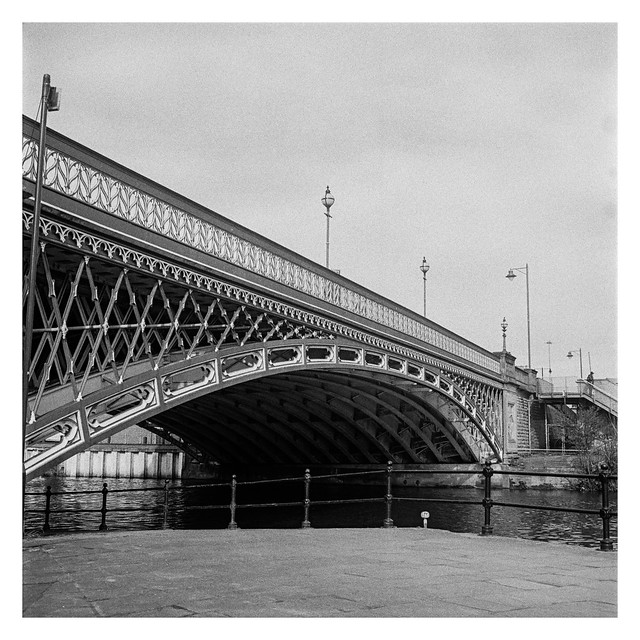
A quick post today, but beefed up with three photographs rather than the usual one. All three were taken at Leeds Dock beside the Royal Armouries museum (after I left the museum).
This is the same bridge that featured in yesterday’s post (and also the post about Retropan 320 the day before).
This is my favourite of the three pictures – the wider angle and format shows more of the bridge’s structure than the 6×6 Yashicamat photo did, plus the people in the shot are well placed in the frame, have well timed gait, and also similar hairstyles, all of which contribute I think.
I’m pretty happy with how this picture turned out. It was a spur-of-the-moment effort quickly taken when I spotted the girders and their reflections as I walked beneath this bridge over the River Aire in Leeds.
Apart from framing the photo as I wanted, my only real concern was that there might be some camera shake due to lack of light and my inability to control shutter speed or aperture on the little Olympus XA3. There was a railing just out of frame and so I leant on that to give a little extra stability. I was happy to see that the shot came out well, and better than I actually anticipated.
A while back – last year I think, although it could have been 2020 – I got in touch with the film manufacturer Fomapan. I’d had some issues with a batch of Fomapan 100 that I’d bought which was resulting in a lot of small white speckles on the scanned negatives. This wasn’t dust, but some problem with the film that was becoming apparent when it was developed. A bit of reasearch online produced a number of other reports of the same probleM, some with the same batch number as the rolls I had, so I got in touch with the company to ask if they could do anything to help.
They provided some instructions on how the issue with the problem batch might be addressed, and confirmed that there had been an issue with some rolls of the film that had been produced. Unfortunately, I didn’t have any luck after following the special instructions and the next roll still showed the same speckles, albeit slightly lessened. In addition, Fomapan also sent me a few rolls of film to recompense me for my troubles, some Fomapan 400, and also a roll of Retropan 320.
I’d never shot Retropan before so was curious as to what it might produce. Unfortunately, thanks to the pandemic and various lockdowns, the film languished in the freezer for quite some time, awaiting its day in the sun. That day came a few weeks ago when I took a trip to Leeds for the day with my wife and her sister. They hit the shops while I went off to make photos (and also visit the Royal Armouries museum). I burdened myself with choice on the day, having three film cameras, plus my little Ricoh digital compact. The film cameras included the Yashicamat 124g (with the Retropan), my Olympus XA3 (with some HP5+), and the newly acquired RETO Ultrawide & Slim (with some Agfa Vista Plus 200 – some of the shots which have already been seen here on the blog recently).
I wasn’t massively enthused about shooting the Retropan, even though trying a new film usually means at least some excitement is to be had. Most of the photos I’d seen online from other people had a bit of a flat look about them, which isn’t something I tend to favour. I also looked into what speed to shoot the film at, having had issues with underexposure when shooting other Foma films at box speed in the past. The general concensus was to overexpose it by at least a stop, with one person suggesting that 80asa was the sweet spot. In the end I opted to shoot it at 125asa and develop it normally.
The experience of shooting the film went without hitch, and developing was likewise straightforward. The film felt quite thin, but went onto the spiral without any problem. As with other Foma films, I pre-washed it before developing and got the usual witches brew of green liquid when I poured the rinsing water away.
The photos are actually quite nice. Not the look I tend to go for, but there’s something there in the tonality that I find quite pleasing. There’s lots of grain present, but also good detail, and using my usual post-processing settings as a starting point soon got the scans where I was happy with them.
So, would I buy a roll with my own money and shoot it again? Honestly, probably not. I’d go for one of the other Foma line instead. But I wouldn’t turn down a roll that came my way for free. 🙂
I had a longer post planned today about my experience with a film stock I’ve not used before but, as time is ticking on and I have that chilled out Friday feeling, I think it will have to wait until the weekend.
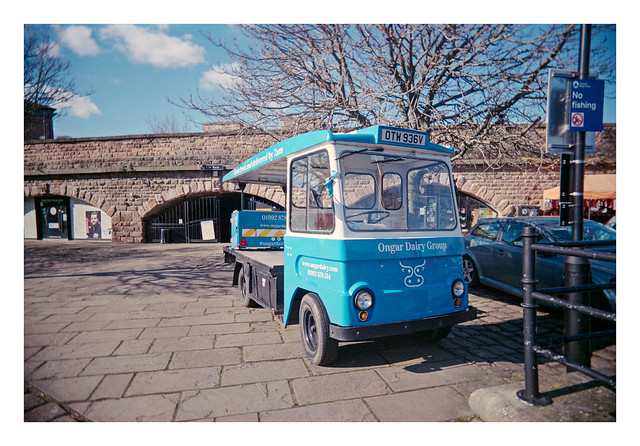
Instead one of my shorter form posts, this time with another of the RETO Ultrawide & Slim pictures from my first test roll.
When I was young most people would have their milk delivered by a vehicle similar to this. Electric powered milk floats whirring around the early morning streets, crates of glass milk bottles clinking about on the back, stopping for the white-coated “milkie” to deliver each home’s order to the doorstep where it would wait to be fetched inside. Sometimes, on cold days, the milk would freeze and the foil tops would be pushed off the bottles by the expanding ice. Sometimes greedy birds would peck at the foil to get at the rich cream at the neck of the bottle (none of the homogenised stuff that we get today back then).
Reto Ultrawide & Slim & Agfa Vista Plus 200. Lab developed.