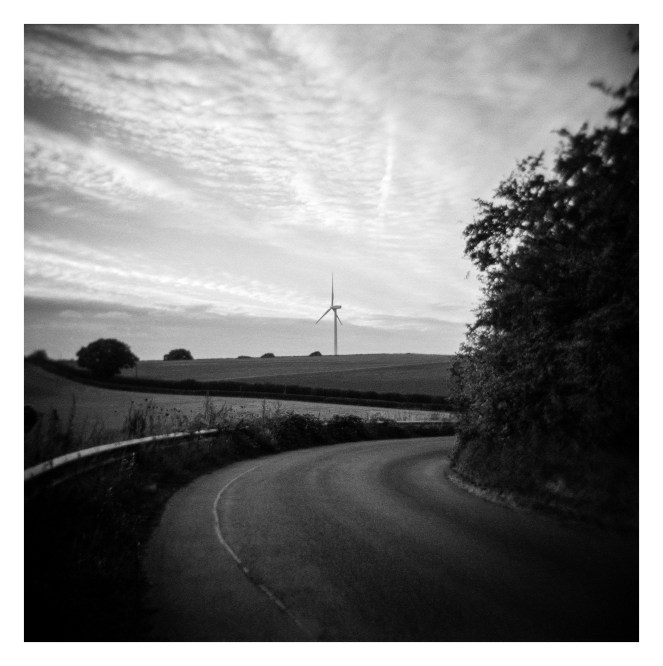
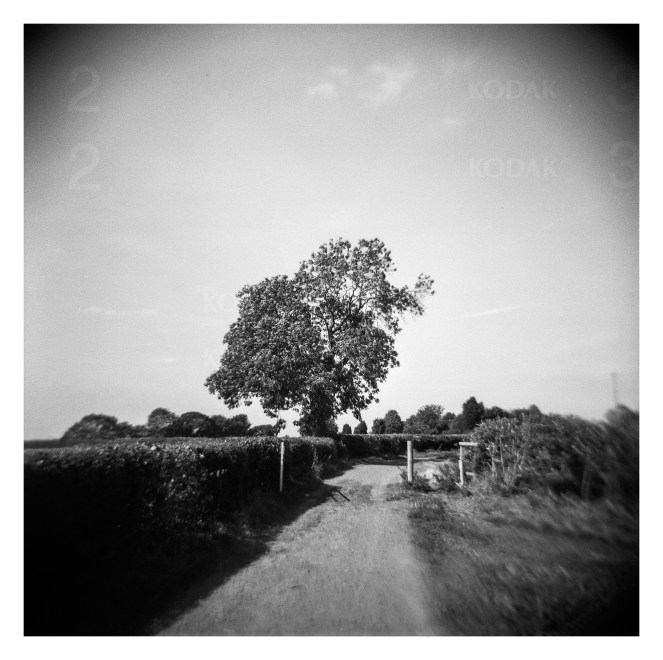
This is a place I’ve shared a photoof previously on my blog – back in January this year.
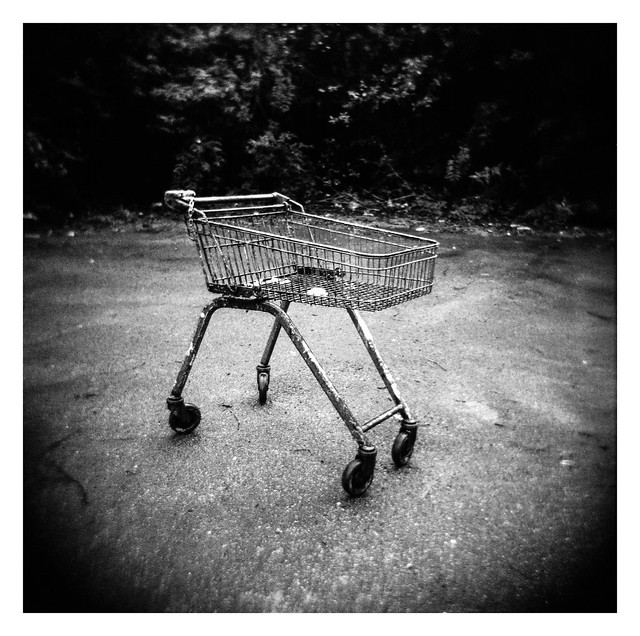
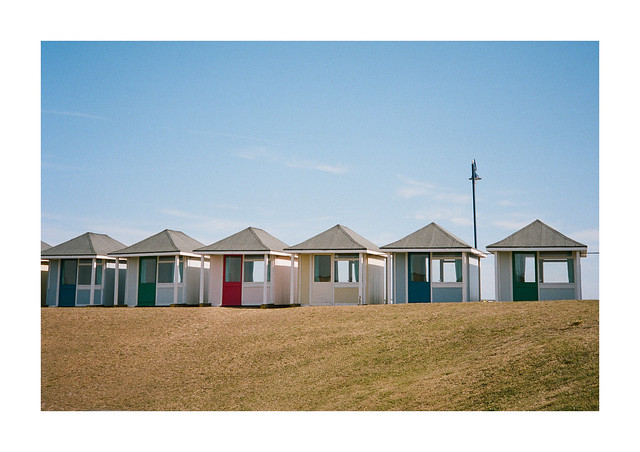
Here it is again, taken a week or so back. The Holga is significantly less sharp than the Zeiss Mess-Ikonta that the earlier photograph was taken with, but they both have their charms.
I don’t really have a lot to say about today’s photo. I spotted this abandoned shopping trolley as I was walking back towards Meadowhall after my canal-side walk that I posted about yesterday. It was stuck in the bushes at the edge of this small Tarmac covered area and covered in dirt. I moved it into the clear to get the photo (I returned it back to it’s home in the bushes afterwards though. Unfortunately, and to my dismay, getting some of the afforementioned dirt on my hands in the process).
When my wife decided she wanted to visit Meadowhall (the big shopping mall in Sheffield) and asked if I wanted to come, I agreed. My real motive, however, was to let her look in the shops while I would explore the section of the Sheffield and Tinsley canal which passes close to the mall.
The canal itself is only a few miles long in its entirety, terminating at the wharf in Sheffield city centre. I’ve walked along the canal on a number of occasions, but never here at the oposite end to the wharf (close to where it enters the navigable section of the River Don).
The canal is very much in the industrial vein, traversing the heart of Sheffield’s east end – once an area dominated by factories and steelworks, but not so much these days – with little in the way of bucolic scenes (although there are a few relatively tranquil sections).
As the day was grim, overcast, and prone to rain, I decided to take the Holga and some expired film (images 1-5 on Tri-X [the final roll of the batch with the backing paper bleeding through], 6-8 on Tmax 400).
This first photgraph shows the view looking north-east just after the point I joined the towpath. The structure in the scene is the Tinsley Viaduct, where the M1 motorway crosses the Don Valley.
The section of the canal at Tinsley has numerous locks. Although the route of the canal is pretty flat, it’s interesting to note the actual drop in height that necessitates lowering the canal to the point where it joins the river, a fall of approximately 50 feet. The River Don is only around 15 feet lower than the canal where it passes close to the wharf back in the city centre.
A close-up of one of the lock gates:
I think I might re-visit this section of the canal if I can get there in misty conditions, maybe as the sun begins to break through. It could make for a nice photo.
The odd bit of more traditional beauty occasionally shows itself amongst the industrial surroundings.
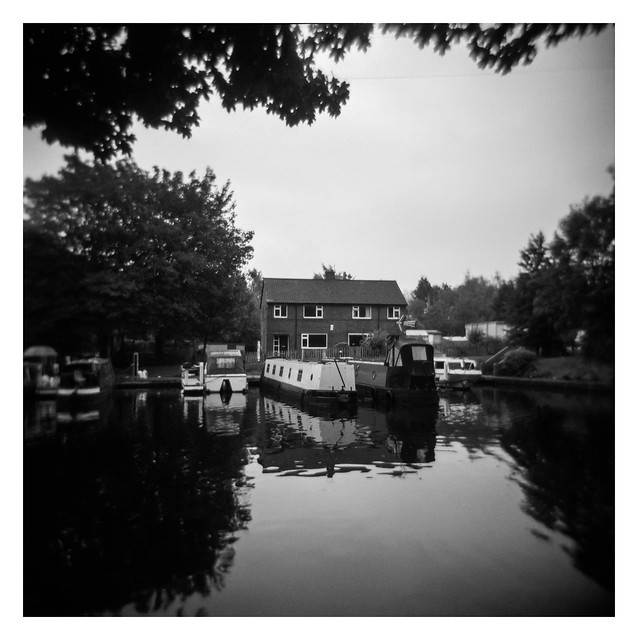
This lock and footbridge is directly below the marina area.
I’m not sure if these are lock-keeper’s cottages (or if the word “cottage” would really apply here :)), but they are right on the marina area.
And this next picture is of the main marina area. Most canals in the UK are given over to leisure activities nowaday, whether that be pleasure-boating, canal-boat holidays, angling, or just walks along the towpaths. A lot of British canals, when they fell into disuse as the railways took over transportation of heavy goods, went unmaintained and gradually became silted up. Many of these have now been restored, or are in the process of restoration for recreational purposes.
It’s interesting to imaging how this marina might have looked in its height of commercial use back in the 19th century, with barges laden with industrial goods and the atmosphere thick with the smog of coal-driven, steam-powered heavy industry.
A couple of shots of Mablethorpe Rock, a shop that has been there as long as I can remember (or perhaps mis-remember).
Rock is one of those great British seaside traditions that is still going strong today – although, personally, I don’t really like the stuff – it’s overly sweet, sticky, and feels like it will rot the teeth right out of my head as soon as I touch it.
For those not in the know, rock is basically sticks of boiled sugar. It traditionally has the name of the resort you buy it from cleverly running through the length of the stick – something that is done by adding pieces of different coloured sugar to form the individual letters during the manufacturing process while the substance is still soft and malleable – as can be seen in this film from 1957. As well as sticks, you will also find it shaped into all manner of other things – a cooked English breakfast formed out of pure sugar and served on a paper plate is another firm favourite.
Rock comes in a variety of flavours, but plain sugary-sweet, and peppermint are probably the best sellers. The fruit flavoured ones are best in my opinion (if forced to choose), but you can now find all manner of exotic varieties, including such culinary horrors as Tikka Masala flavour!
My favourite part about receiving a stick of rock – it was a traditional gift brought back when someone had been on holiday – was the little black and white photo of the resort that would be inside the clear plastic wrapper. Thanks to the miracle of modern technology, these photos are now in colour.
As you can see from the bottom picture, the shop also sells ice cream, so I had one of those instead.
Sometimes I make photographs that I like for obvious reasons. Maybe it’s the composition, the light, the subject, place or whatever. Sometimes though, I make a photograph that I like for reasons that I can’t quite put my finger on. Obviously there must have been something about the scene that caused me to take the image in the first place – these aren’t just random, shot from the hip accidents.
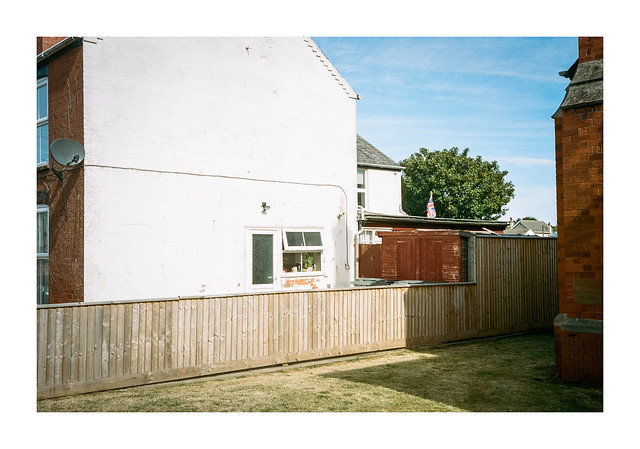
Todays photo is one such picture. I like it a lot but can’t put my finger on the precise reason(s) why. I guess it could be the way the scene is lit – there are plenty of shadows in the scene, but they’ve been lent a subtlety by the white painted gable-end of the house acting as a giant reflector and this has created some nice lighting. Maybe it’s the colours – it’s got a bit of that blue and orange thing going on, which is nice. The composition is ok – the tree in the background is nicely placed and the green pops in the scene. Or maybe it’s just little details – the satellite dish, the plants in the window, the garden shed with the barely-visible bins in front of it, or the flag.
Or maybe it’s just a combination of all these things that appeal specifically to me and my brain just said “Yep! That’s a nice photo!” and so I clicked the shutter.
It’s one of those images that I suspect many others won’t really take to, but it fires some circuits in me, and I’m even wondering what it would look like as a print.
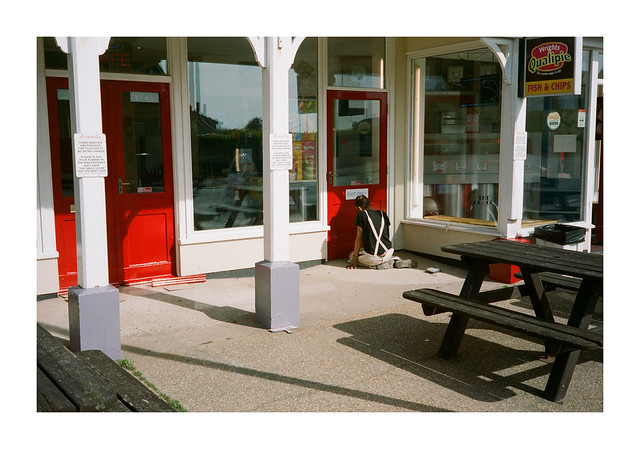
It was mid-morning when I took this photograph and the fish and chip shop had not yet opened for business (although there was a man off shot to the right who appeared to be making preparations to do so). Prior to opening some maintenance was taking place, giving rise to the gloriously saturated red doors in the image. These reds, along with the morning light (and subsequent shadows) and the lone painter busy at work, are what attacted me to make the photograph.
These chalets sit along the promenade, just south of Mablethorpe town centre and behind Queen’s Park – which is where I stood to take this photo. It’s almost the same spot where I made the photo of the crazy golf course that I posted about a few days back, which is behind where I was stood when I took this shot.
I’ve got an older, digital photo of these chalets on my Flickr stream too – that one shot on my Nikon D3200 and 18-55mm kit lens back in September 2015.
I shot this whole roll of Portra 400 at 200asa and really like the way it’s handled the tones, with lovely cornflower blue skies while still keeping a good deal of pop in the primary colours.
This is the first review of a camera I’ve ever written for this blog (or, indeed, anywhere else for that matter). I’m not a professional gear reviewer and there are doubtless more thorough reviews available where it comes to technical specifics, camera history and so on, so this is mostly going to be my own personal opinion of the camera based on my experiences to date.
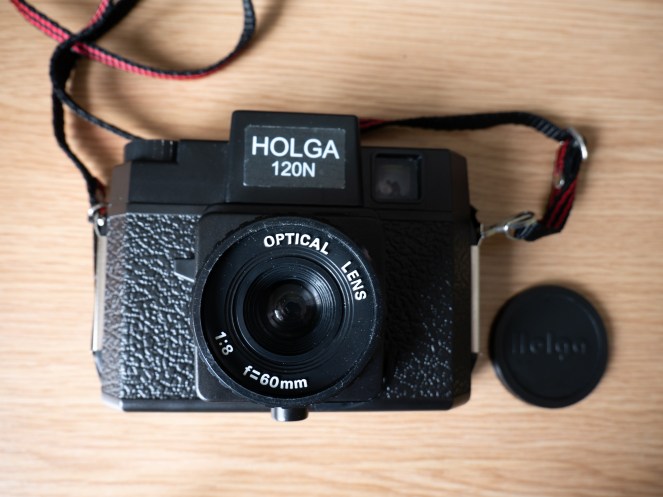
The Holga 120N. Look at those tech specs – an “optical” lens!
A bit of history
The Holga was designed in China back in 1982. Because 120 roll film was the most widely available type of film available in the country back then, the camera was designed around this format and it was intended as an affordable mass-market camera for the home market. Unfortunately, the growth in adoption of 35mm film and the wide availability of imported 35mm cameras and film into China soon resulted in 120 film use being all but eliminated there.
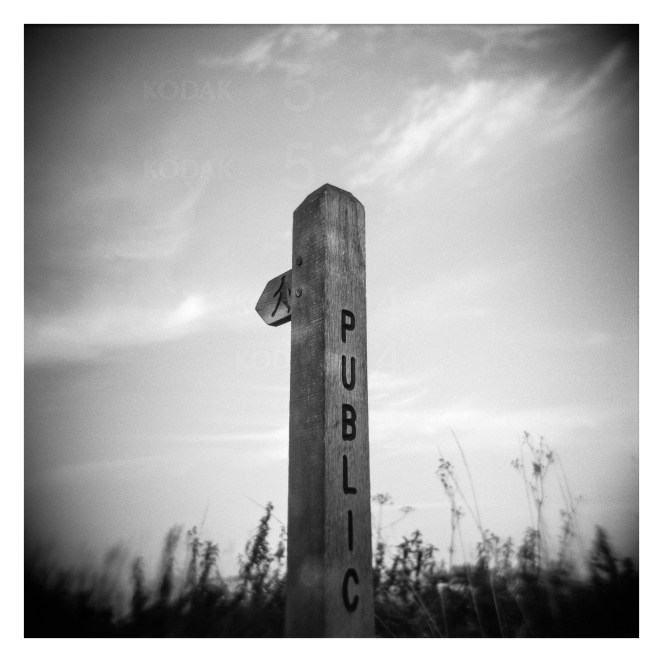
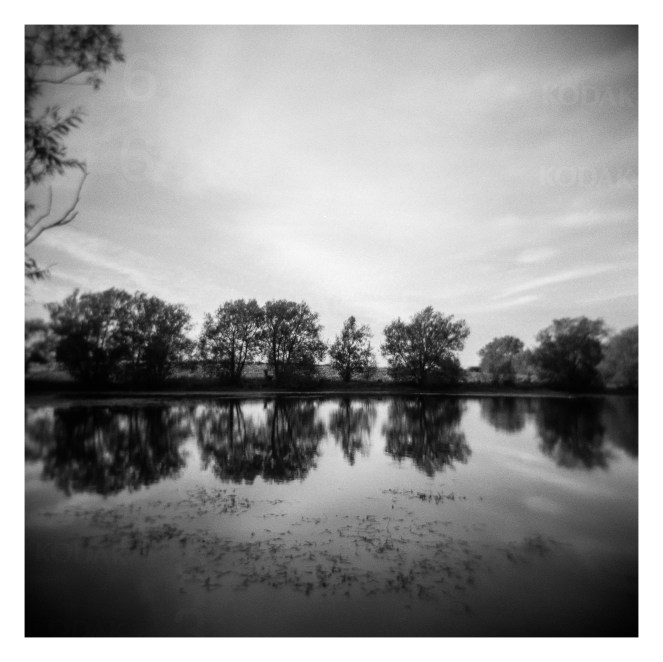
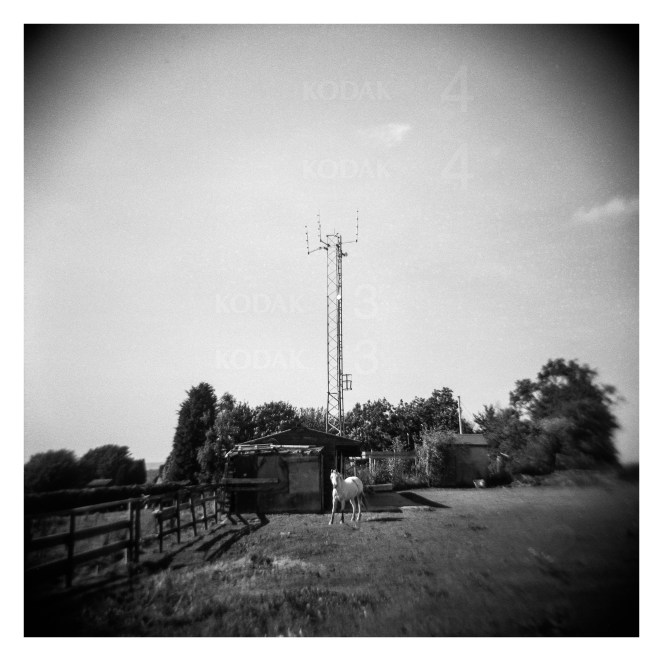
You may be able to spot some writing on ths (and other) photos in the post. This is due to the rolls used being froma faulty batch of Kodak Tri-X on which the backing paper details would bleed through onto the negatives. I believe Kodak did a recall when they discovered this, but I bought these second-hand so was stuck with them. They perhaps suit the Holga anyway, I think. 🙂
Holga’s manufacturer thus sought new markets outside China. Despite its very basic design and featureset, some photographers became attracted to the results the camera produced, placing value on the somewhat surrealistic, low-fi photographs it could produce and it gained a place for itself. The camera continued to fill a space in the market for a number of years, especially as a new-found appreciation of film photography took hold. The camera did end production in 2015, but demand has led to manufacturing recommencing and new Holgas can still be bought to this day.
The specs
This review is of the Holga 120N – the most basic model currently available (although still an upgrade from the earlier 120S model). There are a variety of other models offering various upgrades such as built-in flash, coloured flash gels, glass lenses etc. There are also 35mm, pinhole and TLR varieties too. Perhaps inspired by the success of Instax cameras, a range of colours is now also available to complement the original black.
The camera body is almost entirely made of plastic. Not expensive, high-grade, impact resistant plastic or anything fancy like that though. It has the feel of a cheap children’s toy (it is, after all, often described as a “toy camera”). The only metal parts that are present are, as far as I’m aware: the clips that hold the back to the camera (and to which the strap can be afixed); a small, basic spring that triggers the shutter blades (although I’m not sure about the shutter blades themselves – they could be metal too); a flash cold-shoe atop the camera; and a tripod adapter. Everything else is plastic, including (on this model) the lens.
The camera allows photographs to be shot in 6×6 or 6×4.5 aspect ratio, giving 12 or 16 shots respectively. This is controlled by fitting one of the two plastic masks supplied with the camera as required. These slot into the camera before the film is loaded and can’t be changed between shots on the same roll.
The lens is a simple uncoated meniscus design with a focal length of 60mm which is around 33mm in full-frame terms. Focussing is managed by a simple zone-focus system with a series of icons on the lens barrel denoting subject distance. There are four icons representing distances of 1 metre (3 feet), 2 metres (6 feet), 6 metres (18 feet), and 10 metres (30 feet) to infinity. The lens vignettes significantly, and has very noticeable drop-off in sharpness as you move away from the centre. The centre is reasonably sharp, but no match for an even halfway-decent lens.
The camera has two aperture settings, controlled by a switch atop the lens. f/8 – denoted by a sunny symbol, and f/11 – denoted by a cloudy symbol. On earlier models this switch did absolutely nothing, both apertures being identical. Mine, however, does work, although I’m not going to bet my life on the accuracy of the settings.
The shutter has a couple of speed settings, controlled by a small (and in my camera’s case, loose) sliding switch beneath the lens:
N – Which I presume stands for “normal”, which is supposed to be 1/100 sec, but could be anything from 1/60 to 1/125 depending on manufacturing tolerances. As the shutter is controlled by a simple spring, it’s likely that the shutter speed will gradually drift over the lifetime of the camera as the coil loses it’s tension through use).
B – Bulb setting. As the camera has no cable-release mechanism, this has to be controlled by holding the shutter lever in place manually. Even mounted on a tripod, this is likely to introduce some camera shake.
The shutter release is a simple lever to the right of the lens.
Film advance is controlled by a ratchetted dial on the top-right of the camera. There is no multiple-exposure prevention on the camera, so it’s possible to expose the same frame as many times as you like (or by accident!).
Film advancement is also governed by a red window on the rear of the camera. This has a sliding switch which should be set to 12 or 16, depending on the aspect ratio you have chosen, revealing the correct set of frame numbers on the backing paper.
Using the camera
To load the camera with film, the back is removed by releasing the two sliding metal clips at either side. Before loading the film, you can choose to change the frame mask if required, which are held in place by a simple plastic clip at either side and are pretty easy to change. The fresh roll of film is fitted in the left compartment of the camera. The mechanics are simple – a small plastic peg to slot the top of the reel onto. There is no peg at the bottom of the reel and tension is maintained by a piece of foam rubber at the back of the compartment. The film is then attached to the take-up spool at the other side of the compartment (which has a similar single-peg / foam rubber arrangement – the only difference is that this peg is shaped to allow the film to be wound). After attaching the film, wind it on to check it is fitted correctly and then re-attach the back of the camera. You can now wind the film on until the first frame (1) is visible in the red window. It’s important that the slider on the red window is in the correct position or you will end up with a lot of wasted film or overlapping frames depending on the mask you have fitted (I speak from experience here!).
Once the film is loaded and you’re ready to take your shot, you should check that the shutter and aperture settings are correctly set. You can then focus using the distance markers on the lens. The shutter is triggered by pressing the lever. If you’re using bulb mode, you will need to manually hold the lever down until the exposure is finished.
Once the shot is taken, wind the advance wheel until the next frame number appears in the window on the back of the camera.
When all shots have been taken, wind the film on fully until you can no longer see the paper through the window. You can now remove the camera back and take out the exposed film.
Personal observations on use
Loading film is a little tricky. Although the process is a simple one, the flimsy plastic construction means that it can be difficult to get the reels of film in or out of the camera and there’s a definite fear that you could easily break something if you’re not careful.
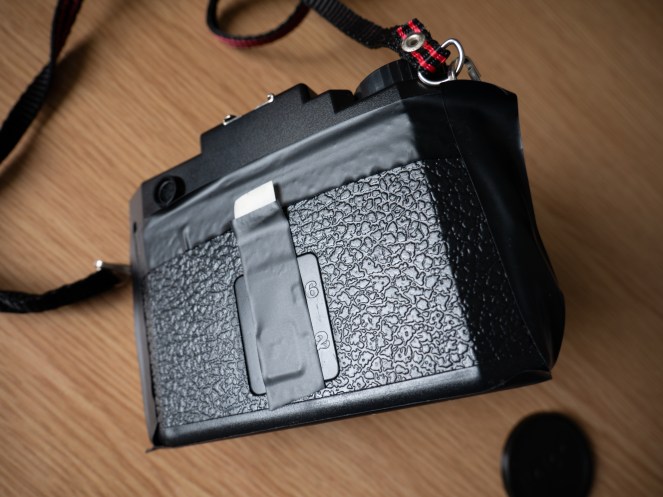
Making sure the camera doesn’t let in light (or fall apart!) is also important. While I did make a test photo when I first got the camera to see if it leaked light, and it seemed fine, I still don’t trust it. As a result I use black electrical tape to cover the seams where the back of the camera fits to the body. This tape also covers the clips at either side of the camera, giving protection against the back accidentally opening in use. I also use a piece of tape to cover the red film-counter window, only lifting it when I advance the film. Some people really like light leaks (and might even buy a Holga for this reason), in which case you can probably dispense with the tape – although I’d still advise some to hold the back on securely. There’s a difference between artistic light leaks and an entire roll of ruined film!
All taped up securely!
It’s also important to check that your aperture and shutter speed switches are set correctly. While getting the aperture wrong might not ruin your results, the overexposure and camera shake that can result from being in bulb mode by accident (as I managed to do for three whole rolls! – see here and here) are more significant. I’ve now taped my shutter speed switch into the N position to avoid further accidental long exposures.
Focusing the camera is straight forward enough. As long as you can estimate the distances within a reasonable margin of error then your shots should be fine. Like with any zone-focus camera, because you’re looking through a basic viewfinder, it IS easy to forget to do this and take a whole bunch of shots with the camera set to the wrong focal distance. Likewise, and while I’ve not done this myself (yet), it’s also a simple thing to forget to remove the lens cap and shoot blank frames.
The photographs
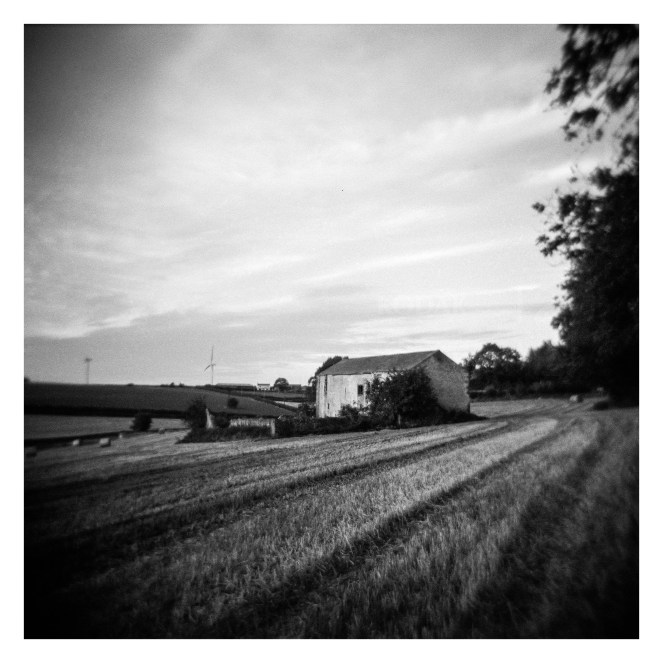
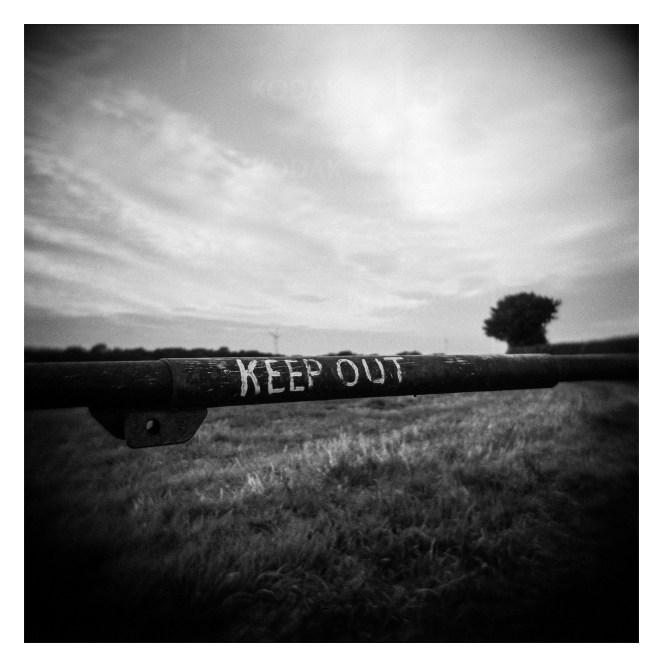
From a technical perspective, the Holga produces terrible photographs. They are heavily vignetted and only the centre part of the frame is sharp, and even then probably only “acceptably” so. From an artistic point of view, on the other hand, the Holga’s results can be beautiful. Their flaws can provide a sense of surrealism. The soft focus around the frame edges can give things an almost impressionistic air, with these elements taking on a soft, smudged, nostalgic look. The camera favours subjects being placed centrally, the eye being drawn to them due to the image imperfections.
Unless completely new to the Holga, I think most people buy into the “experience” that these cameras provide. The joy is to be found within the imperfections, not despite them, and learning how to make the camera shine is both challenging and rewarding. If you’re the sort of photographer who places a premium on image sharpness and equipment features / quality at all times then this camera might not be for you. If, on the other hand you can accept the camera for what it is, find beauty in imperfection, be prepared for the odd accident (or several!), and enjoy the hunt for subjects that the Holga can do it’s own brand of justice to, then it’s a pleasure to use.