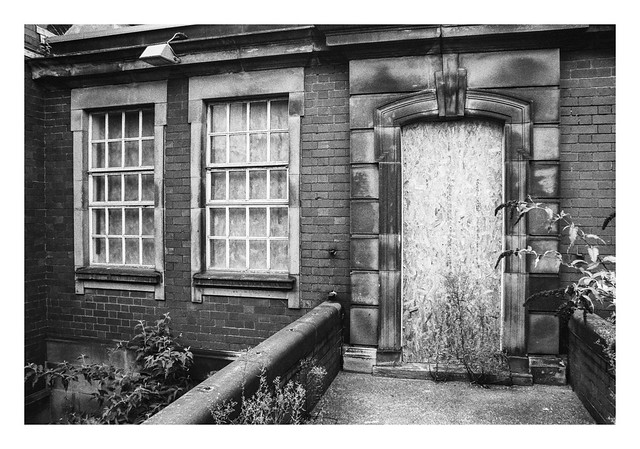
It seems like it’s almost the law that you must make photographs of launderettes if you see them. That, or petrol stations (often at night). So, taday I’ll share a photo of a launderette.
I can see the appeal though, there’s something interesting about the places. They often have a sense of faded glory about them, many of them having fallen away as more and more people bought domestic washing machines. There’s still a demand though, whether it be for full service washes, or when you need to launder a bulky item like a quilt that simply won’t fit in the machine at home.
I remember my mum taking me in a launderette on a number of occasions when I was little. It was fascinating place for a young boy, full of buttons, dials, coin slots, washing powder dispensers, and a long row of heavy-duty washing machines and tumble driers full of other people’s clothes spinning round-and-around. The air would be filled with the warm scent of detergent and fabric conditioner and, if I was good, I would get a hot-chocolate in a plastic cup from the vending machine mounted on the wall.
I think the lunderette in my post today probably does good trade. I expect that seaside towns, particulalry those with large camp and caravan sites, have a strong demand for laundry services.
In other news, I shot another roll through my Lipca Rollop II yesterday, this time with a makeshift felt skirt fitted to the lens standard to attempt to combat the light leak. Alas, it didn’t work, three frames show the same arc of light as before. Now I need to decide what to do with the camera – when it works (usually when focussing on items further away) the lens is sharp and produces very nice images. Unfortunately, despite this, the fault means I can’t rely on it fully. I’m not sure that I want to pay for a repair as I have another, fully-working, TLR anyway, so I might sell it on as a working, but faulty camera.
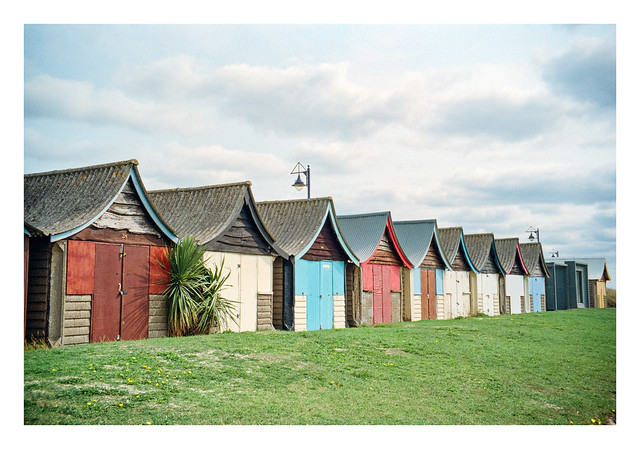
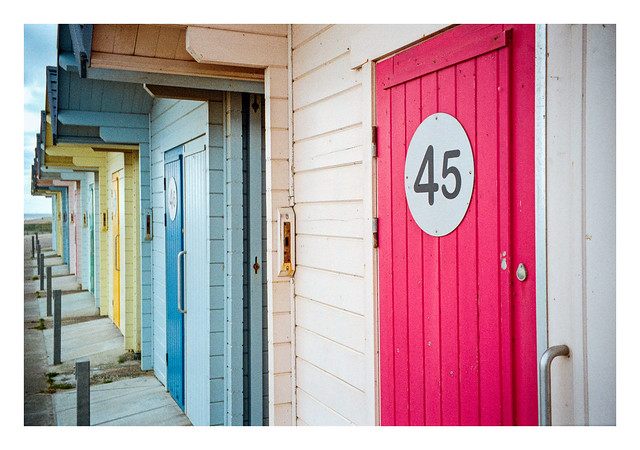
I’d wondered if I’m manage to make my annual trip to Mablethorpe this year. The lockdown of a few months ago had made it seem unlikely for a time, but as restrictions loosened, so it started to look like I might make the trip after all.
As I had a week off work in early September, I decided that would be my chance, so made the trip on the 11th. The weather was forecast to be partially sunny, but in the end was just bright, with a skein of high cloud that mostly removed any contrast and shadows, Not ideal for colour film, which I feel savours blue-sky days. Still, in a country like the UK you have to make the best of what you get when it comes to the weather. In the end though, these shots have come out quite well despite the conditions.
I took a bag full of film with me on the day. Well, around six rolls anyway. In the end, I only shot two-and-a-half of them though due to the light. Today’s photos were from a roll of Kodak Gold 200 that I’d already partially shot, but there will be some images on Ilford Delta 400 (better for the conditions I had) and, possibly, Portra 400 to come over the next few days too.
I managed to catch a little sunshine for this shot, as evidenced by the shadow cast by the palm. It required me waiting for some time with an eye on the moving clouds though, and the brightness was only fleeting.
The Lipca Rollop II. Portrait by Nikon F80, Sigma 105mm f/2.8 OS HSM, and Ilford HP5+ (@1600asa).
A year or two back I was given a box of old cameras, four in total. These included a Voigtlander Vito B. a couple of Soviet-era rangefinders, and a Lipca Rollop TLR.
I tested the Vito B with a roll of film not long after receiving it, but not a single shot was even close to being in focus, and I suspect someone had attempted to repair it at some point but then not correctly aligned the zone-focus lens when putting it back together. Both the rangefinders had aperture rings that were locked solid, so I passed those on to people who might hopefully be able to repair them and make use of the cameras.
The Lipca though, while a little dirty, looked ok – the only issue that stood out being some rotted light-seals in the film chamber – so I decided to hold onto it and give it a test. In the end it remained in a drawer for the best part of two years until, a couple of weeks ago, when I finally decided to try it out. But before I go into detail on that, here’s a little pen protrait of the camera…
According to Camera-Wiki.org, the Lipca company (short for Lippische Camerafabrik Richter & Fischer) was formed in Bartrup, West Germany, in 1947. The owners, Fritz and Charlotte Richter, and Karl Fischer had moved some of their equipment and employees from Tharandt, near Dresden, which was in the Soviet zone as they feared the factory would be expropriated. The new company was fully founded the following year.
The company was a small organisation with around 50 employees working in a close-knit family atmosphere. Their peak output was around 1000 cameras per month.
They produced a number of TLR models, starting with the Flexo in 1948. This was to be re-named the Flexora following a trademark dispute with Franke & Heidecke. There were three variants of the Flexora before a new camera, the Rollop, was introduced – this model using an injection molded aluminium body rather than the sheet metal of the earlier cameras. Three versions were produced between 1954 and 1962. The main difference between models was probably the film transport which started as a knob winder on the Rollop I. A crank winder was introduced on the Rollop II, and this crank was upgraded to also cock the shutter on the Rollop Automatic, the final variant. The Rollop Automatic also featured an Enna Lithagon taking lens, replacing the Enna Ennagon on the previous versions.
When the demand for TLR cameras fell into decline in the early 60s, Lipca tried to gain a foothold on the emerging 35mm market by selling re-branded cameras from King, and Franka. Lipca also manufactured other equipment such as binoculars,slide-viewers, and they carried out some production work in conjunction with Plaubel. After a move to a new site in Bad Nauheim in 1961, all camera production ceased in 1962, and the Lipca name was dissolved in 1972.
The model I have is the Rollop II, a twin lens reflex camera with a 75mm f/3.5 Enna Ennagon taking lens (replicated in the viewing lens). Both lenses have a filter thread. Shutter speeds range from 1sec to 1/300sec with a bulb setting for long exposures. Apertures cover f/3.5 through to f/22. Shutter speed is selected by rotating a toothed wheel mounted around the taking lens, aligning the required speed with a red arrow at the 12 o’clock position on the lens barrel. Aperture is chosen with a lever that rotates around the lower right section of the lens barrel, this needs to be pulled out slightly to change the setting as it latches into the teeth on the shutter speed dial. This latching mechanism means the camera has a simple but effective shutter-priority function. For instance, if the shutter speed is set to 1/125sec and the aperture to f/8, then rotating the shutter speed to 1/300sec will simultaneously change the aperture to f/5.6. Changing shutter speed to 1/60sec would change the aperture to f/11 and so on. The aperture can still be manually set if required.
The shutter cocking mechanism is a lever on the upper-right of the lens barrel, and the shutter lever resides on the lower-right. There is a threaded cable release point just above the shutter lever.
Also on the front of the camera is a sync socket. M and X synchronisation settings are available from a small switch on the upper left of the lens barrel.
The film is advanced by a crank mechanism on the right of the camera. This operates in a forward / return action, rather than full rotation. The handle of the crank is hinged and can be latched to prevent accidental advancement of the film.
The camera viewfinder is a standard ground-glass affair, but with a horizontal split-prism in the centre. A magnifying lens hinges out from the front of the viewfinder housing for fine focusing, and the housing also features a sports-finder.
The left side of the camera houses the focus knob with distance scale, the film reel release knobs, and a small screw that holds the film compartment closed. When partially unscrewed, this is pushed in to pop open the back of the camera. There is also a cold-shoe on this side of the camera.
There are a couple of latches for a camera strap on either side of the body, and the base of the camera has a tripod mounting socket and four small metal feet.
The first thing I did with my Rollop II was to give it a clean. The bodywork is in pretty nice condition, the leatherette is all intact and there are no significant marks anywhere, but it was a little scruffy. A soft cloth and some rubbing alcohol removed most of the surface dust and dirt without trouble. I removed the focus screen housing to give it a better clean and to allow the mirror and inside of the viewing lens to be cleaned with a dust blower and (for the lens) some lens cleaner. Both lenses were cleaned on the outside, and I then cleaned the inside of the taking lens while the camera was in bulb mode.
While the light seals looked in a bit of a state, I decided to leave them alone for the time being (they are partially covered by the film tension plate, and I could see no easy way to remove it to allow access) and just see how the camera would fare with a test roll of film – some Fomapan 100.
In operation, the camera was straightforward to use and gave no unexpected surprises. My only issue being that the focus screen didn’t have a lot of contrast and it was quite difficult to see depending on the light. Using the magnifyer helped though. I found the shutter release to be easy to use and think that this lever-type release is perhaps better for keeping the camera steady than the push-button release on something like a Yashica Mat 124.
I went for a walk around a local nature reserve and shot the full roll. I noticed with some surprise that the camera would still fire even after winding on from the twelth frame, so took another shot for good luck, not really expecting anything from it. I would be surprised…
I developed the roll of film in my usual Ilfotec DD-X and was pleased to see a negatives appear. One instant plus was that my extra shot had given me a thirteenth frame! It was right at the very end of the roll, and I ended up having to crop it afterwards because of marks caused when drying the film, but still – a bonus! This pleasant surprise was, sadly, marred a little by the unfortunate fact that around half the frames had very noticeable light leaks.
The lucky 13th shot. I had to crop it a little, and I’m not sure what has caused the circular mark at top-centre but, hey, beggars can’t be choosers!
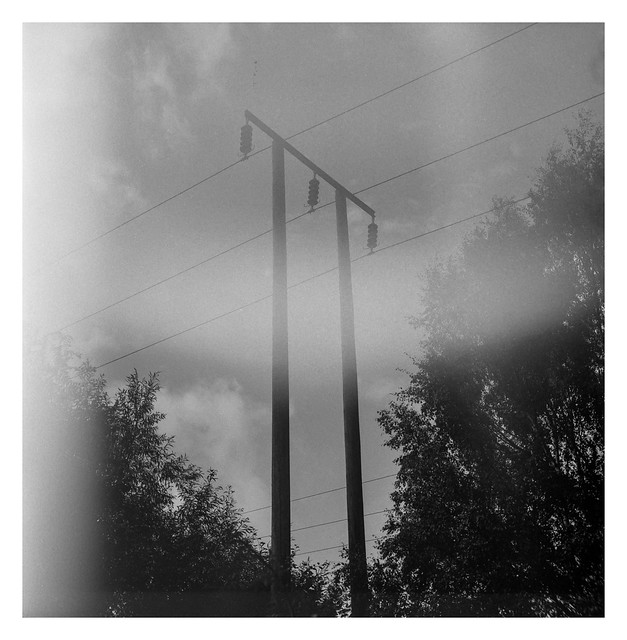
While some of the light leaks looked normal given the state of the light seals, many of the affected frames had an odd arc of brightness across the centre of the frame, as can be seen in the three photos below.
Based on these findings I decided to do what I could to replace the seals. With some degree of fiddlyness, I was able to replace the ones the were partially obscured by the film plate, along with the rest of the more accessible foam.
A few days later I took the camera out again, hopeful that my replacement seals would resolve the problems.
This time, when loading the film, instead of winding the crank four times as stated in the manual, I just wound it on three times hoping I would again be able to squeeze an extra frame from the roll.
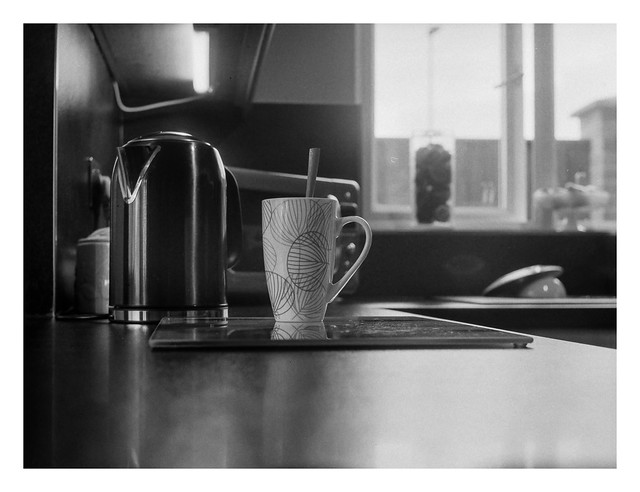
I again shot all (thirteen!) frames on a single outing, albeit the final bonus frame being a shot of a mug on the kitchen counter taken when I got home.
The second bonus 13th frame. Maybe not the best shot ever, but again – bonus!
This time, most of the frames were free from light leaks – all except one, again showing the odd arc-shaped mark.
There was also one completely blank frame where I think I accidentally wound the film on without firing the shutter!
I decided to look at the camera more closely, and wondered if the light might be coming from the lens, rather than the film compartment. I shone a bright light at the front of the camera and opened the film compartment. This revealed a feint glow coming from the edge of the taking lens. Further investigation also revealed that the front standard had a very small gap when focused closely (so that it was racked out as far as it would go). This explained why the leak only appeared on certain frames – those where the camera was focussed at or closer to infinity where unaffected as the lens standard was racked back to the body of the camera, closing the gap. Only the shots where I had focussed on closer subjects had the problem.
I don’t have the necessary technical ability to repair this properly, at least not without risking more significant problems or breaking it completely and, as the camera was a freebie (and I already have a working TLR in the form of my Yashica Mat 124G) I don’t really want to pay the price of a professional repair. I think I will give it another test though – I have an idea to attach a skirt of black felt around the racking mechanism using some tape which ought to block the light getting in where it’s not wanted. Maybe not elegant, but hopefully it will work. I guess I’ll find out before too long! 🙂
For the best part of the last two years, whenever I’ve shot colour negative film, I’ve sent it off to be developed and scanned. While I have the means to scan it at home, I was never satisfied with the colours I achieved using Epson Scan. I tried a number of other tools to see if I could improve my results and managed to do better with Silverfast for 35mm when I bought my Plustek scanner, but the images still didn’t look quite right. So I resigned myself to getting lab scans of all my colour negative stuff.
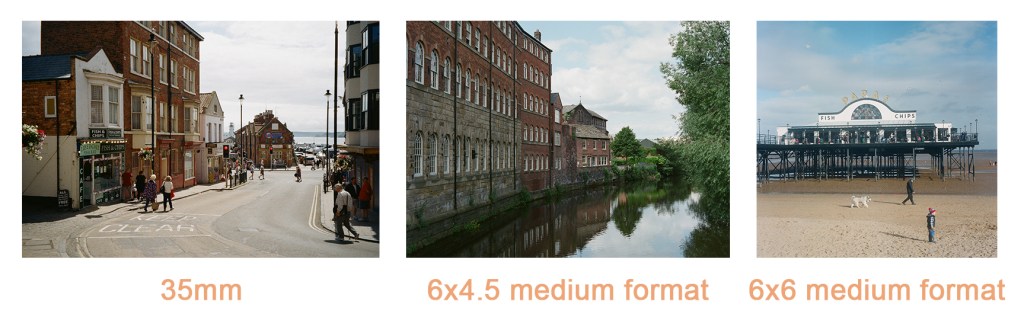
While I’ve been mostly happy with my lab scans, one point of frustration is the way they size the images. The labs I’ve looked at tend to offer scans in small / medium / large options which, on the face of it seems fine. However, what I came to realise was that a scan was based on a particular number of pixels on the short side of the image. This results in a bewildering situation where, for any given scan “size”, it seems medium format scans will be smaller than 35mm scans (or the same size, if shooting 6×9). This is clearly disappointing if you want to benefit from the added detail that medium format allows. The image below shows comparisons of three different image ratios and how the larger medium format images lose out when scan size is determined by the number of pixels on the short edge.
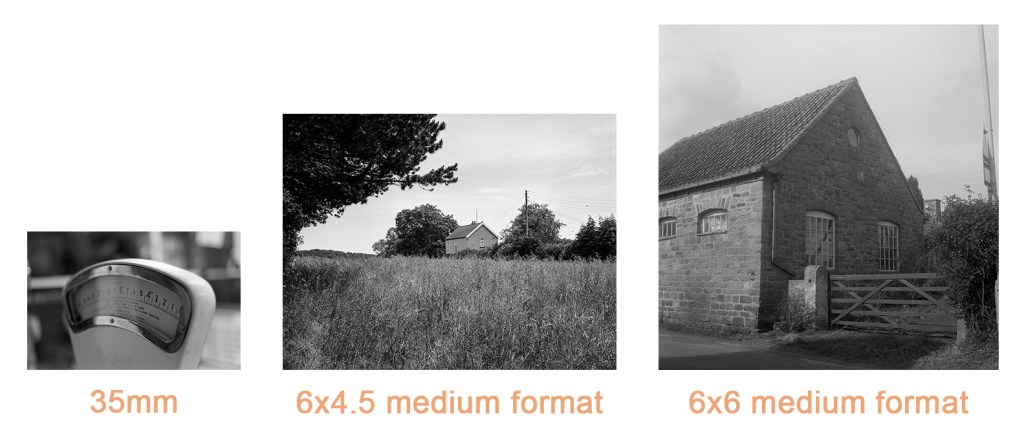
By comparison, when I scan at home I get larger scans for the larger formats, as can be seen in the example below with each image being scanned at a uniform DPI setting and not limited to a specific number of pixels per side:
This discrepancy in image sizes made me want to home scan my negatives. While I don’t think my Epson V550 or Plustec 8100 really compare with the abilities of something like a Noritsu of Fuji Frontier, the ability to control the settings means I can get much more detailed results than what the labs I’ve tried will supply. While I’m sure that there are labs out there who will provide higher resolution scans, many of them also charge a considerable amount for the service, putting them out of my price range unfortunately.
I’d seen very good word of mouth over the past year about Negative Lab Pro, but that costs in the region of £60, which isn’t something I want to pay right now (although I’ve been tempted), so it was with interest when someone alerted me to a new Photoshop plugin called Grain2Pixel recently. Grain2Pixel is used to convert negative scans to positives and is currently free of charge (although I believe a more feature packed version is in the works which will require payment).
In order to use the plugin, you have to make linear scans of your negative, e.g. it still looks like a negative after scanning. The plugin accepts TIFF and DNG files, so you can scan with a digital camera if you like. Once launched in Photoshop, you select your scans via the plugin’s interface, choose any settings you want to apply such as automatic colour correction, and then run the process. The process is straightforward and you can convert individual images or a batch.
I’ve tried a number of different film stocks with it and have been getting good results on the whole. Some that I’ve tried, such as Kodak Ektar and Kodak Portra 160 have looked great directly out of the plugin. Some others have been a little more tricky – Kodak Gold 200 and Kodak Portra 400 seem to have a blue / cyan cast no matter what settings I use. Despite this though, the results are still good and I am able to tweak the results further in Photoshop or Lightroom to get results I’m usually very happy with, with the extra benefit of having much higher resolution images.
The plugin can be found, along with instructional videos, here: https://grain2pixel.com/ There is also a Facebook group for the plugin which gets regular traffic and is useful if you need help.
All three of todays photos have used Grain2Pixel for initial conversion. I’ve then tweaked the results in Lightroom to add additional contrast etc. They were scanned on my Plustek Opticfilm 8100 using Vuescan to create the linear TIFF files.
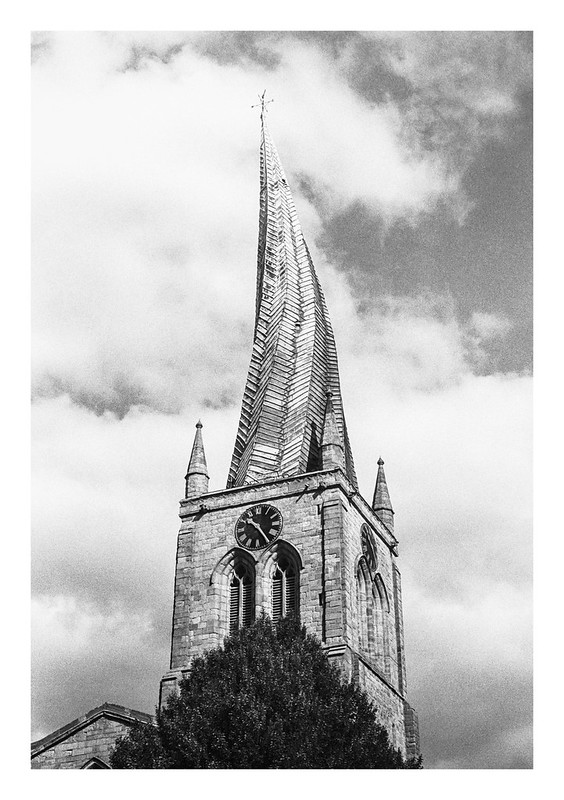
As I’m still top-and-tailing my camera review post (it’ll no doubt be a crushing disappointment after I’ve carped on about it so much over the last week or so…) so I’ll drop in a few photos I took inside St. Mary and All Saints church in Chesterfield a couple off weeks ago. This is the church famous for it’s crooked spire, a phenomenon believed to be caused by uneven heating of the lead in the stucture by the sun. While I’ve made a number of photos of the spire and outside of the building in the past, I’ve only ventured inside on two or three occasions – including this one.
I quite enjoy making pictures of the artefacts and ephemera within churches. Theres a wonderful sense of history to be had. As church interiors are often quite dimly lit, and as the use of tripods or (especially) flash are generally forbidden, I decided to shoot some Ilford HP5+ pushed to 1600asa. While this increased the grain and contrast a little, I’ve found that HP5+ handles both very well and they are not overwhelming at all.
The famous Crooked Spire, viewd from a southerly aspect. This shot was made on an ealier visit using my Minolta SRT-101b, Rokkor 50mm f/1.7 using some expired Kodak Tri-C Pan film.
The nave of the church looking east to the altar. Note the now de rigeur Covid-19 social distancing sign.
A stout wooden cover atop the font.
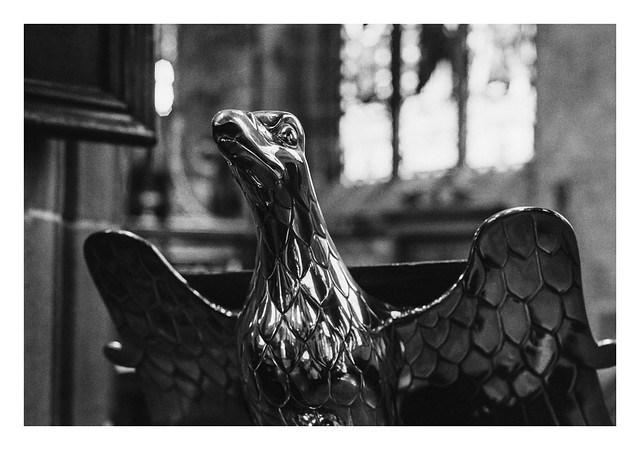
A lectern in the form of an eagle.
The pipes of the church organ.
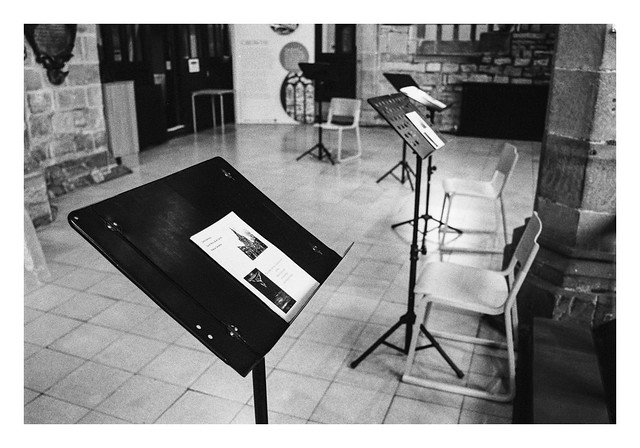
Chairs and music stands.
Various statues, shrines and other paraphernalia of the church.
I took a walk out this afternoon to drop off a parcel at a local shop that accepts Hermes packages. The day has been bright and sunny and, while there was a slight coolness to the breeze, it was still very mild and I had a bit of a sweat going by the time I got home (I do walk fast though – much to the complaint of my family who accuse me of taking them on forced marches when we go out!). There are now definite signs of autumn colour on the trees and small drifts of fallen leaves can already be seen here and there.
Autumn is my favourite season, but one than seems to pass by all to quickly. This year then, I’ve made myself a promise to go out to walk at least three times a week and to take in and savour the changes that occur. I hope that this will help me to enjoy it while it lasts and not just suddenly realise it’s Christmas and the last three months have disappeared in a blur!
Keeping to the autumnal theme, today’s photo is of an acorn I picked up while walking with my family a couple of weeks ago. It was a fairly fresh acorn – still green – and I dropped it into a planter on the back garden after making the picture. Maybe it will take root.