To the south-east of Sheffield, one of the main routes into and out of the city centre is the A57 road. For a long time, the route took it through a number of suburbs. As car ownership increased, so did conjestion, and eventually the route was altered to create a bypass. As the road gets closer to the edge of the city it needs to cross the Rother Valley. This requires it to span not only the River Rother itself, but also two railway lines and the marshy floodplain itself. To do this a viaduct was constructed.
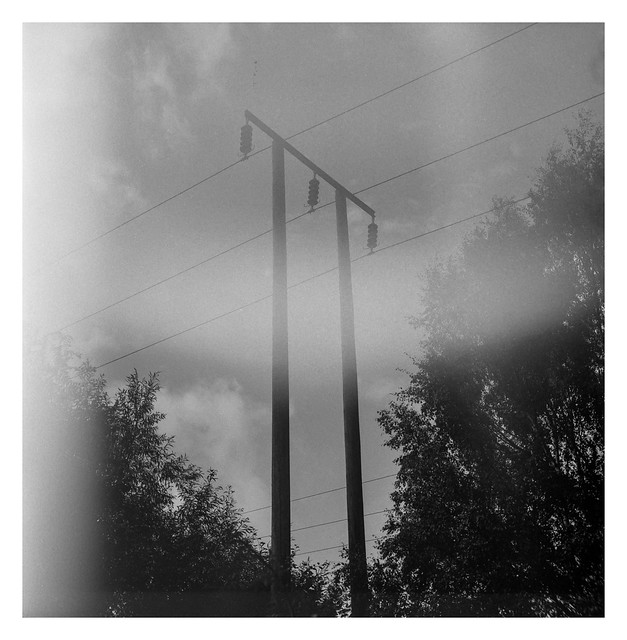
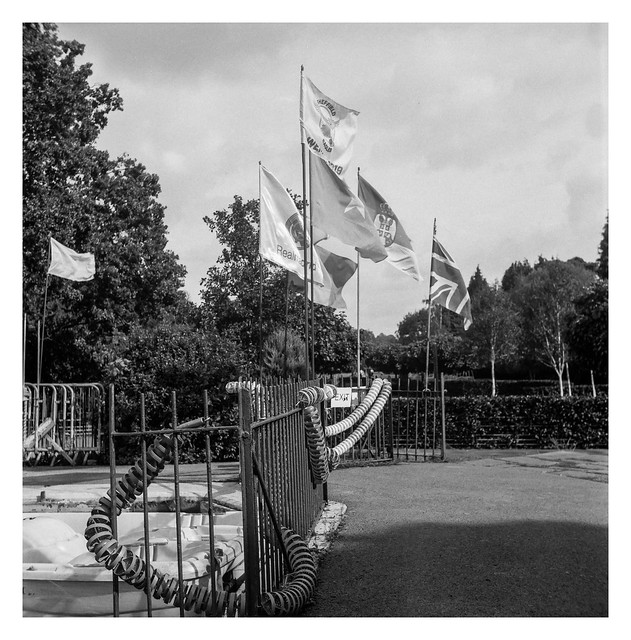
The viaduct stands around a mile from where I live and the floodplain to the east of the river is accessible to walkers (and also a herd of cows that graze there). Both these shots were taken early one morning as I tested the makeshift repair I’d to the Lipca Rollop II TLR (more about that here and here). Spoiler alert – the repair was a bust and I still ended up with the same light leak on some frames (it’s feintly visible in the middle of the shot above). I’ve now moved the camera on to someone else who may hopefully be able to either repair the problem properly, or just live with the fault – it still makes very nice photographs if you work around the issue.
These photos were made on one of my remaining rolls of bad-batch Fomapan 100. As I was testing the camera I wasn’t too concerened about the spotting issues on the film and there are way too many of them for me to bother to attempt to remove in Lightroom or Photoshop. They’re only apparent when the images are viewed large in any case. I think I’m down to a couple of rolls of this batch of film now, so I’ll likely save them for other camera tests or maybe the Holga – that one will eat up defective film for breakfast! 🙂
This also marked my first foray into a different developer. I’ve used Ilfotec DD-X since I started home-developing B&W film when the Covid-19 lockdown began in the spring. DD-X is very nice (if a little expensive) and I will continue to use it. I dod want a cackup though, so I bought a small 100ml bottle of Adox Adonal (Rodinal in all but name). This roll was my first time using it. I think the results are pretty nice. I think I prefer the DD-X, but the Adonal still looks great, is much cheaper, and will be usefull should I attempt stand developing at some point. It should also last forever without going bad.
Lipca Rollop II & Fomapan 100. Adox Adonal 1+50 9mins @ 21°.
This morning I decided to get up early and go make some photographs. A lot of trees are starting to turn and there are some gorgeous colours to be seen in their foliage – colours that would look extra nice in the light of an early morning sun. The weather forecasts over the past few days – right up to when I went to bed last night in fact – had stated that it would be cloudless first thing today, with duller weather coming later, and the dew point indicated a chance of mist. When I woke up, I took a look out the window to see how it looked and, sure enough, the skies were free of cloud to a degree, although there was still quite a lot about. So I got dressed, grabbed my camera and tripod, and had a quick breakfast. When I stepped out of the front door twenty minutes later the sky was covered with cloud from horizon to horizon.
I briefly considered just going back inside, getting undressed again, and getting back into the warm bed. But I didn’t. In for a penny, in for a pound as the saying goes and, even without the clear skies, I still thought there might be a chance of mist in the river valley where I planned to go.
There was no mist.
I have several weather apps on my phone. None of them seems to be any better at correctly forecasting the weather than a pine-cone or bit of dry seaweed hung outside the door. One of them once told me that the location where I was experiencing pouring rain at that very moment was actually in full sunshine. If they can’t tell you what the weather is doing in the present, what hope do they have at predicting the future? Anyway, rant over.
Deciding against making any photos in the dull, unflattering light – no point wasting film – I decided instead to drive to a nearby car-boot sale. It would be the first time I’ve visited a boot sale this year. Partly due to lockdown, but also because I’ve just had other things to do at weekends. I always have a slight frisson of expectation when I visit these places. The dream of picking up a Leica or a Hassleblad for next to nothing, that sort of thing. The dream didn’t come true today, sadly, but I did find another film camera, the only one I saw on all the stalls. It looked in nice condition – boxed with the manual – and the seller only wanted £1 for it, so I decided to rescue it.
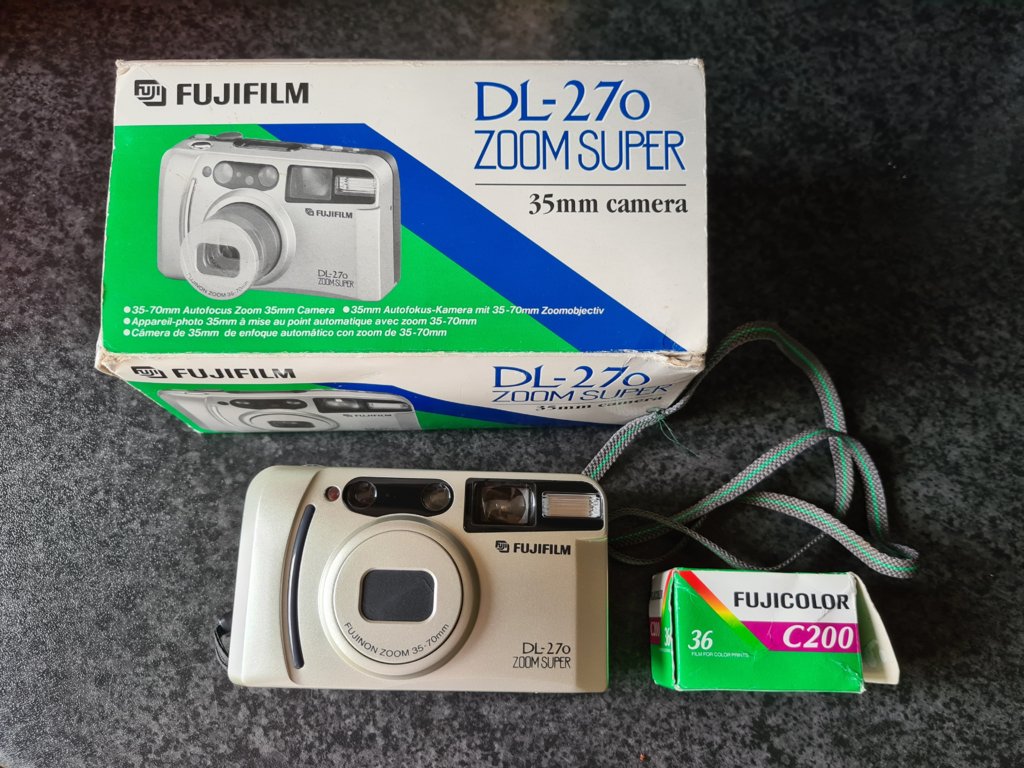
It’s not a camera I wanted or needed at all – it’s a fairly nondescript 35mm compact – a Fujifilm DL-270 Zoom Super (catchy name, eh?), with a 35-70mm zoom that starts at a slow-ish f/5.6 and goes downhill from there as you zoom in, granting f/11.2 at the long end. It look s like the sort of camera that someone who wanted to take pictures but lacked any interest in photography would have bought in the 90s. But, for the low price, I’ll give it a go and see how it performs (maybe on a bright day though!). The last camera of this ilk that I used, a Samsung Fino, made surprisingly sharp pictures. Hopefully Fujifilm stuck a decent (if slow) lens inside.
As a bonus, there was a boxed roll of Fuji C200 in a box on the same stall, and the seller kindly threw it in with the camera. I expected it to be expired by fifteen years or something, but it only expired in July this year. Even if the camera is a bust, I still got a bargain roll of pretty fresh film! On top of that, there’s also a roll already in the camera. When I stuck a battery in when I got home (the included battery being dead), it powered up and showed frame 1 on the LCD. This probably means one of three things:
The roll of film is completely unused. Bonus!
The roll is partly used, but the counter has reset due to an elapsed battery. I’m not sure if this would happen though.
At some point someone has opened the back of the camera while it had the film inside, resetting the counter and probably ruining the film. This is the option I think is most likely (although the other, fresh, roll of film I got with it might indicate otherwise). I believe the camera is one of thosa that unloads the entire film when inserted and then rewinds each exposed shot back into the cannister though, so any shots already on the roll might be safe (whatever they might be), but the unexposed remainder might be toast.
Whatever the case, I’ll shoot the roll that’s inside and then, depending how I feel, maybe another. After that, unless it stuns me with the results, I’ll likely pass it on to someone else. But at least it will live on.
And finally, nothing to do with the rest of the post, here’s a nice colourful photo I made with the Yashica Mat the other week…
A couple of photographs taken within 50-feet or so of one another, looking in different directions (roughly north-east and north-west), but quite similar in look and feel thanks to the tall buildings in this part of town and the way they have reflected the clear blue of the sky. They both share the theme of reflections too.
A photograph of The Hubs, which I’ve posted images of before, such as in this post here.
The building has occasionally been referred to as the saucepans by locals, each part of the four hub structure looking like a silver pan with a stubby handle, not that it’s apparent from this angle.
Yashica Mat 124G & Kodak Ektachrome 100 EPN (expired 2008).
A short post today, just another picture from the roll of expired Ektachrome 100 EPN I shot recently.
There were going to be three images shown, but WordPress has decided that, no matter what I do, it will only show one of them as a link rather than a picture. There’s probably a solution – like using the old editor or something – but I don’t have the time this evening.
Yashica Mat 124G & Kodak Ektachrome 100 EPN (expired 2008).
I recently shot a roll of expired Ektachrome 100 EPN that I’ve had sat in the freezer for quite a while now – since last Christmas in fact when they were kindly gifted me by my Emulsive Secret Santa. I like the thrill of shooting expired film, there’s a certain frisson of tension around how the shots might turn out. On the other hand though, I never use it for outings where I want my shots to count – holidays, day trips, special events and so forth that I might not get the chance to visit or photograph again. I still aim to get shots I like though – the last thing I’d want is for it to be wasted – and so I shot this roll on a very nice sunny day last month.
The subject matter is just a bunch of things that I thought might look nice (to me at least). I’m not sure what genre this sort of thing falls under – I’m tempted to say it’s inspired by the New Topographics movement, but I’m not sure it that’s the case or not. A sort of halfway house between street and architecture I guess. Who needs labels anyway?
The film was shot at box speed and turned out pretty nicely I think. There’s a bit of colour shift towards magenta but nothing major, and it has a subtle, overexposed Portra look about it that’s nice.
Yashica Mat 124G & Kodak Ektachrome 100 EPN (expired 2008).
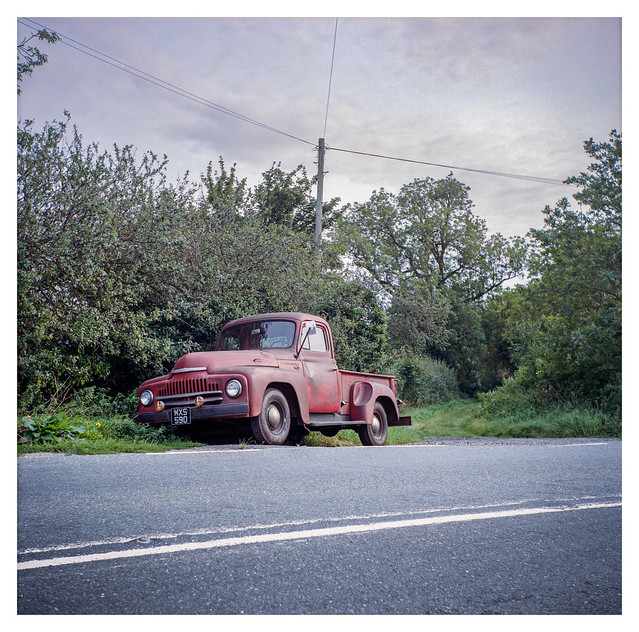
After yesterday’s Chevy photos, I’ll continue a mini-theme of classic American vehicles, this time an International Harvester pick-up truck. Which I think is an L-Series, but which I am again willing to be corrected on. I believe the tow-truck, Mater, in the Cars movies was based in part on an International Harvester.
Like yesterday’s Chevy, this was photographed on my trip to Mablethorpe. While the Chevy is a permanent feature at the garage where I made the photo, this truck was just parked on the verge on a bend in the road not too far from my destination, so I pulled over and took a few quick shots.
I made a few pictures of this vintage Chevy on the way to Mablethorpe the other week, some with my Canon Sure Shot Z135, and some with my Zeiss-Mess-Ikonta 524/16. I photographed the same car before when I passed by last year, using the Zeiss on that occasion too, but with some Ektar (and in bright sunshine). The conditions this year were more subdued, the same layer of thin, high cloud that would be present most of the day, obscuring the sun so that much of of the light was diffused, removing much of the contrast. Despite this, I still like how both these images turned out.
I think the car is a Chevy Townsman from the early 50s, but I’m happy to be corrected by someone more knowlegeable about such things.
EDIT: I’ve been informed my fellow blogger, Jim Grey, that it’s actually a Chevrolet Sedan Delivery. Thank you Jim.
This is the Z135 shot, taken on Kodak Gold 200, scanned on my Plustek 8100 as a linear tiff and then converted with Photoshop and Grain2Pixel.
And this is the Zeiss shot, this time taken on Kodak Portra 400, scanned on my Epson V550 as a linear tiff and converted with Photoshop and Grain2Pixel.
The Lipca Rollop II. Portrait by Nikon F80, Sigma 105mm f/2.8 OS HSM, and Ilford HP5+ (@1600asa).
A year or two back I was given a box of old cameras, four in total. These included a Voigtlander Vito B. a couple of Soviet-era rangefinders, and a Lipca Rollop TLR.
I tested the Vito B with a roll of film not long after receiving it, but not a single shot was even close to being in focus, and I suspect someone had attempted to repair it at some point but then not correctly aligned the zone-focus lens when putting it back together. Both the rangefinders had aperture rings that were locked solid, so I passed those on to people who might hopefully be able to repair them and make use of the cameras.
The Lipca though, while a little dirty, looked ok – the only issue that stood out being some rotted light-seals in the film chamber – so I decided to hold onto it and give it a test. In the end it remained in a drawer for the best part of two years until, a couple of weeks ago, when I finally decided to try it out. But before I go into detail on that, here’s a little pen protrait of the camera…
According to Camera-Wiki.org, the Lipca company (short for Lippische Camerafabrik Richter & Fischer) was formed in Bartrup, West Germany, in 1947. The owners, Fritz and Charlotte Richter, and Karl Fischer had moved some of their equipment and employees from Tharandt, near Dresden, which was in the Soviet zone as they feared the factory would be expropriated. The new company was fully founded the following year.
The company was a small organisation with around 50 employees working in a close-knit family atmosphere. Their peak output was around 1000 cameras per month.
They produced a number of TLR models, starting with the Flexo in 1948. This was to be re-named the Flexora following a trademark dispute with Franke & Heidecke. There were three variants of the Flexora before a new camera, the Rollop, was introduced – this model using an injection molded aluminium body rather than the sheet metal of the earlier cameras. Three versions were produced between 1954 and 1962. The main difference between models was probably the film transport which started as a knob winder on the Rollop I. A crank winder was introduced on the Rollop II, and this crank was upgraded to also cock the shutter on the Rollop Automatic, the final variant. The Rollop Automatic also featured an Enna Lithagon taking lens, replacing the Enna Ennagon on the previous versions.
When the demand for TLR cameras fell into decline in the early 60s, Lipca tried to gain a foothold on the emerging 35mm market by selling re-branded cameras from King, and Franka. Lipca also manufactured other equipment such as binoculars,slide-viewers, and they carried out some production work in conjunction with Plaubel. After a move to a new site in Bad Nauheim in 1961, all camera production ceased in 1962, and the Lipca name was dissolved in 1972.
The model I have is the Rollop II, a twin lens reflex camera with a 75mm f/3.5 Enna Ennagon taking lens (replicated in the viewing lens). Both lenses have a filter thread. Shutter speeds range from 1sec to 1/300sec with a bulb setting for long exposures. Apertures cover f/3.5 through to f/22. Shutter speed is selected by rotating a toothed wheel mounted around the taking lens, aligning the required speed with a red arrow at the 12 o’clock position on the lens barrel. Aperture is chosen with a lever that rotates around the lower right section of the lens barrel, this needs to be pulled out slightly to change the setting as it latches into the teeth on the shutter speed dial. This latching mechanism means the camera has a simple but effective shutter-priority function. For instance, if the shutter speed is set to 1/125sec and the aperture to f/8, then rotating the shutter speed to 1/300sec will simultaneously change the aperture to f/5.6. Changing shutter speed to 1/60sec would change the aperture to f/11 and so on. The aperture can still be manually set if required.
The shutter cocking mechanism is a lever on the upper-right of the lens barrel, and the shutter lever resides on the lower-right. There is a threaded cable release point just above the shutter lever.
Also on the front of the camera is a sync socket. M and X synchronisation settings are available from a small switch on the upper left of the lens barrel.
The film is advanced by a crank mechanism on the right of the camera. This operates in a forward / return action, rather than full rotation. The handle of the crank is hinged and can be latched to prevent accidental advancement of the film.
The camera viewfinder is a standard ground-glass affair, but with a horizontal split-prism in the centre. A magnifying lens hinges out from the front of the viewfinder housing for fine focusing, and the housing also features a sports-finder.
The left side of the camera houses the focus knob with distance scale, the film reel release knobs, and a small screw that holds the film compartment closed. When partially unscrewed, this is pushed in to pop open the back of the camera. There is also a cold-shoe on this side of the camera.
There are a couple of latches for a camera strap on either side of the body, and the base of the camera has a tripod mounting socket and four small metal feet.
The first thing I did with my Rollop II was to give it a clean. The bodywork is in pretty nice condition, the leatherette is all intact and there are no significant marks anywhere, but it was a little scruffy. A soft cloth and some rubbing alcohol removed most of the surface dust and dirt without trouble. I removed the focus screen housing to give it a better clean and to allow the mirror and inside of the viewing lens to be cleaned with a dust blower and (for the lens) some lens cleaner. Both lenses were cleaned on the outside, and I then cleaned the inside of the taking lens while the camera was in bulb mode.
While the light seals looked in a bit of a state, I decided to leave them alone for the time being (they are partially covered by the film tension plate, and I could see no easy way to remove it to allow access) and just see how the camera would fare with a test roll of film – some Fomapan 100.
In operation, the camera was straightforward to use and gave no unexpected surprises. My only issue being that the focus screen didn’t have a lot of contrast and it was quite difficult to see depending on the light. Using the magnifyer helped though. I found the shutter release to be easy to use and think that this lever-type release is perhaps better for keeping the camera steady than the push-button release on something like a Yashica Mat 124.
I went for a walk around a local nature reserve and shot the full roll. I noticed with some surprise that the camera would still fire even after winding on from the twelth frame, so took another shot for good luck, not really expecting anything from it. I would be surprised…
I developed the roll of film in my usual Ilfotec DD-X and was pleased to see a negatives appear. One instant plus was that my extra shot had given me a thirteenth frame! It was right at the very end of the roll, and I ended up having to crop it afterwards because of marks caused when drying the film, but still – a bonus! This pleasant surprise was, sadly, marred a little by the unfortunate fact that around half the frames had very noticeable light leaks.
The lucky 13th shot. I had to crop it a little, and I’m not sure what has caused the circular mark at top-centre but, hey, beggars can’t be choosers!
While some of the light leaks looked normal given the state of the light seals, many of the affected frames had an odd arc of brightness across the centre of the frame, as can be seen in the three photos below.
Based on these findings I decided to do what I could to replace the seals. With some degree of fiddlyness, I was able to replace the ones the were partially obscured by the film plate, along with the rest of the more accessible foam.
A few days later I took the camera out again, hopeful that my replacement seals would resolve the problems.
This time, when loading the film, instead of winding the crank four times as stated in the manual, I just wound it on three times hoping I would again be able to squeeze an extra frame from the roll.
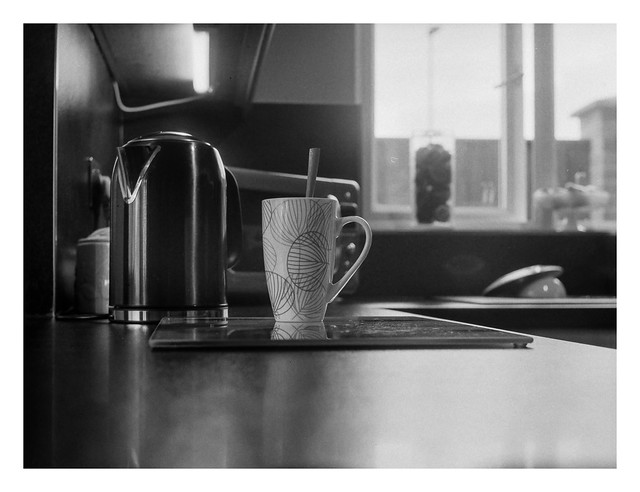
I again shot all (thirteen!) frames on a single outing, albeit the final bonus frame being a shot of a mug on the kitchen counter taken when I got home.
The second bonus 13th frame. Maybe not the best shot ever, but again – bonus!
This time, most of the frames were free from light leaks – all except one, again showing the odd arc-shaped mark.
There was also one completely blank frame where I think I accidentally wound the film on without firing the shutter!
I decided to look at the camera more closely, and wondered if the light might be coming from the lens, rather than the film compartment. I shone a bright light at the front of the camera and opened the film compartment. This revealed a feint glow coming from the edge of the taking lens. Further investigation also revealed that the front standard had a very small gap when focused closely (so that it was racked out as far as it would go). This explained why the leak only appeared on certain frames – those where the camera was focussed at or closer to infinity where unaffected as the lens standard was racked back to the body of the camera, closing the gap. Only the shots where I had focussed on closer subjects had the problem.
I don’t have the necessary technical ability to repair this properly, at least not without risking more significant problems or breaking it completely and, as the camera was a freebie (and I already have a working TLR in the form of my Yashica Mat 124G) I don’t really want to pay the price of a professional repair. I think I will give it another test though – I have an idea to attach a skirt of black felt around the racking mechanism using some tape which ought to block the light getting in where it’s not wanted. Maybe not elegant, but hopefully it will work. I guess I’ll find out before too long! 🙂