35mm · Film photography · Photography

Abandoned bridge

The area close to where I live was once occupied by coal mining. The local colliery – Brookhouse Colliery – closed for good in 1985. While the colliery land has been re-purposed in the intervening years – much of it as a country park with large lakes where opencast workings once were – there is still plentiful evidence for it’s industrial past.

Abandoned bridge

In the area around the Trans-Pennine trail there is a network of railway lines, one still active for passenger and goods use, but the others now disused with the tracks and the other equipment removed. Their presence can be felt in the various cuttings and bridges that still remain though.

Beneath the abandoned bridge

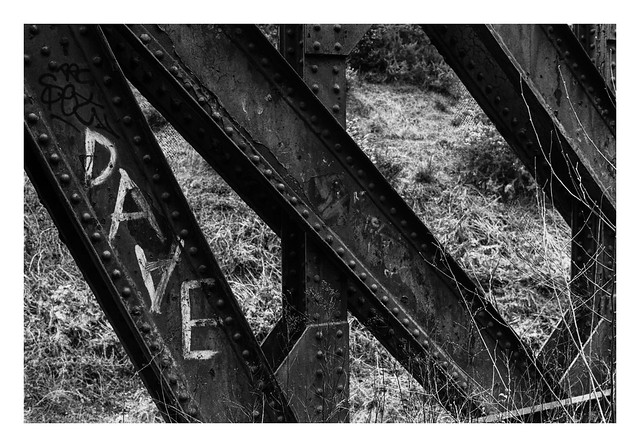
Today’s images are of one of the surviving bridges – this one crossing the River Rother. Once, while exploring the surrounding area, I found myself atop this bridge and walked its length – a process that became significantly hastier when I noticed holes in the metal beneath my feet! I’ve not been atop the bridge since then, but there is a footpath that runs beneath it beside the river, which is where these were taken.

Abandoned bridge detail

Canon Sure Shot Telemax & Ilford Delta 400 – Ilfotec DD-X 1+4 9mins

Taken on 4 April 2020

35mm · Film photography · Photography

Pandemic scenes #3

The majority of the hospitality industry in the UK has now closed. After a period where the government advised people to avoid socialising in groups and that they shouldn’t go to pubs -something that caused dismay to the owners and operators of the establishments as, apparently, without a formal government order for them to cease business, they were inelligible to make claims against their insurance policies that would pay out necause they were unable to trade because of the situation – the government formally ordered their closure.

A number of pubs in my local area (although I suspect it to be a widespread thing across the nation) placed messages of support to NHS and other key-workers on their notice-boards when the closed. Today’s photo depicts one of these messages.

During the lock-down, with significantly less opportunity to go out, I’ve started to make progress on enjoying the large (and continually growing) stack of photo books that I’ve bought. Today I chose one of the books further down the pile that must have been there for a significant amount of time now: Portraits of America, by William Albert Allard. The book contains images from his National Geographic work in the US. I’ve only looked at the first set of images so far: a series on the Amish shot back in the 1960s, but the photographs are beautiful and I’m looking forward to enjoying the rest of the book.

Pandemic scenes - Thank You NHS

Canon Sure Shot Telemax & Ilford Delta 400 – Ilfotec DD-X 1+4 9mins

Taken on 28 March 2020

35mm · Film photography · Photography

Pandemic scenes #2

The local park is quite small and is essentially an open space in the middle of the housing estate where we live. Nonetheless it still contains a 5-a-side football / basketball court and sets of swings, climbing frames and a slide for children to play on. In normal times, the park would be populated by children of various ages, from older kids hanging out and playing football, right down to toddlers having fun on the infant swings or climbing on the frames while their parents watch them from one of the benches – something I used to do regularly when my boys were younger.

It’s a different story at present, and the park is largely deserted apart from the occasional person walking their dog, taking some exercise, or just passing through on their way to somewhere else.

Pandemic scenes - No swinging

The swings have been tied up and, on the day I took these photos, the equipment had been cordoned off with hazard tape (although someone has since removed it). No-one plays there at present.

Pandemic scenes - Helicopter

Canon Sure Shot Telemax & Ilford Delta 400 – Ilfotec DD-X 1+4 9mins

Taken on 29 March 2020

35mm · Film photography · Photography

Pandemic scenes #1

I took this photograph not long after the start of the UK’s lock-down. People can be seen observing social distancing while queueing to enter the superstore to buy groceries and other essentials. The store was operating a “twenty at a time” rule when this photograph was taken, but this changed the following day so that is was limited to twenty individuals instead of groups (couples etc.). The system worked efficiently and the waiting times were quite short.

Apart from items like pasta, hand-sanitiser, paracetamol and other previously panic-bought items, the store was well stocked with most goods.

As the lockdown has continued, and panic-buying has (thankfully) subsided, most stores are largely back to normal in terms of the stock they are carrying. The social distancing rules are well implemented and most customers now understand how they work. In some ways, and despite the fact you have to queue to enter the store (admittedly something I’ve not had to do in bad weather yet), the lower numbers of people in the shops makes for a nicer experience

Pandemic scenes - Social Distancing

Canon Sure Shot Telemax & Ilford Delta 400 – Ilfotec DD-X 1+4 9mins

Taken on 28 March 2020

35mm · Film photography · Photography

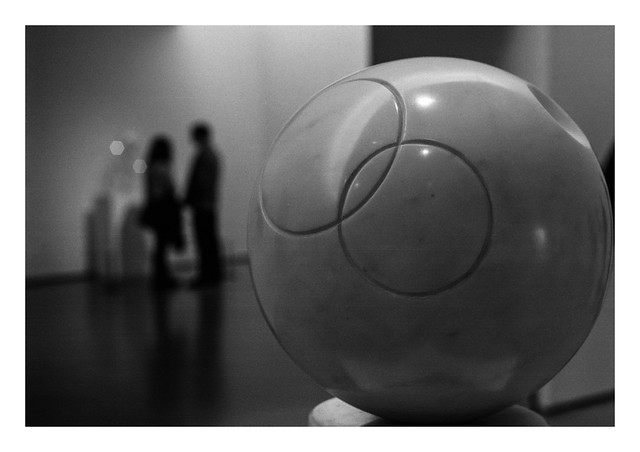
Figures in a gallery

Another sculpture in The Hepworth (and, yes, once again I didn’t make a note of it’s title or the artist’s name because I am an idiot…). I took two photographs of this scene, one with the figures in focus, and the one published here, with the sculpture sharp and the couple out of focus. I definitiely prefer this one – partially because of the effect, and also because the pose they’re in is much nicer in this shot.

I decided to take a walk before I began work today and got out for about half-an-hour. Although still lovely and sunny, the temperature has dipped considerably since Sunday and there was a distinct chill in the air. Although it wasn’t too early, the sun was still low enough to cast some beautiful light, especially on the local churchyard with is currently full of blossoming trees.

I had a Canon Sure Shot in my pocket, so took a few photos during my walk. The blossoms made me wish I had some colour slide film in the camera rather than the Delta 400 that I’d loaded.

Orbit

Minolta SRT 101b, Rokkor 50mm f/1.7 & Ilford HP5+ (@800).

Taken on 14 March 2020

35mm · Film photography · Photography

Bank holiday scanning

I’ve spent much of the afternoon listening to music while scanning the roll of film I developed yesterday. I’ll post about my second attempt in another post (once I’ve uploaded some of the pictures), but suffice to say it all went well on the whole.

The OCD part of my brain likes to do things in a certain way, so it’s a little on edge that I’m scanning and uploading my home devved rolls before some of the lab devved rolls that were shot earlier. It’s hardly ruining my life or anything, but there’s still a niggling sense that I’ve broken some sort of rule.

The truth is that any rule I’ve broken is one that I’ve abitrarily set myself anyway. Maybe I should just set a new rule that states that I should learn not to worry about such silly things and just, like, chillax man. 🙂

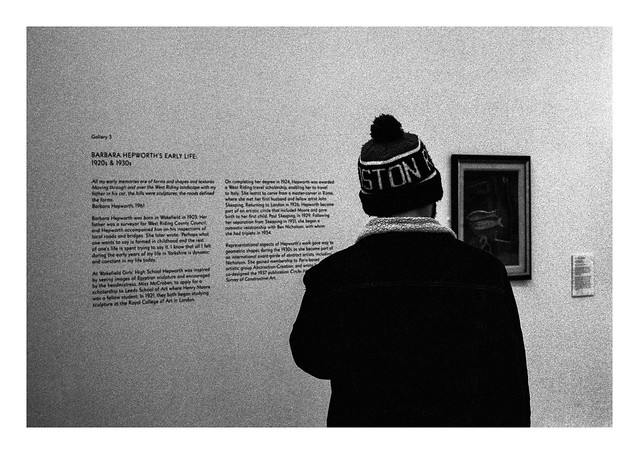
Today’s photo is an earlier one – from my trip to The Hepworth gallery before the lock-down came into force.

Ston R

Minolta SRT 101b, Rokkor 50mm f/1.7 & Ilford HP5+ (@800).

Taken on 14 March 2020

35mm · Film photography · Photography

Two teazels

I think I’m seeing a definite decline in my photography now we’re under lock-down conditions. Not technically – I don’t think I’ve lost those abilities (and keeping my hand and eye in are reasons to keep shooting as much as possible withing the confines of the situation we’re caught up in) – but in terms of subject matter, well, things are feeling much more difficult.

There are undoubtedly a thousand photos to be found in the places I can reach while exercising or, indeed, within our house and garden, but it can be difficult to see them through the fog of over-familiarity. Some of the shots that might be interesting in the limited time I’m out would require more time and kit (such as a tripod), and I’m not going to allow myself the option of those. I’m very concious of the fact that my outings must be, first and foremost, for the purposes of exercise (or other essential reasons such as fetching necessary provisions), so the thought of setting up a tripod somewhere and fiddling with camera settings, even if I could safely keep clear of others, would make me feel something of a hypocrite.

My choice of camera can make a difference though. Even if restricting myself to quickly obtained opportunistic images, then an SLR will give me greater creative control over aperture, shutter-speed and depth-of-field for instance, which can make for far greater scope in the photos I am able to make. On the other hand, a compact point-and-shoot auto-focus camea is easy to just drop in a pocket without the need for a bag (even a small one).

I’ve spent some time today on my second home-developed roll of film. I managed to put the chemicals in in the right order this time! Some parts were still tricky – loading the film onto the spiral, mainly – but everything else went a little smoother than before. The negatives look good and I’ve avoided any drying marks this time around too.

The UK has, today, passed the heartbreaking milestone of over ten thousand people now lost to COVID-19. The figure given today of daily losses is down by a couple of hundred over previous days, but the trend has been that the figures tend to dip over weekend – a factor of how the reporting processes work rather than a true reflection of casualties – and I fear that they will rise again in the next few days. There is some potential good news in that the number of admissions to hospital for infections might be levelling off though. Again, maybe it’s too early for optimism, but even a small ray of sunshine can cast a little light on the darkness.

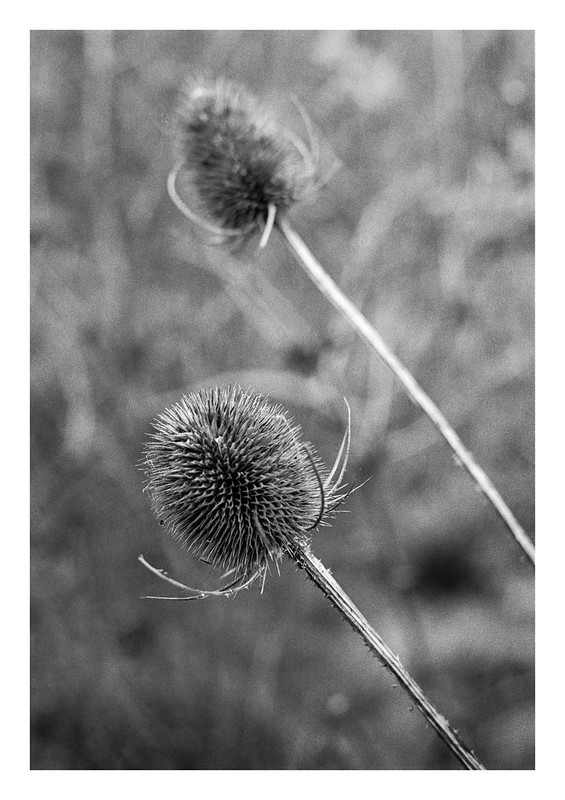
Today’s photo is of a couple of teazels that were poking out of the foliage beside the path where I took a walk one day last week.

Two teazels

Minolta SRT 101b, MD Rokkor 50mm f/1.7 & Ilford HP5+. Ilfotec DD-X, 9 minutes at 20° .

Taken on 30 March 2020

35mm · Film photography · Photography

An apple a day keeps the doctor away

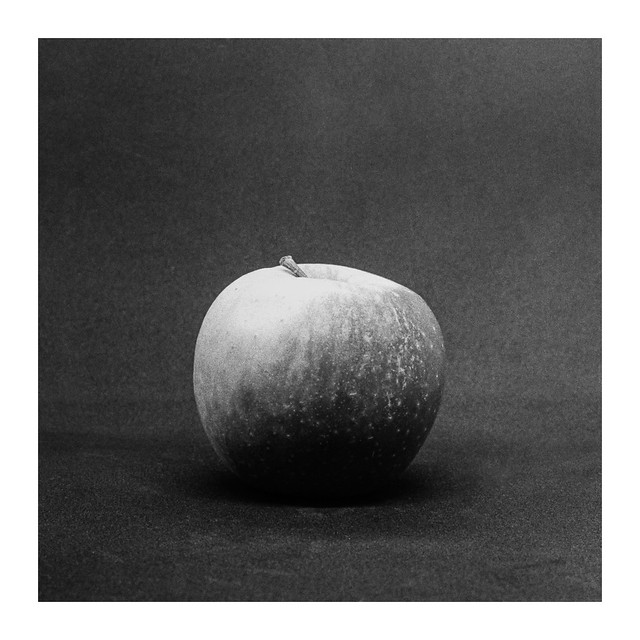
So here’re two photos of an apple from my debut home-developed roll of HP5+.

A few weeks ago, and before the current lock-down was thought of, I bought a small home-studio setup from Amazon. It’s a fairly basic thing: essentially a collapsable plastic cube with one side open. It has a couple of strips of adjustable-brightness LEDs (powered by USB) and a set of different coloured foam inserts that can be hooked to the inside back of the cube to provide neutral backdrops. The whole thing collapses down into a neat package that can be easily stored.

It’s big enough to hold small items (such as an apple!), but not much use for anything larger. Despite that, it’s a useful thing for small still-life shots or macro – something that is of definite value now that our outdoor movements are restricted.

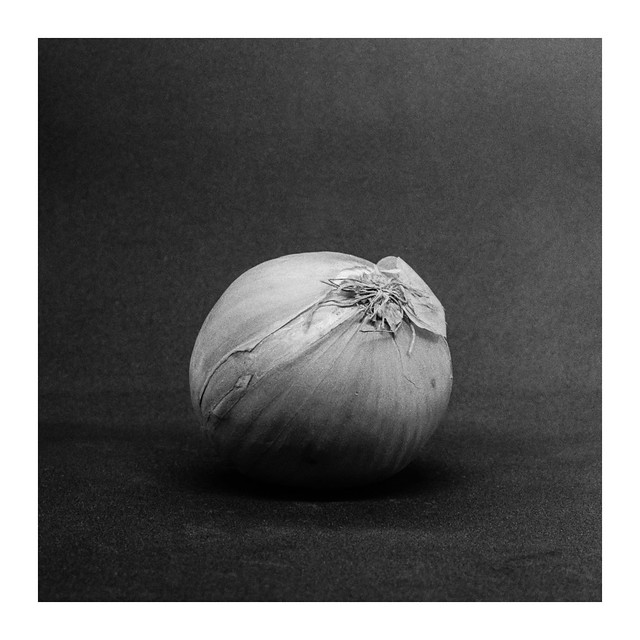
Both today’s images (plus the shots of the onions I featured in yesterday’s post about home developing) were shot with this setup. I used my Minolta SRT 101b and 50mm f/1.7 MD Rokkor lens. Even at closest focus some of the walls of the cube were in frame, so these shots have been cropped to remove those areas.

I’d hoped to have a second attempt at home developing this weekend, but the film I’ve shot is 120 format and the negative sleeves I’ve ordered haven’t arrived yet. Unless I manage to finish another roll of 35mm B&W before the weekend is out (something that, pre-lock-down would have posed no problem whatsoever) then I might have to defer those plans until next weekend instead. I do have a partially shot roll of Delta 400 in my Sure Shot Telemax though, so if I take that out with me if I get a chance for a walk, then maybe I’ll get enough shots to finish it off. I don’t want to just take pictures for the sake of it though.

Apple #1

Apple #2

Minolta SRT 101b, MD Rokkor 50mm f/1.7 & Ilford HP5+. Ilfotec DD-X, 9 minutes at 20° .

Taken on 30 March 2020

35mm · Film photography · Photography

Nerves, mistakes and perseverance – Developing black and white film at home for the first time

Since I got back into shooting film a few years ago, the thought of developing my own photos at home has crossed my mind on more than one occasion. I’ve usually pushed these thoughts to one side though, partly because I’m happy with the service and results I get from my local lab, and partly because of concerns that I would ruin rolls of otherwise nice photographs with my oaf-like clumsiness.

However, things have now changed. My local lab is currently closed due to the coronavirus lock-down (although the lab I use for colour stuff is still open for mail-order processing) which means I would either need to sit on any rolls of black and white film I manage to shoot during the pandemic (likely to be reduced from normal due to the limits on where I can roam) until they re-open or, to take the plunge and try to self-develop my film at home.

A bridge to trip-trap across

Because I don’t know how long the lockdown is likely to last (at least 8 weeks is my current estimate though), and because I like to try and keep a flow of fresh images coming for this blog, I decided to give home developing a go.

While it should prove cost effective in the longer term, because I’ve had to buy most of the chems and equipment to get me started, it’s been a significant investment – I could have had a dozen or more rolls lab processed at least for the outlay – so I’m keen to make it work.

Branching out

I decided to go for Ilford chemicals for my first foray: stop-bath; fixer; wetting agent; and developer – I chose Ilfotec DD-X. The DD-X was quite low-cost for the bottle and I was keen to keep my initial outlad down as much as possible. DD-X is supposed to be a very good developer, but it’s probably not the most economical to use – while the 1l bottle was much cheaper than something like Kodak HC-110, it will also develop far fewer rolls.

Once I’d acquired all the equipment and chemicals, it was then just a case of finishing off a roll of film. As my movements are much restricted due to the UK lockdown, most of the photos on the roll are from around the house, or pictures I’ve been able to take while out for a walk to get to exercise and fresh air.

No petting or feeding the chairs

I decided that it would be a good idea to practice things as much as possible before having a go with my “live” roll of film, so I used a roll of Agfa Vista Plus that I use to test cameras sometimes. The roll has been exposed to light when a camera back was opened at some point, so it could be safely sacrificed.

My first tests were in daylight, extracting the film onto the spiral from the canister itself (without removing the cap and taking the film out altogether). After understanding the process, I then attempted it again inside the changing bag. This was trickier and a few attempts failed, but after a while I was successful. Then, given that the roll of film I would be developing for real had had it’s leader completely retracted into the cannister (I tried to retrieve it, but without success), I had a further attempt inside the changing bag, this time opening the cannister with a can opener and loading it onto the spirals while loose. This was trickier as my efforts again failed on the first two attempts, by which time the film had become a twisty un-spooled mess inside the bag. I forced myself to perservere though as, when it came to my proper roll of film, removing my arms from the changing bag wouldn’t be an option. After a while I loaded it ok. Practising in this way was valuable experience and I’m really glad I did it.
I'm afraid I can't do that

The next day, it was time to do it for real. I double and triple-checked that I had everything I needed and then carefully placed everything into the changing bag: The developing tank, lid and spiral; the film; a pair of scissors to cut off the leader and chamfer the corners; and a small bottle opener to crack open the film cannister.

I soon ran into a problem when I found that the bottle opener was failing to open the cannister. In my test I’d used a larger bottle-opener (a corkscrew), but had though the smaller one would be easier to handle in the changing bag. Now I was in a situation where the cannister was still sealed, but might be in a condition that made it no longer light tight. In order to prevent any light-leaks, I placed the still closed cannister in the bottom of the developing tank and fitted the light-tight funnel. This allowed me to safely remove my arms and go and get the corkscrew. Because the corkscrew has a pointy end that might conceivably piece the changing bag if I wasn’t careful, I taped the sharp bit up with some masking tape before putting it in the changing bag. Once that was done I was able to take the film cannister back out of the tank and this time remove the cap successfully.

Rivets

The next job was to cut off the leader and chamfer the edges to allow easier attachment to the spiral. Making a neat cut across the film and then taking off small triangles from each corner is tricky when you can’t see what you’re doing and I was a little concerned about taking a piece of my finger-tip off in the process! Thankfully this didn’t happen though and I was now ready to attach the film to the spiral.

Attaching the film was straightforward and I began winding it on. And winding. And winding. And wind… Something had gone amiss. I now had to take the spiral apart in the bag, take off the section of film already wound on, and start again. As with my ealier practice runs, the film was now forming into a big coiled heap in the bag, making this more difficult than before.

The hidden bridge

The same thing happened again on the second attempt, winding on for a while but then stopping, requiring the spiral to be opened and the film removed once more. Thankfully, the third attempt worked ok, which was a big relief. The only issue was right at the end of the roll where the film popped out of the tracks, but I was able to gently re-afix with my thumbs it and, after cutting off the reel, winding it the rest of the way onto the spiral. I then inserted the centre column onto the reel and placed everything into the tank and fitted the lid, making everything light-tight. I was certainly glad that this part was done!

Now the film was safely in the tank I decided to take a break before starting the actual developing process. Plus I wanted to give everyone a chance to use the bathroom before I barred them from entry when it was time to dry the negatives when they were ready.

02A

I got everything that I needed for the developing out on the work-surface in the utility room, neatly arranged in a logical order. I filled two clean 2 litre milk bottles with water at the correct temperature, thinking it would be easier to keep it at 20 degrees in easily accessible bottles rather than mixing it from the hot and cold taps. I used this water to mix up my developer, stop-bath, and fixer and arranged their jugs in a left-to-right order. Also to hand was a clean cloth to mop up any spillages and my phone with the Massive Dev Chart app open and ready. I decided to go with the timings recommended by the app (although these are different to those given on the Ilford HP5+ data sheet – MDC states a full minute of agitation, followed by 10 seconds at the start of each minute thereafter, whereas Ilford states 10 seconds at the start of each minute). Everything in place, it was now time to begin…

I poured in the stop-bath first!

Yep, that’s right. I fell at the first hurdle. I put this down to nerves. Kick myself! Doh! Massive facepalm!!! etc.

Cursing my stupidity I quickly poured the stop-bath back out. While my experience is limited, I was fairly confident that stop-bath wouldn’t have too detrimental an effect on undeveloped film. Thankfully I had loads of water in the two bottles I’d filled earlier, so I rinsed the film in the tank several times until I was confident that I’d washed away the stop-bath. Then, after making a fresh batch of stop-bath, I started again.

Flood debris

This time I poured in the developer first! Clicking start on the MDC app, I began the agitation cycle. I’d decided to wear a pair of plastic gloves during the whole process to avoid getting chems on my skin and, while I’m not sure if it was water or something else on the sides of the tank after the previous mishap, it was quite wet so I was glad to be wearing them. I think I might have been a little too vigourous on the first few inversions, sloshing the tank about a little too much before catching myself and adopting more of a tumbling method throughout the rest of the sequence. After nine minutes I poured out the developer and added the stop-bath (again!), then the fixer for the final stage.

I used Ilford’s method for washing the negatives: 5 inversions, then empty the tank; 10 inversions, then empty, 20 inversions, then empty (although I also added 15 and 25 inversions stages for good measure). After this I opened the tank, added some fresh water and a few drops of wetting agent before carrying the tank back to the bathroom to hang the film to dry. At this stage I stil didn’t know if things had worked (or if my stop-bath mishap might have ruined things somehow), so now came the moment of truth as I took out the spiral and saw the results for the first time.

Under current

I had negatives!

And they looked to be ok! Being slightly paranoid about getting dust stuck all over the wet negatives, I quickly hung them up inside the shower cubicle, closed the door, and left them to dry for a few hours (although I did crack the door ajar to show off the product of my endeavours to my somewhat uninterested wife and kids). 🙂

When I came to take them down later I was able to get my first proper look at the results. The negatives looked perhaps slightly dense, but nothing over-the-top and had, to my slight dismay, a water mark on many of the frames where it looked like a drip of water had flowed down them during drying. My mistake here was that I didn’t shake off any excess water when I hung them up. Something to remember next time. The negatives had a slight curl, though nothing extreme, and this actually aided me when cutting them into strips for filing. The curl meant they lay on their edge on the desk, so I could cut them without scratching the surface (or attracting any stray dust).
Onion #1

Onion #2

Onion #3

The next step was to scan some frames on my Plustek and see how they looked. I was worried that the drying marks might show on the scans, but was relieved to find that it was only really visible on a single frame – one with a large area of otherwise blank sky – and even that would be easy to remove in Photoshop should I want to. While I didn’t want the drying marks, and will take steps to try and avoid them in future, on this occasion they didn’t really cause any issues.

The resulting scans look pretty nice. I’ve had to tweak them a little to get them how I like them – the roll has come out a little bright, something I think is probably down to my agitation technique during development rather than the metering, but nothing too severe and easily fixed during the scanning and post-processing stage. The grain on the negatives is pretty subdued too, possibly moreso than those I get back from my local lab (which are processed in Xtol), which is nice – I really don’t mind grain, but some of these photos are especially sharp-looking as a result (though some of that is down to the Rokkor 50mm f/1.7 lens, which I’ve found to be an excellent performer).

On the whole, while it would be hard to say I enjoyed the slightly stressful experience of developing film for the first time, I was very pleased with the results. I think the stress levels will be much lower next time I do this though and am looking forward to my next attempt.

If you’ve not developed your own film before and are thinking of giving it a try, then go for it. If I can manage it (and recover from mistakes to boot) then anyone can!

The photos in this post are all from the roll I developed (the ones I’ve uploaded to Flickr so far, at least). As I’ve been limited in where I can go due to the current lock-down caused by the coronavirus pandemic, these were all grabbed while out for a walk to take some exercise or in my home, so maybe don’t go looking for any prize-winners. 🙂

Minolta SRT 101b, MD Rokkor 50mm f/1.7 & Ilford HP5+. Ilfotec DD-X, 9 minutes at 20° .

All photos taken in late March / Early April 2020

 

35mm · Film photography · Photography

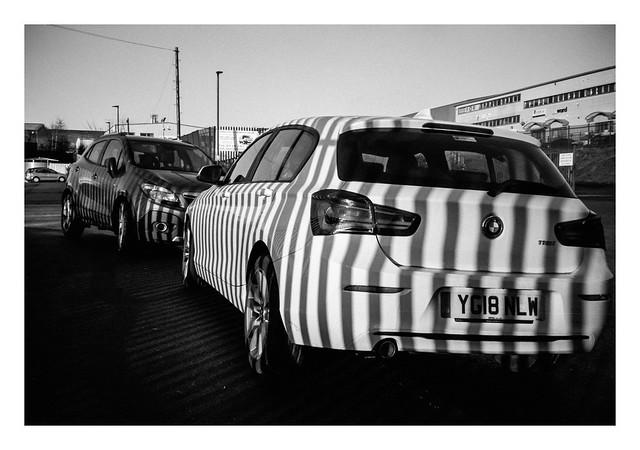
Carmouflage

Another scene that I’ll probably not see again for a while, both because the year has progressed and the light won’t fall on these cars through this fence for another several months (at least not in the same way, and possibly at a time of day when the cars are not there), but mainly at present because there aren’t any cars parked on this street anymore due to the pandemic.

It’s a road I walk up when dropping my films to be scanned at my local lab, but that’s closed too for the time being and, as I’ve bought my own home-developing equipment, I might not be using them as frequently when they do re-open (something I’m torn about – while me home developing my film is cost effective, I don’t want to deprive the lab of any business. It’s a valuable place to have on my doorstep and their service is great).

While it isn’t the foremost concern by far, I do worry a little as to the impact this pandemic will have on film photography. While is was going from strenth-to-strength before all this happened, I do wonder how a potential pandemic-triggered recession might affect it. If money is short, will people still want to spend so much on film and processing costs? I hope so, but it’s a concern nonetheless.

FILM - Carmouflage

Pentax Espio 140M & Ilford HP5+.

Taken on 19 February 2020