
One of my biggest issues with colour film is, well… the colour. Getting the darned stuff to look “right” is a test for my patience and also my sanity it can seem. Even when I get it looking right, a later glance reveals that I was completely incorrect and it looks terrible. How much of this is down to the actual results of my efforts (or the lab’s) and how much is down to the obsessive perfectionism that my brain likes to lay on me from time to time is up for debate.
I’ve gone through a number of iterations when it comes to scanning colour film negatives over the past five or six years. When I first began scanning my own film, my only option was my Epson V550 and the Espsonscan software that came with it. This gave passable results but not ones I was ever truly happy with. Colours would look “off” sometimes, with odd colour casts which would differ from film to film. I tried using ColorPerfect as a Photoshop plugin, which addmitedly helped (a bit) but also seemed to render shadow areas full of horrible looking noise.
Later, when I got my Plustek 35mm scanner, it came with a copy of Silverfast, so I tried that with it’s built-in film profiles. While I was able to get better results – and in some cases ones I was quite happy with – they still didn’t look right, no matter how I played with the settings.
So then I tried Vuescan. Again, never quite right (although it does a great job on 35mm slides).
I then decided to start getting my colour film developed by a lab that provided scans at a reasonable price. There was an additional cost for posting my film off, and a delay while I waited for the results, but on the whole the scans were nice, if perhaps a little warm looking (the lab would have changed that had I asked though). For a while I was happy, but the thing that put me off in the end was the resolution of the scans. While 35mm was acceptable, they used the same “x pixels on the short side” ratio whether it was a 35mm or medium format negative, leading to the frustrating situation where a 6×6 120 film negative would come back with a smaller scan than a 35mm image. So I went back to using my local lab and scanning them myself again. This decision was made mostly when I discovered Grain2Pixel.
Grain2Pixel – a free Photoshop Plugin – converts linear scans to positives. Here, at last, I thought I had found THE solution. It gave me the best results I’d seen so far… most of the time anyway. Some films, unfortunately, it struggled with (for me at least), particularly Kodak Portra, always giving the images a blue cast that was difficult for me to remove satisfactorily. With a lot of faffing about in Lightroom I could get them close to where I wanted, but I was still unsatisfied, and there would always be a few problem negatives that seemed to actively reject giving anything close to accurate colours.
Negative Lab Pro (NLP) has probably been the go-to solution for scanning colour film negatives for a few years now. I’d played with the trial vesion before but not been any more satisfied with the results than from Grain2Pixel, so never paid for the license. Last week though, I decided to have another go. This time I spent much more time understanding how it worked and, lo-and-behold, after RTFM’ing I got much better results. After playing with the 12 free conversions that you get with the trial version, I decided to bite the bullet and put my hand in my pocket for the full version.
This week I’ve been scanning a variety of negatives, using Vuescan to create a RAW DNG file of the images, and then converting them in Negative Lab Pro. I’ve mostly been happy with the results – particularly some Portra 400 negatives that I’m very pleased with (see examples below).

However, I’ve spent most of my time playing with a set of Portra 160 negatives that were exposed about a year ago and which I had been unable to get results that I was truly convinced by. Grain2Pixel didn’t give me the results I wanted, nor did Vuescan, and it was my old friend EpsonScan that had given me the best result (although still not good results). So. I’ve re-scanned the negs, got the RAW DNGs, and been messing with them in NLP. The good thing about NLP is that it’s non-destructive. I can un-convert the original file back to a negative and re-convert it using different settings. This gives a lot of scope for experimentation to get a look I’m happy with. I’m still not sure I’m there with this roll of film yet, but I’m happier than I was before.
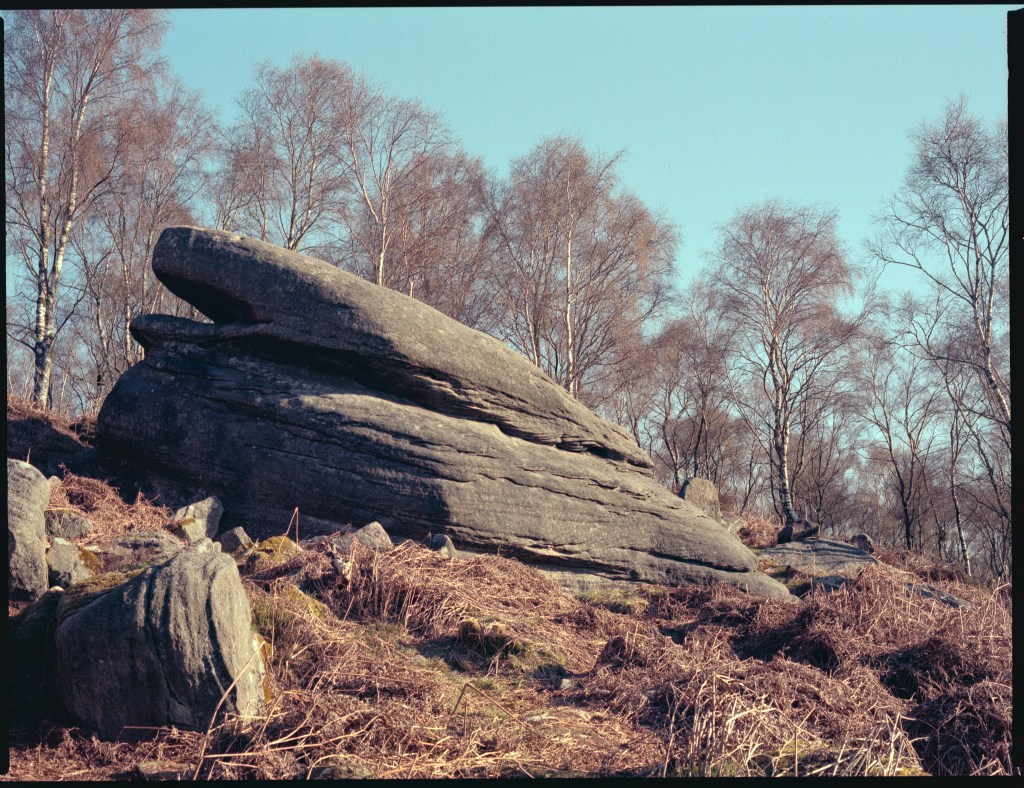
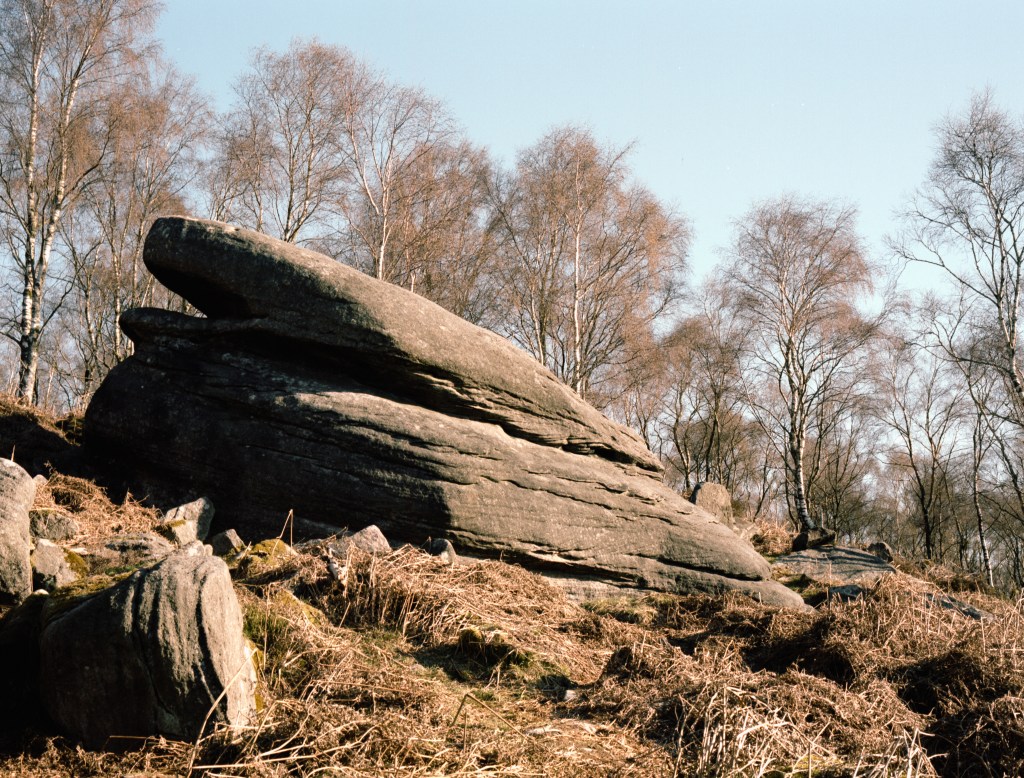
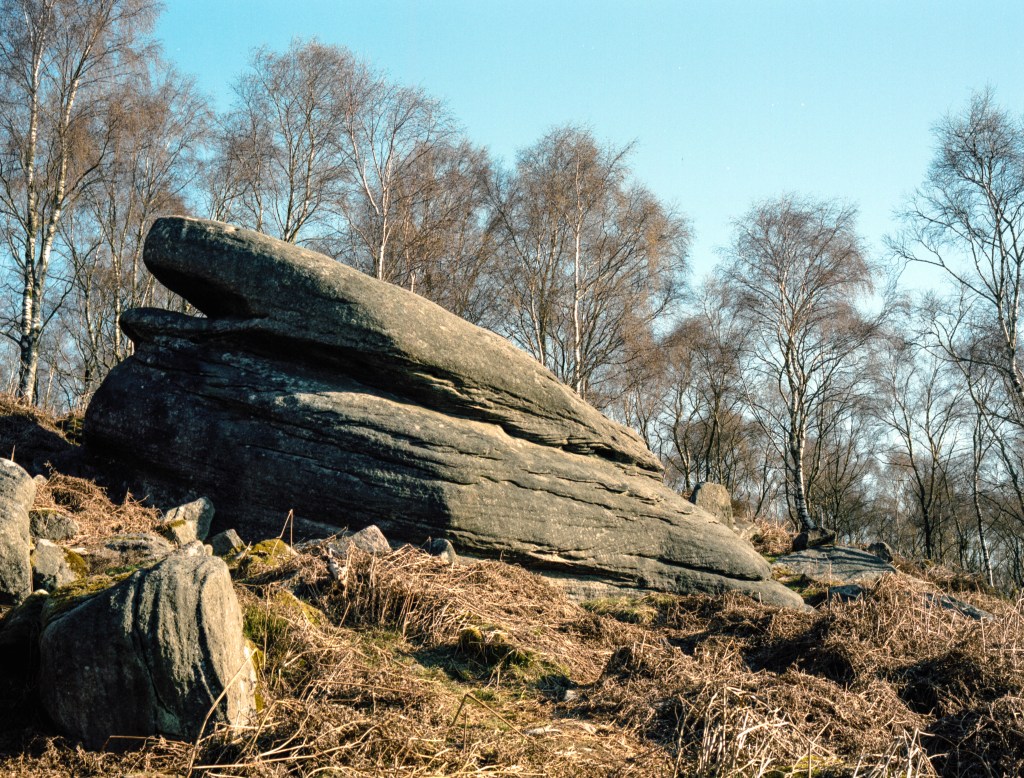
The first shot on the roll was the one that gave me the most headaches – a photograph of a large gritstone boulder in front of some silver birch trees, lit my bright early morning light. The Epsonscan result looked wrong – all cyan and brown, but not in a subtle way. The first NLP version looked better intitially, although maybe still not right. My second attempt with NLP using a different scanner profile and different tweaks was much better though. Here are the three versions (so far!):
I think, at the end of the day, I’m never going to get a “perfect” set of colours. There are too many variables at stake. What I need to do is nail a workflow that allows me to get colours that I like on a consistent basis. I think that this is the most difficult part of all, but the journey continues. Now I plan on re-scanning a bunch of different film stocks to see how NLP compares with my earlier scans. Maybe another post at some point…
Bronica ETRSi, Zenzanon 75mm f/2.8 & Kodak Portra 160.
Taken on 6 April 2021
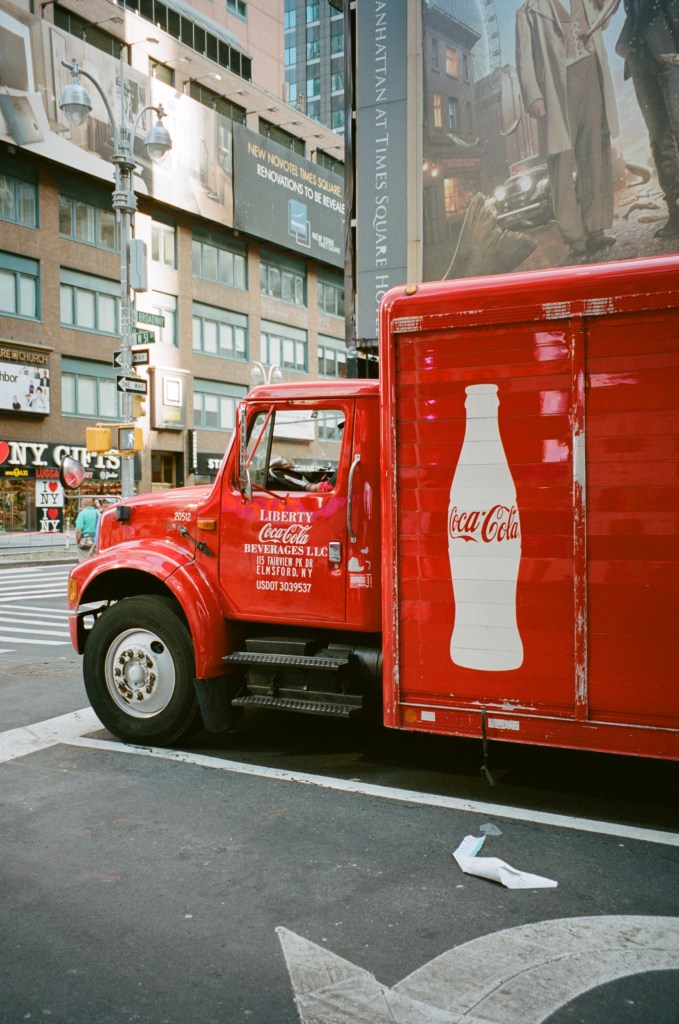
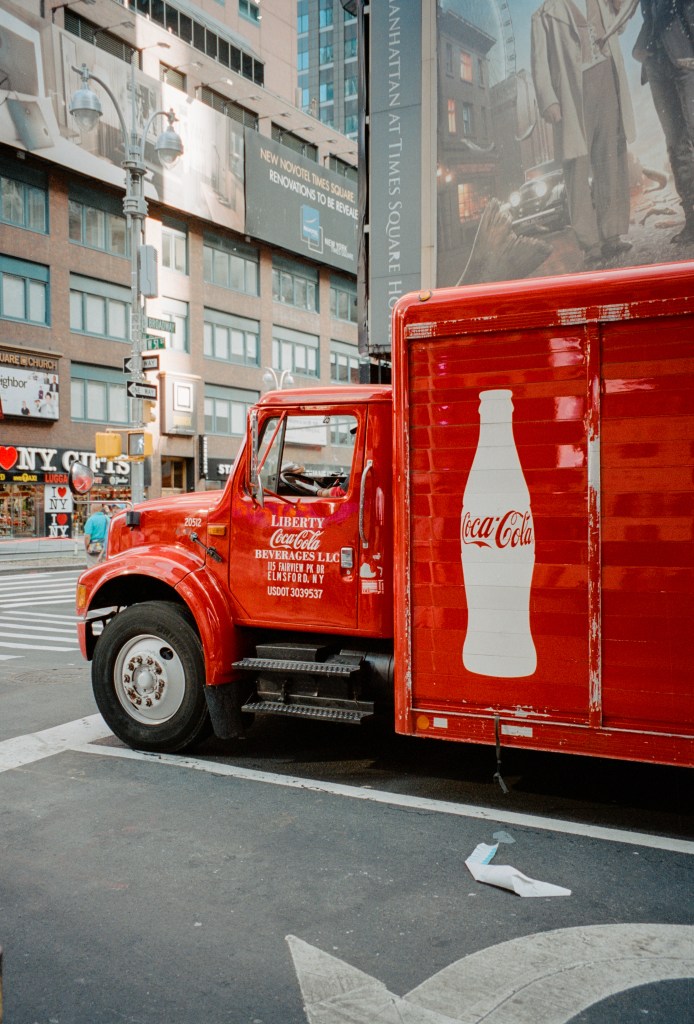
(Coke truck shot with a Canon Sureshot Z135 on Portra 400 in 2019)

This is one reason I send my color film to a lab rather than do it myself. But when I need to scan color negs, my Plustek and VueScan work well enough for me. My flatbed (CanoScan 9000F) not so much.
LikeLiked by 2 people
I think that my problem is that I’m seeking perfection but won’t know it even if I see it!
LikeLike
Working with color scans and trying to get the colors right is just about enough to drive one mad. That said, since you got your Plustek and started using Grain2Pixel, I’ve found your color work to be exceptional. I’m interested to see if you’re able to improve your color images even further with NLP, and your thoughts on it versus Grain2Pixel once you’ve spent more time comparing the two.
LikeLiked by 1 person
I’ve made a few comparisons of some recent Kodak Gold images. The colours from NLP look more accurate than G2P, but they don’t have the same pop. I suspect that G2P is over-egging the saturation to some degree, but it’s hard to decide which I like best. I think it will take some experimentation to get a look I like from different film stocks. I’m glad I shoot mostly black and white sometimes!
LikeLike
I feel your pain. I’ve been struggling with the colors of my scans for years and I thought I had found the holy grail when I discovered ICC color profiles and IT8 targets. I profiled my Epson V600 using Vuescan and took photos of IT8 targets with every film I used and then profiled the negatives, but in the end I didn’t get any closer to getting colors that were “true”. What I’ve learned since then is that there is no such thing as “true” film colors. It’s all in the eye of the beholder. That being said, I’m still trying to get my Ektar scans to look right.
LikeLiked by 2 people
The thing about there being no such thing as “true” film colours is spot on. I’m now working to get a look that I’m happy with – which will differ for each film stock – rather than trying to emulate something specific.
Blue skies are my enemy – it’s so easy to doubt if they look correct!
LikeLiked by 2 people
There is a risk that the timescale for achieving happiness with colour conversions will be longer than it takes for colour film to price itself out of the market …
LikeLiked by 2 people
You could be right there!
LikeLiked by 1 person
That’s a sad thought, but with the way things are going a very likely possibility.
LikeLiked by 1 person