I mentioned recently that my local film processing lab has gone out of business and that I’ve had to find somewhere else to carry out my C41 and E6 development. I’ve had a couple of rolls of C41 developed last week by my local camera store (they do E6 as well, but this is sub-contracted to another lab with a slightly lengthy turnaround, so I sent my roll of Velvia to another place fot quicker results).
The camera shop cut and sleeve 35mm in film into strips of four frames, as opposed to the strips of six that the old lab provided (and to which I cut my home-developed B&W negatives) so I opted to receive the developed film uncut and sleeve it myself at home. The roll of 35mm they developed was tucked into a 35mm film canister, as was the roll of 120 film, the main difference being that the width of the 120 roll meant the cannister was uncapped with the film poking out the end. I think this was the cause of the significant amount of dust on the 120 negatives when I scanned them. While imperceptible to my naked eye, once imported into Lightroom there was an entire galaxy of small white spots apparent on the resulting scans!
So this afternoon has been spent painstakingly cloning out the spots in Photoshop. I’d estimate it took a good 20-25 minutes to deal with each of the ten frames that are worth processing further. I really hope that the 35mm roll is not similarly afflicted!
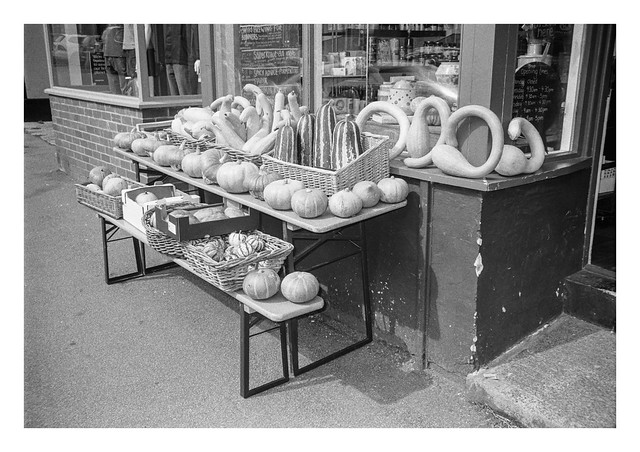
Here’s a photograph that feels apt in the circumstances.
I always wonder if “squashes” is the correct terminoligy for this type of vegetable? There are pumpkins in there too, plus some marrows, and some weird swan-like things that I don’t know what they are, but I guess they are all types of squash? Please correct me if I am wrong about this important subject. 🙂
The flash fired on my first attempt at photographing this scene so I took a second picture. The version with flash looks much better though.
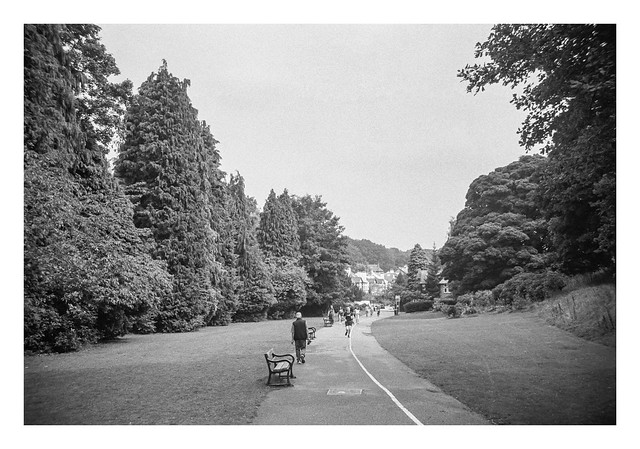
Whitely Woods is an area of woodland alongside the River Porter in Sheffield. I have a vague but fond memory of walking here with my nan when I was young. She bought me a small fishing net on a cane and I caught small fish – probably minnows, or perhaps baby fish of some species, but all given the group name ot “tiddlers” – in the dams further downstream in Endcliffe Park.
This is the millpond that feeds the waterwheel at Shepherd’s Wheel museum.
It’s not an area I’ve ventured back to all that many times – most of them have been in the lasrt few years as somewhere to go with a camera. On this occasion I’d taken a walk with my wife – mainly because I was testing out my ankle after my fracture, but also because it was a pleasant way to pass an hour or two (with the benefit of finding somewhere nice to get a bite to eat).
I took this one because the tree looked like it had a frowning face. An Ent, perhaps?
All three pictures here were made during the part of the walk in Whitely woods on the way to and from Shepherds Wheel.
Close to the bottom of Whitely Woods. At the end of the path before you reach the houses there is a road. The path through Endcliffe Park continues the journey towards town.
Shepherd Wheel is a working museum in the Porter Valley in Sheffield. It’s one of the earliest surviving water-powered grinding workshops in the area. The earliest reference to the wheel is from the 14th century.
The wheel still powers a variety of machinery in the workshop where caraftspeople can be seen putting them to use. It’s fascinating to see the ingenuity of the design, with numerous pieces of machinery powered by a complex series of shafts, cogs, gears, and belts.
I had my Sure Shot Z135 on me when we ventured inside and while this is a capable point-and-shoot (with a flash), I wanted to try and get a picture in natural light. The actual machinery was probably going to be a step to far for the f/3.5 maximum aperture of the camera, but I was able to take this image of some old pots and pans in the light of a window. I’m quite pleased that it came out nice and sharp, and that the film has captured detail in both the highlights and shadows.
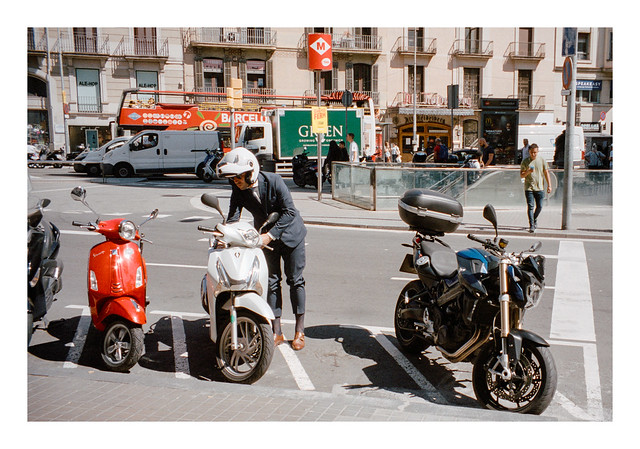
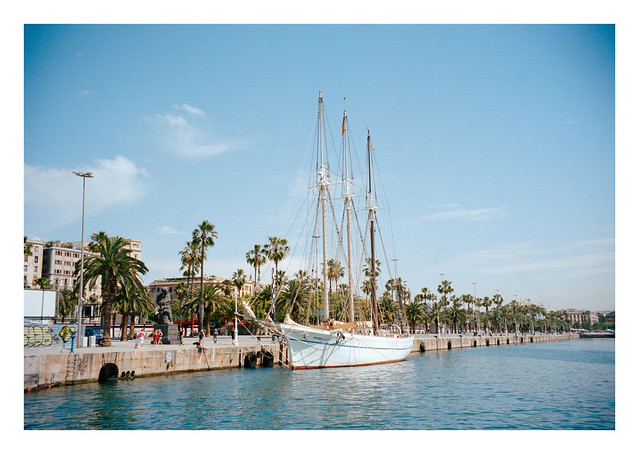
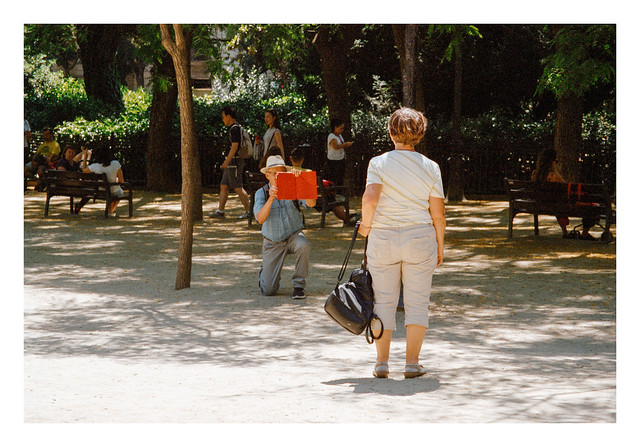
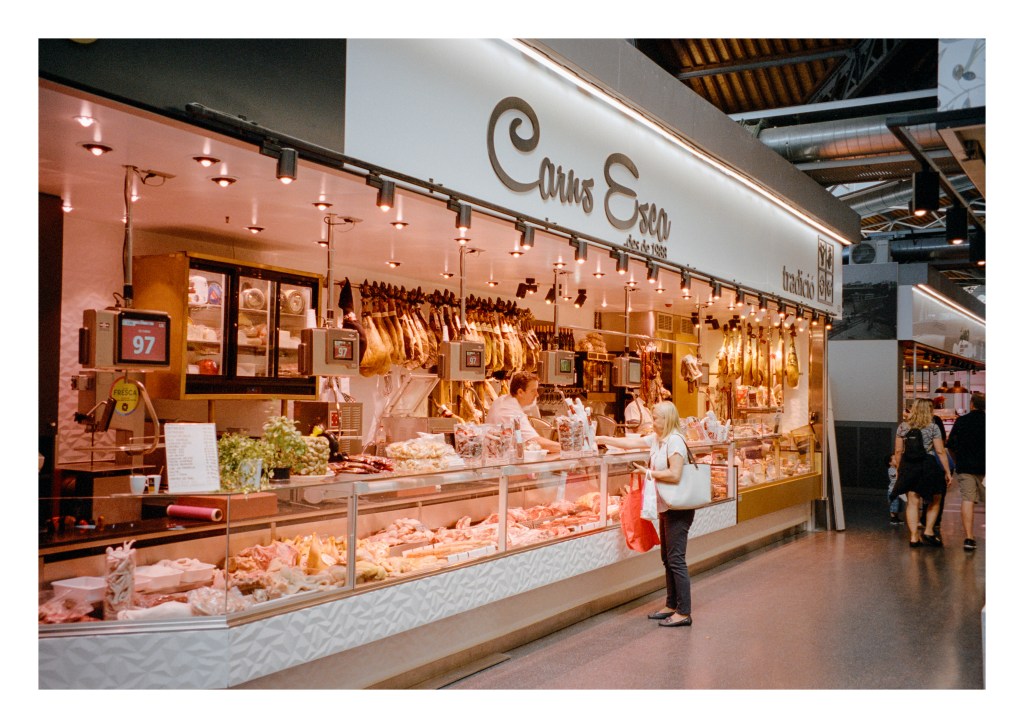
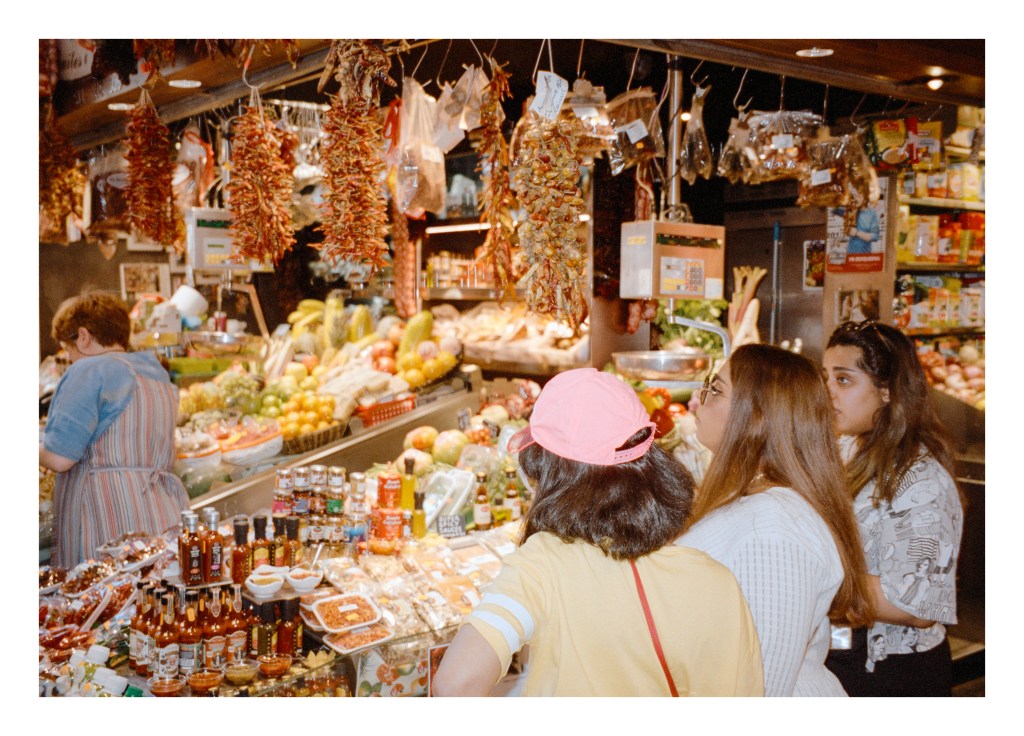
Another mini-batch of photographs shot during a trip to Barcelona almost three years ago now. Again, these are all recent re-scans, converted with Negative Lab Pro.
I’ve been re-scanning some older negatives over the past couple of days – some Portra 400 shots made during a trip to Barcelona with my wife back in 2019. The main reason for the re-scanning (actually not re-scans really, as the originals were lab scans) is to see what they look like when converted with Negative Lab Pro. The answer is… much better than any previous attempts I’ve made.
The original lab scans were fine but I know I can get much more resolution and detail out of my Plustek than the scan sizes the lab provides can offer – even their large scans – with the bonus of it not costing me anything to do so. And I’m finding that Negative Lab Pro is giving me colours that I’m actually happy with!
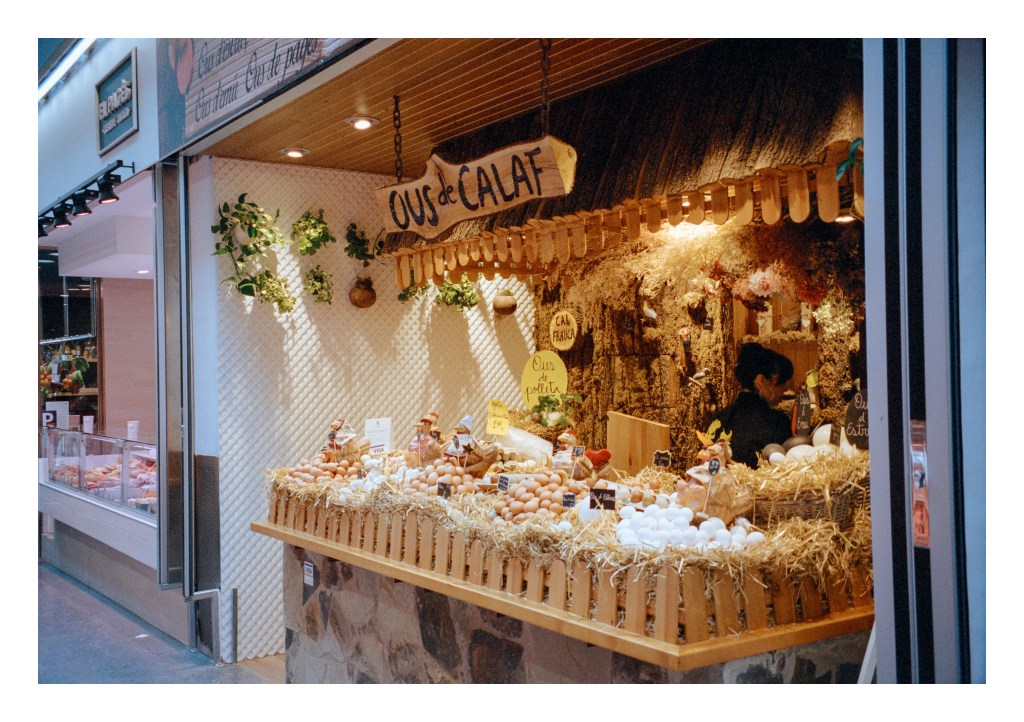
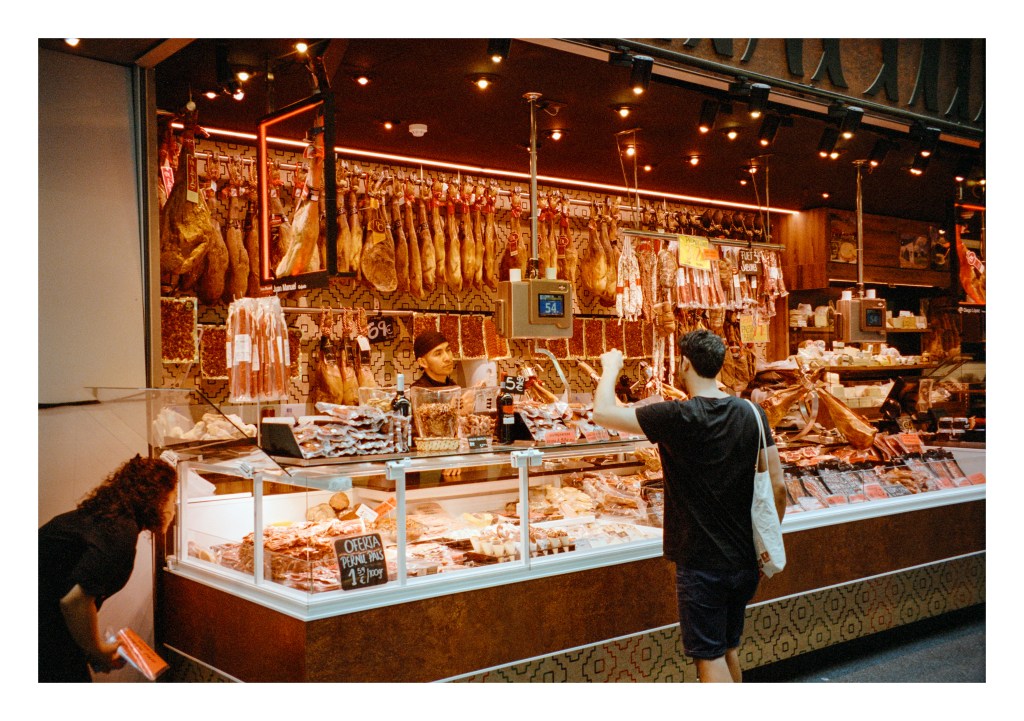
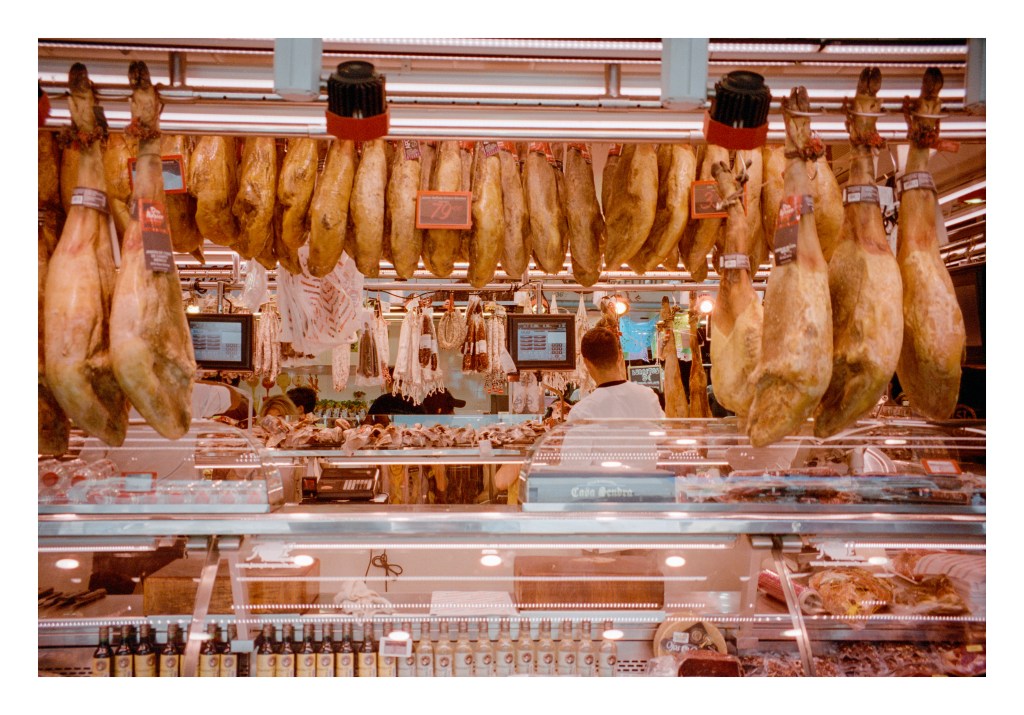
So today, here are several photos I took inside one of the markets in Barcelona – the Mercat de Sant Antoni, I believe. I guess that British market stalls are just as interesting to look at really, but there’s a definite draw in seeing the different wares on offer in other countries. Some markets in the UK might provide delicatessens akin to the ones here, but they are not commonplace, so it’s always interesting to see the mundane through the eyes of a visitor.
One of my biggest issues with colour film is, well… the colour. Getting the darned stuff to look “right” is a test for my patience and also my sanity it can seem. Even when I get it looking right, a later glance reveals that I was completely incorrect and it looks terrible. How much of this is down to the actual results of my efforts (or the lab’s) and how much is down to the obsessive perfectionism that my brain likes to lay on me from time to time is up for debate.
I’ve gone through a number of iterations when it comes to scanning colour film negatives over the past five or six years. When I first began scanning my own film, my only option was my Epson V550 and the Espsonscan software that came with it. This gave passable results but not ones I was ever truly happy with. Colours would look “off” sometimes, with odd colour casts which would differ from film to film. I tried using ColorPerfect as a Photoshop plugin, which addmitedly helped (a bit) but also seemed to render shadow areas full of horrible looking noise.
Later, when I got my Plustek 35mm scanner, it came with a copy of Silverfast, so I tried that with it’s built-in film profiles. While I was able to get better results – and in some cases ones I was quite happy with – they still didn’t look right, no matter how I played with the settings.
So then I tried Vuescan. Again, never quite right (although it does a great job on 35mm slides).
I then decided to start getting my colour film developed by a lab that provided scans at a reasonable price. There was an additional cost for posting my film off, and a delay while I waited for the results, but on the whole the scans were nice, if perhaps a little warm looking (the lab would have changed that had I asked though). For a while I was happy, but the thing that put me off in the end was the resolution of the scans. While 35mm was acceptable, they used the same “x pixels on the short side” ratio whether it was a 35mm or medium format negative, leading to the frustrating situation where a 6×6 120 film negative would come back with a smaller scan than a 35mm image. So I went back to using my local lab and scanning them myself again. This decision was made mostly when I discovered Grain2Pixel.
Grain2Pixel – a free Photoshop Plugin – converts linear scans to positives. Here, at last, I thought I had found THE solution. It gave me the best results I’d seen so far… most of the time anyway. Some films, unfortunately, it struggled with (for me at least), particularly Kodak Portra, always giving the images a blue cast that was difficult for me to remove satisfactorily. With a lot of faffing about in Lightroom I could get them close to where I wanted, but I was still unsatisfied, and there would always be a few problem negatives that seemed to actively reject giving anything close to accurate colours.
Negative Lab Pro (NLP) has probably been the go-to solution for scanning colour film negatives for a few years now. I’d played with the trial vesion before but not been any more satisfied with the results than from Grain2Pixel, so never paid for the license. Last week though, I decided to have another go. This time I spent much more time understanding how it worked and, lo-and-behold, after RTFM’ing I got much better results. After playing with the 12 free conversions that you get with the trial version, I decided to bite the bullet and put my hand in my pocket for the full version.
This week I’ve been scanning a variety of negatives, using Vuescan to create a RAW DNG file of the images, and then converting them in Negative Lab Pro. I’ve mostly been happy with the results – particularly some Portra 400 negatives that I’m very pleased with (see examples below).
This is a Noritsu lab scan of a 35mm Portra 400 negative.And this is my Plustek 8100 scan, converted in Negative Lab Pro (with a few minor lightroom tweaks to add a touch more contrast). It has considerably higher resolution than the lab scan.And, for the sake of completeness, this is the unedited scan straight from Negative Lab Pro (althougth I obviously made tweaks during the actual conversion process).
However, I’ve spent most of my time playing with a set of Portra 160 negatives that were exposed about a year ago and which I had been unable to get results that I was truly convinced by. Grain2Pixel didn’t give me the results I wanted, nor did Vuescan, and it was my old friend EpsonScan that had given me the best result (although still not good results). So. I’ve re-scanned the negs, got the RAW DNGs, and been messing with them in NLP. The good thing about NLP is that it’s non-destructive. I can un-convert the original file back to a negative and re-convert it using different settings. This gives a lot of scope for experimentation to get a look I’m happy with. I’m still not sure I’m there with this roll of film yet, but I’m happier than I was before.
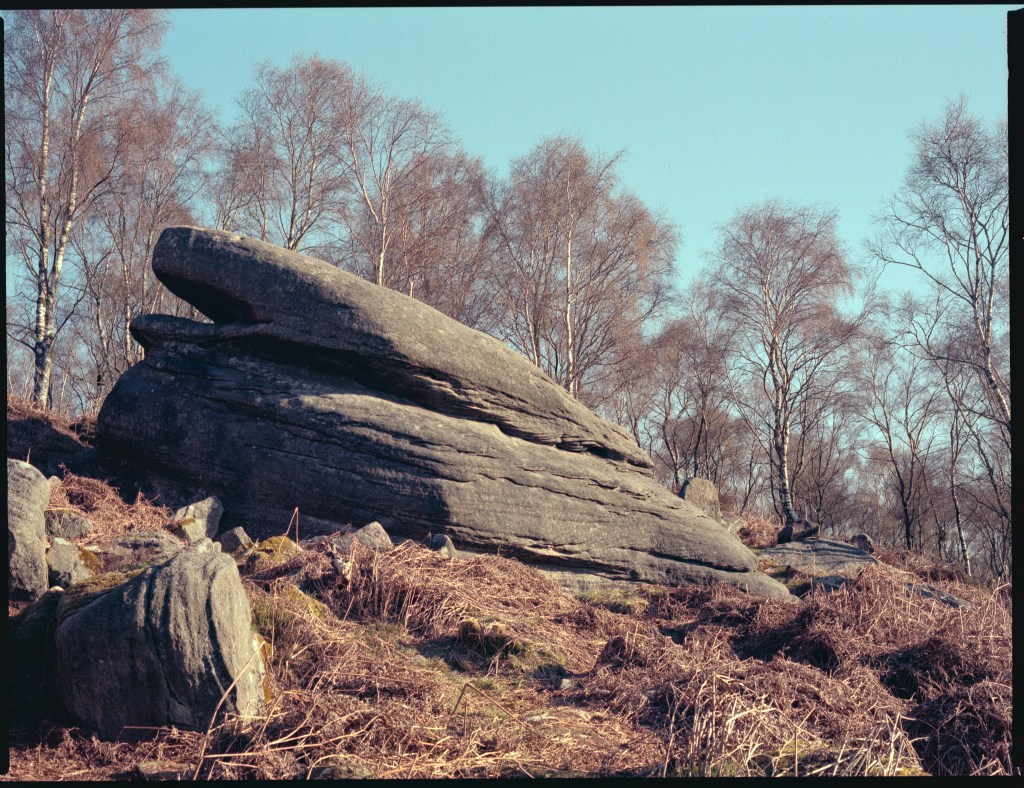
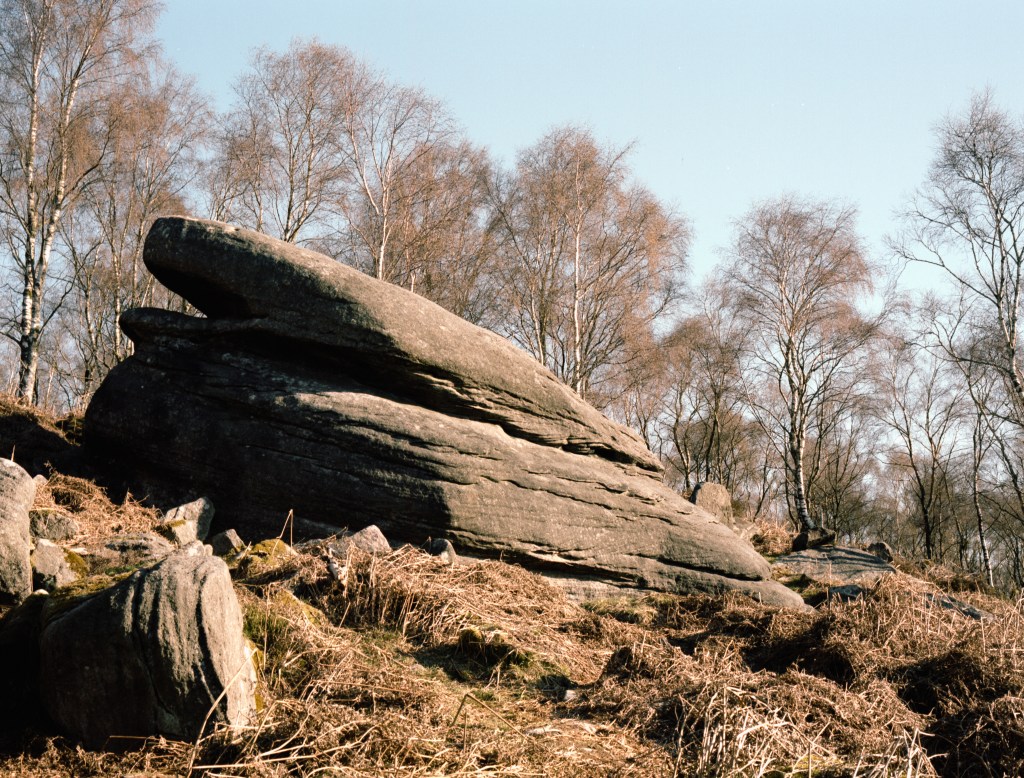
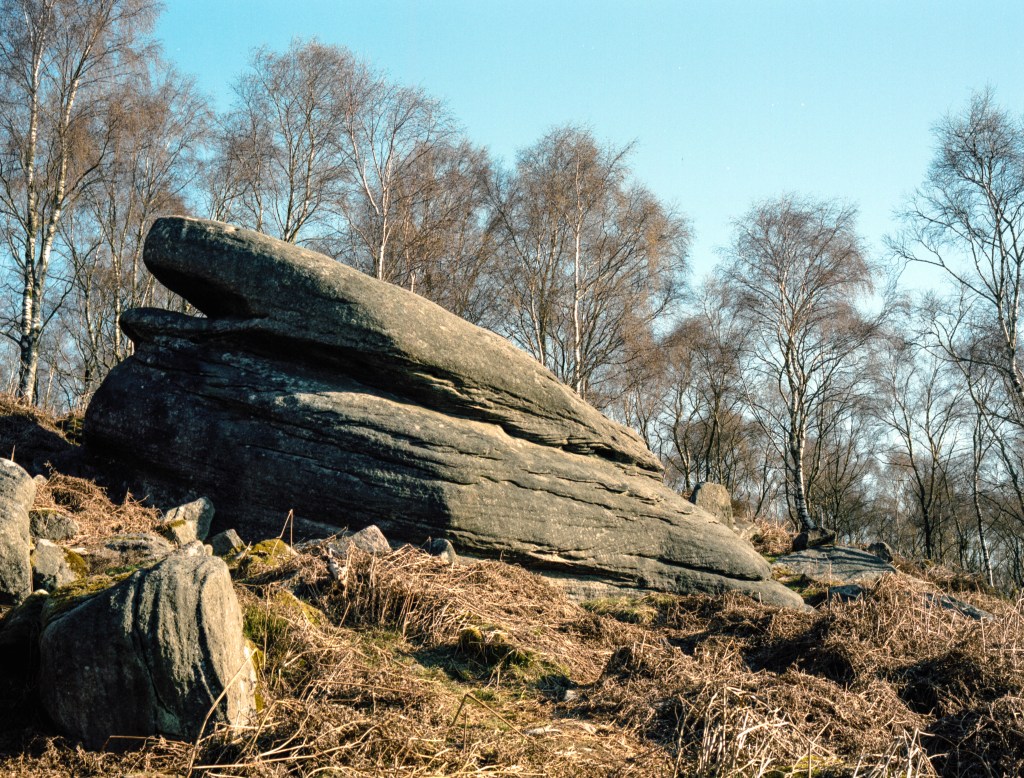
The first shot on the roll was the one that gave me the most headaches – a photograph of a large gritstone boulder in front of some silver birch trees, lit my bright early morning light. The Epsonscan result looked wrong – all cyan and brown, but not in a subtle way. The first NLP version looked better intitially, although maybe still not right. My second attempt with NLP using a different scanner profile and different tweaks was much better though. Here are the three versions (so far!):
My initial Epsonscan attempt. It looks off. Admitedly, more tweaking in Epsonscan might fix this, but it was beyond my talents and patience.The first Negative Lab Pro attempt. Better, but still not right.My latest Negative Lab Pro attempt. I’m not saying it’s perfect, but this one feels much more natural to me.
I think, at the end of the day, I’m never going to get a “perfect” set of colours. There are too many variables at stake. What I need to do is nail a workflow that allows me to get colours that I like on a consistent basis. I think that this is the most difficult part of all, but the journey continues. Now I plan on re-scanning a bunch of different film stocks to see how NLP compares with my earlier scans. Maybe another post at some point…
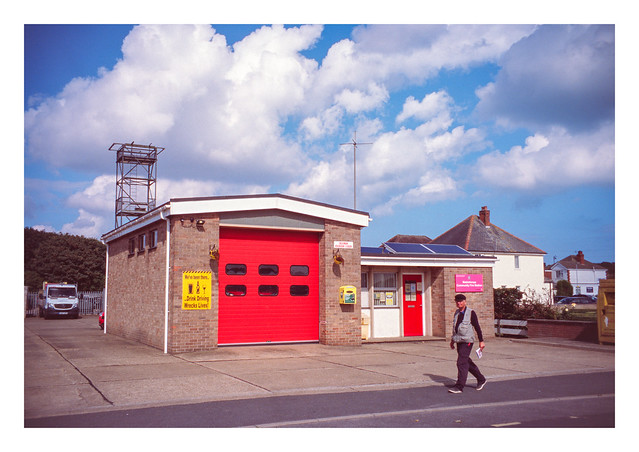
Living in a large city I’m used to large fire stations. All the ones that I’m aware of have facilities to support a number of appliances, as well as the usual accomodation and training areas. As a result, the fire station at Mablethorpe always seems small by comparison. There’s a full size fire engine parked in there – you can just see it peeping out of the doors, and there are certainly enough fire officers around as I saw a video recently where they were dealing with a collapsed wall on top of one of the local stores, and there were several people in attendance.
I bet it dosen’t have a pole to slide down though.
I’m not sure where I’m going with this to be honest, other than to pointlessly note that a small town has a smaller fire station than a large city. Look out for more exciting blog posts to come… 😀
Making pointless posts On the size of fire stations In small seaside towns
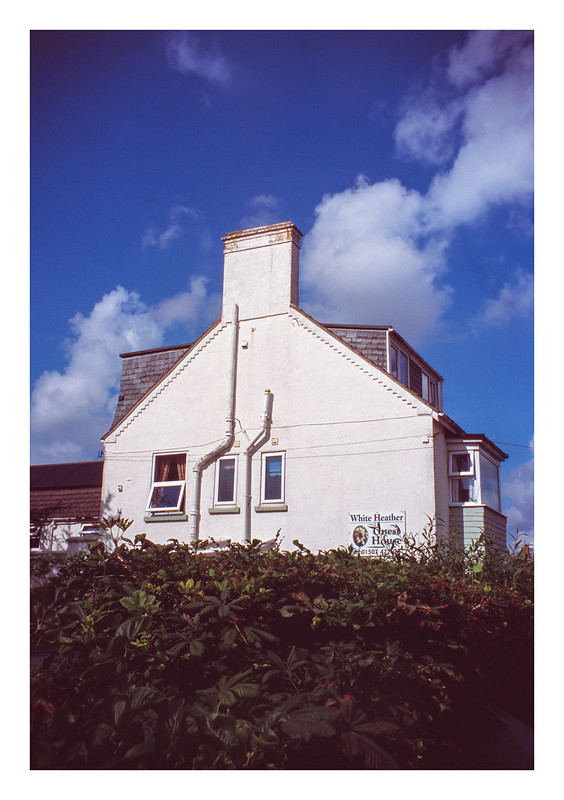
And so the “photos of houses” (or a “guest” house in theis case) continues. I expect thwo or three more days of these to go – although a couple of them are not houses, so there’s that…
I did manage to finish and develop a roll of HP5+ yesterday though, so the future of the blog, insofar as having some fresh photos, is assured for another week or so if I can get my finger out and start scanning them. 🙂
White against blue sky A guesthouse gable-end shines In September sun
The Eagle Hotel, with it’s eagle stood on a ledge on the side of the building, is a familiar landmark when I visit Mablethorpe, standing perhaps a quarter mile from the town’s main street. The hotel is currently up for sale – the pandemic not having been beneficial to such establisments no doubt a factor.
A grand bird of prey Perched upon a hotel side Looking for owners